A smashing success!
I had four players on hand to command the two armies - something that worked out better than I had imagined. Indeed at one point the Confederates were arguing with each other about decisions made that caused troops to slow down or be unable to deploy where they had wanted to ...
 |
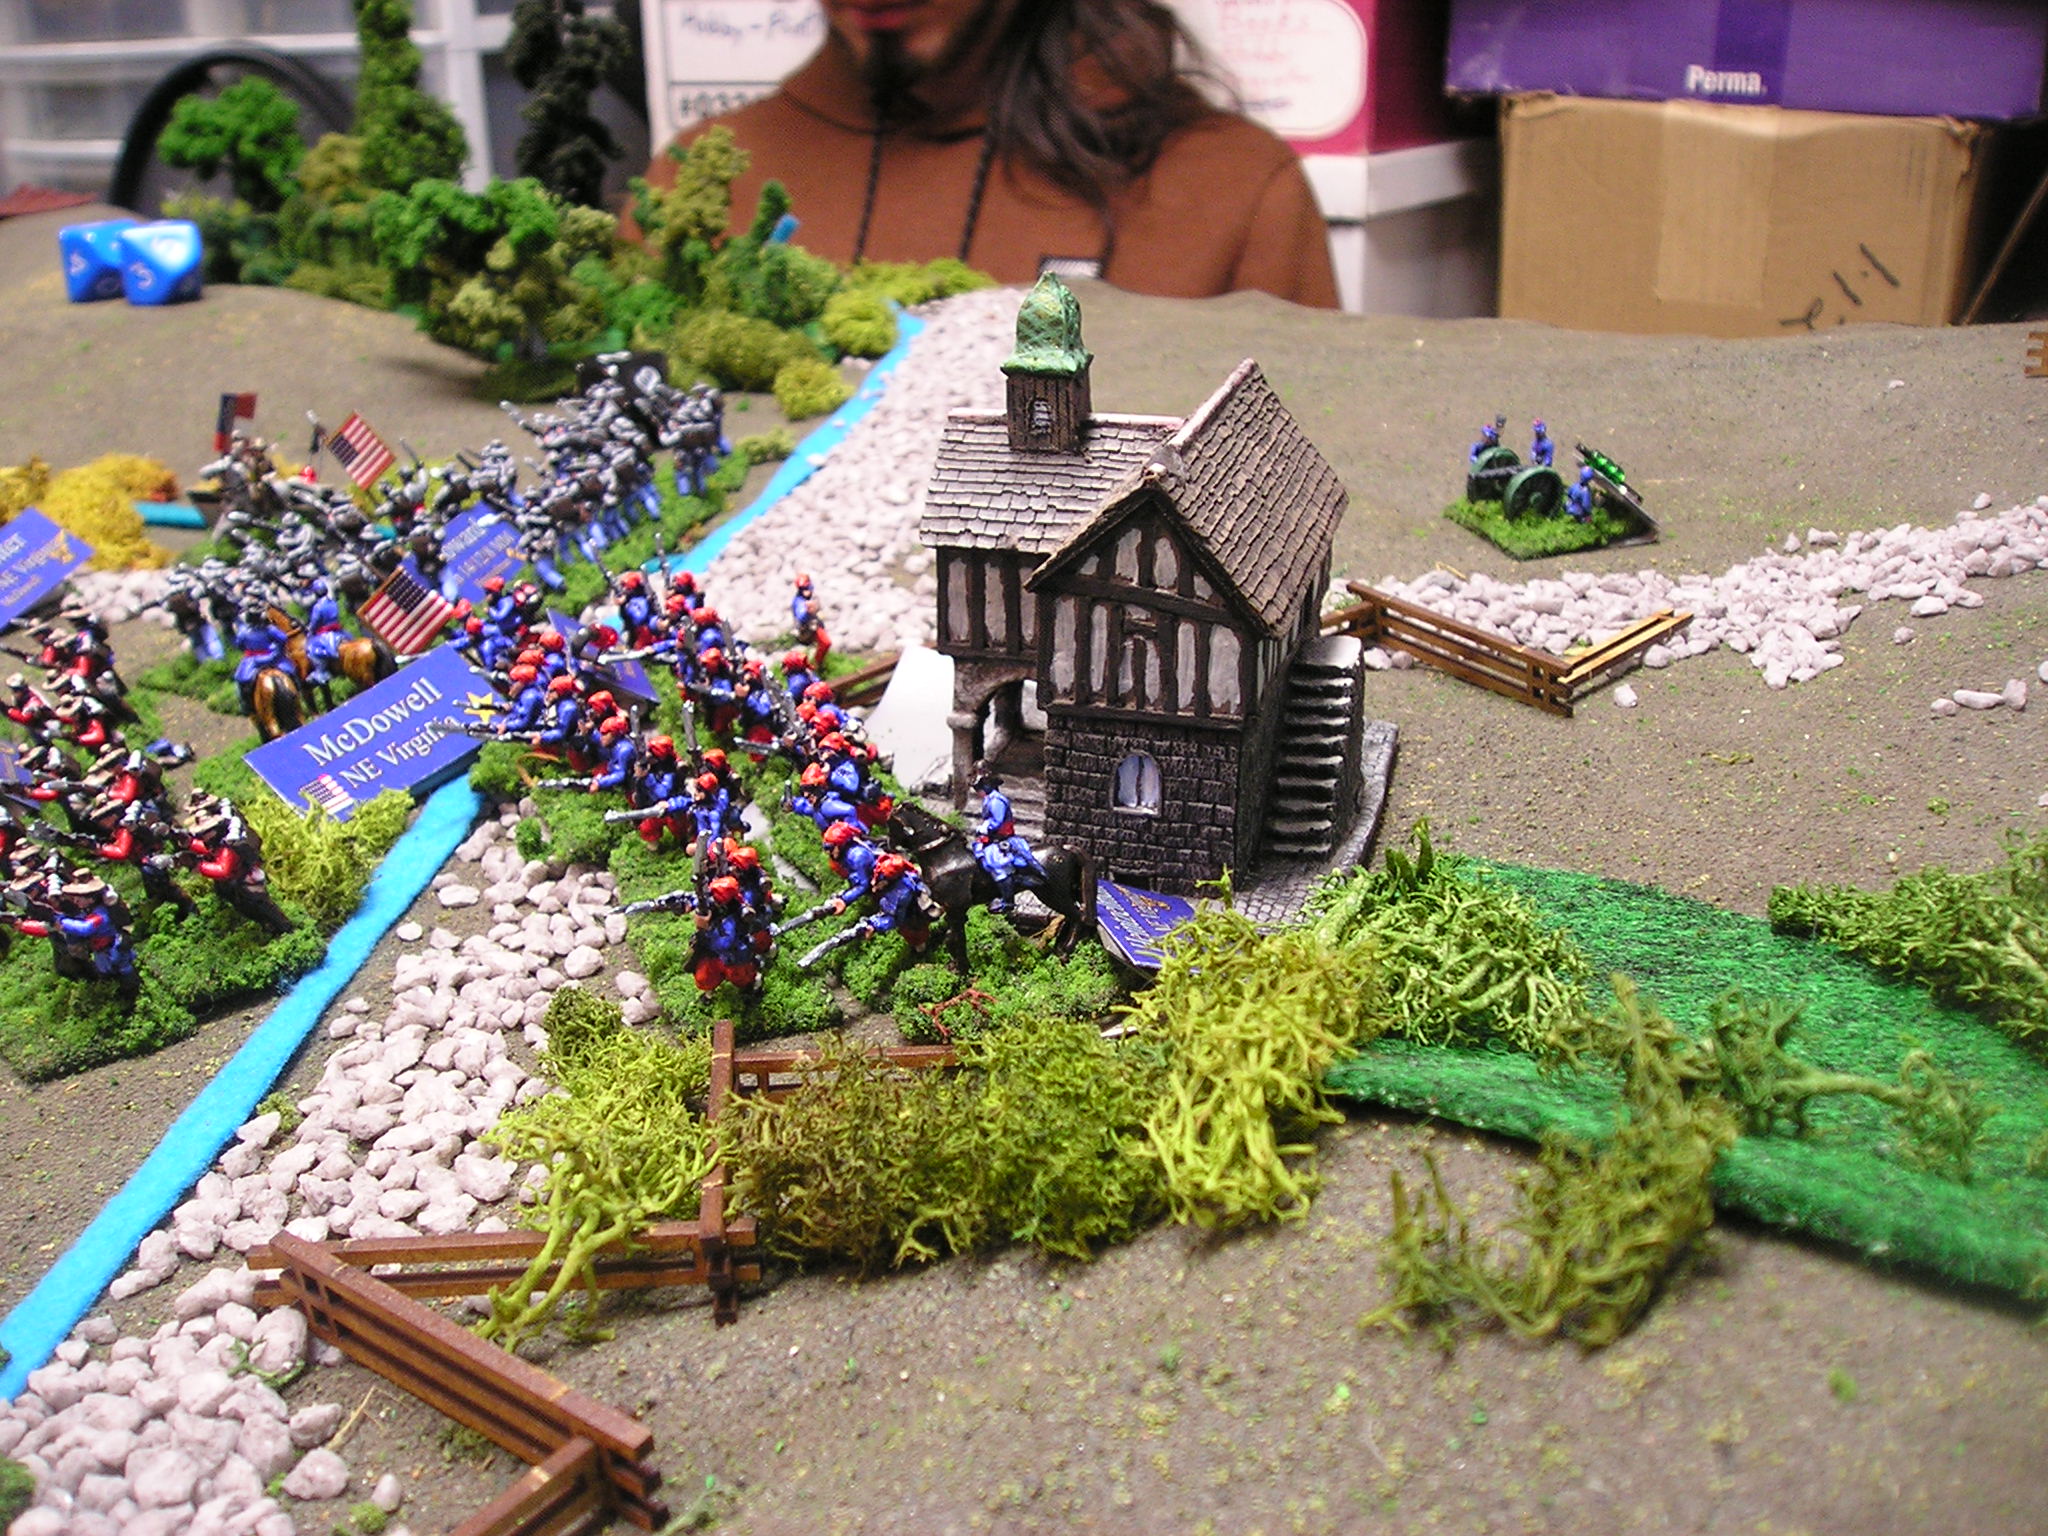
| Henry Hill as seen from the steps of the Stone House on Warrenton Turnpike |
So I was working with the first edition of Fire & Fury army list and ended up with second edition Fire & Fury scenario book to run the game ... the first edition just used the army lists as defined by the army commanders, while the second divided up a couple of brigades and named one after the deputy (since the commander was killed at the battle) and had one 'half-battery' rather than the full formation (they used it as a full battery which would increase the firepower of the Rebels unintentionally).
Therefore I did some 'jigging' of my forces - though I did not divide any of them.
Then it was time to put out the terrain - my new trees getting out on the table almost in their entirety.
 | |
| the vital Henry Hill, with the farm on the right and the crossroads and the stone building on the left |
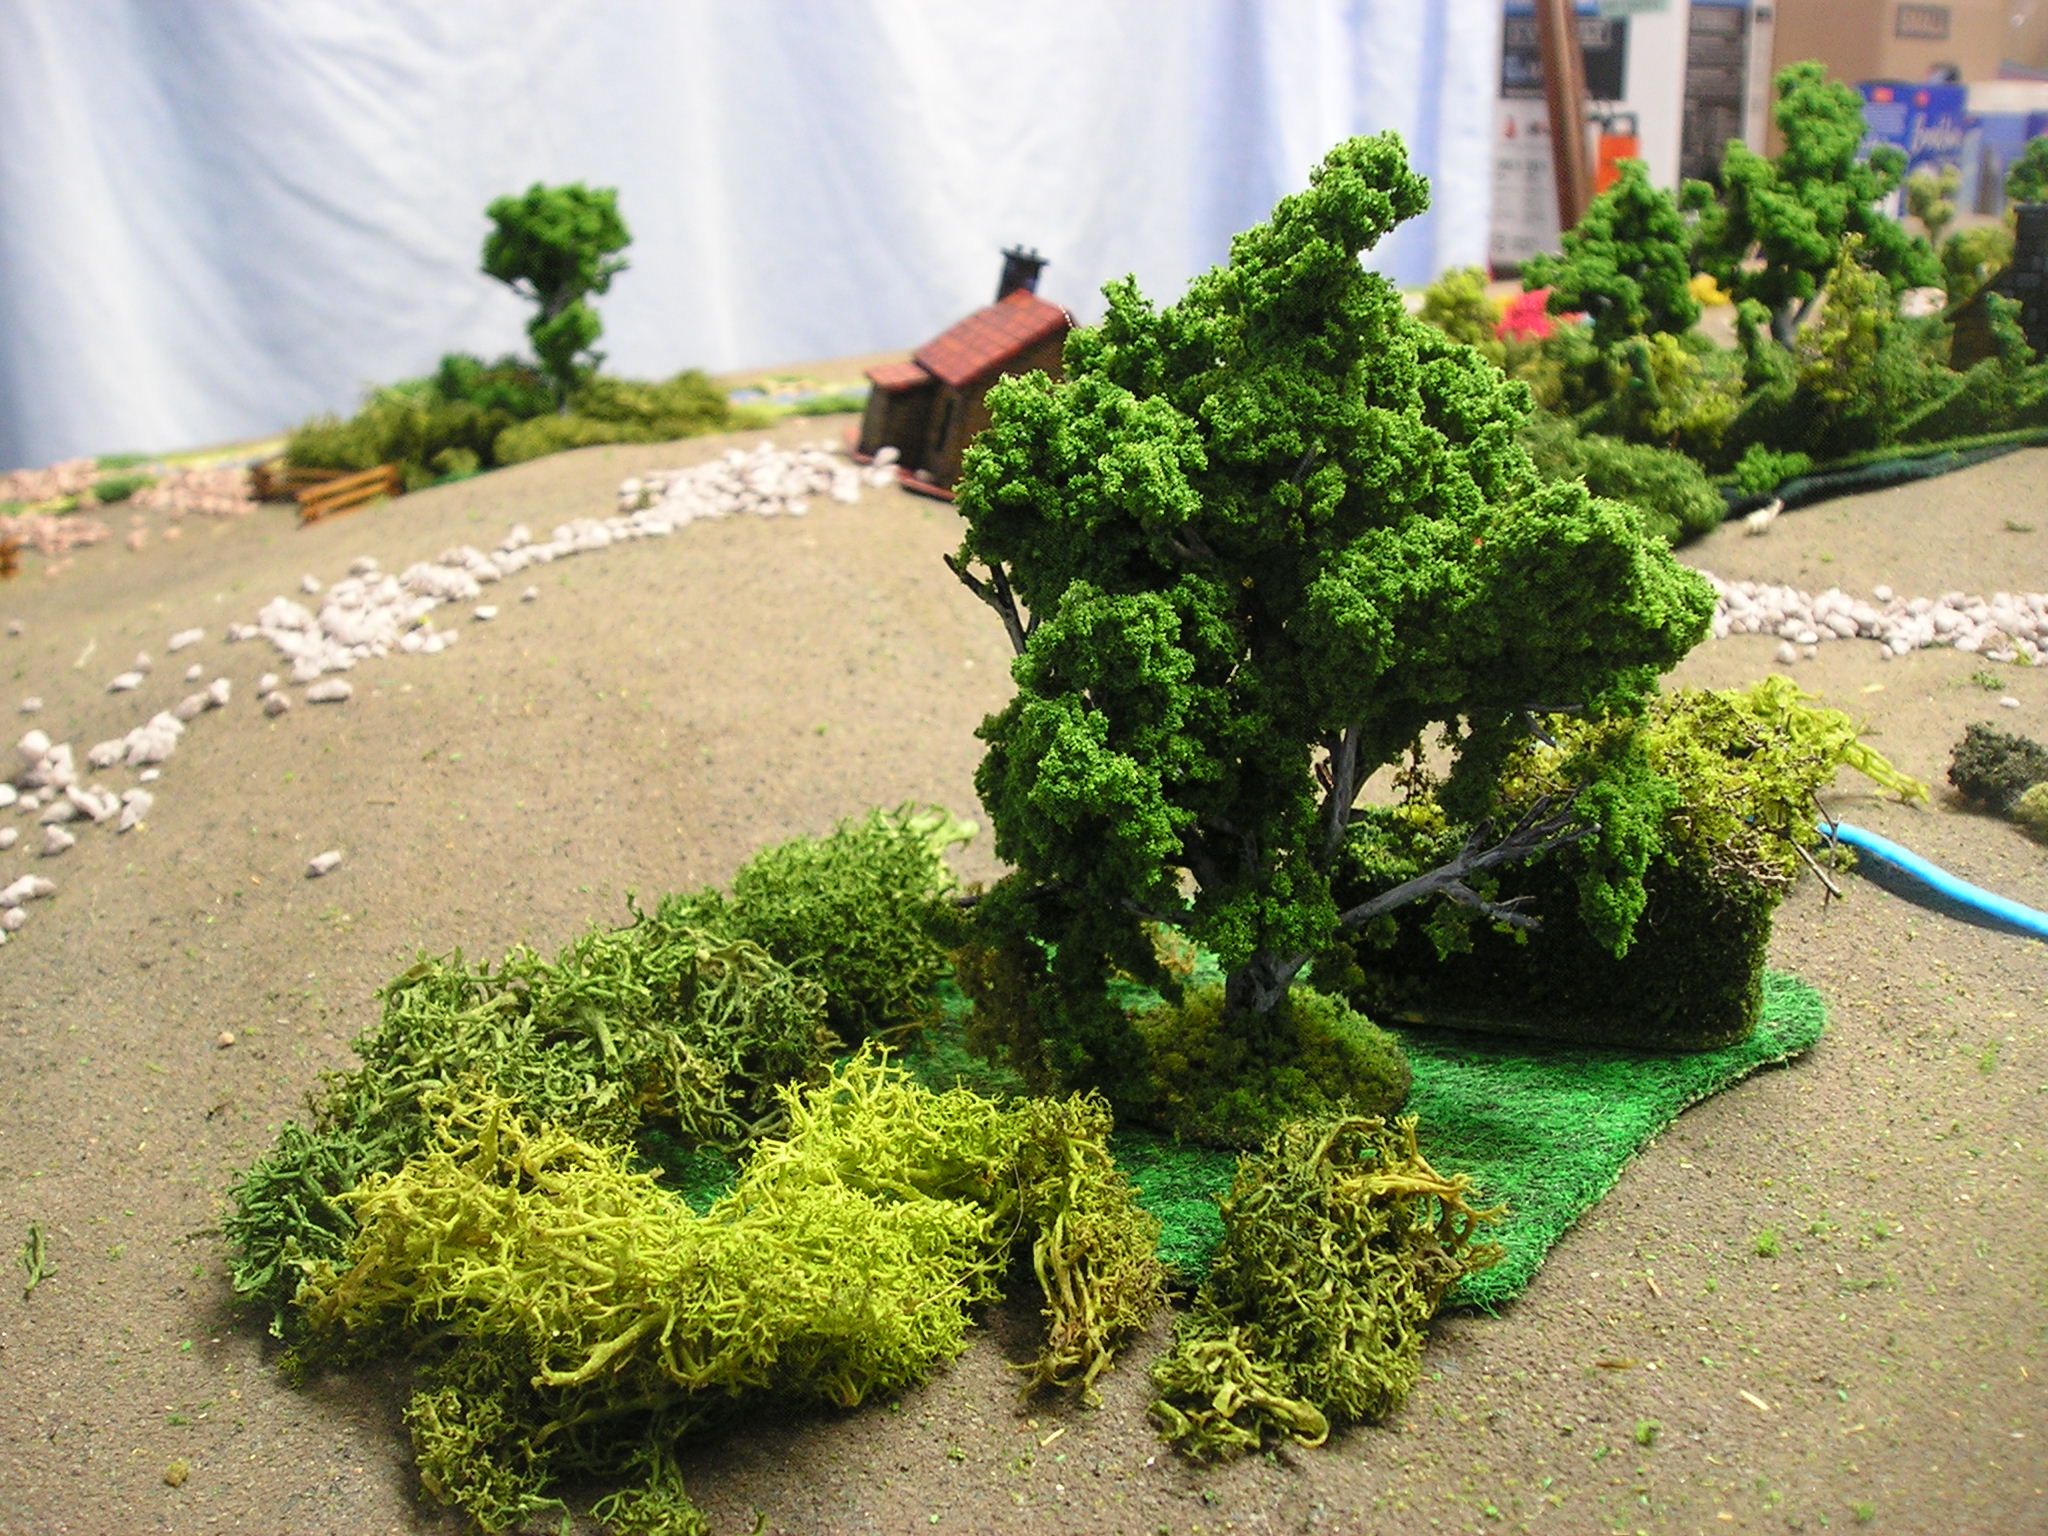 |
| fun with the forests |
 |
| the new Sarrissa buildings getting full use |
 |
| ... along with my older Napoleonic one doing duty as the 'stone building' |
again a time lapse of the terrain layout
Battle was then joined as the troops were deployed.
This battle has the unique element of needing a specific terrain objective to be held, that one side only has a single artillery battery on to start with and having columns of arriving troops, because the army commanders were both so green that they did not fully appreciate where the battle was going to be fought. Speaking of green, almost all the troops of any type were green for this battle.
 |
| 10h00 and the forces start moving looking to the north (top of image) |
 |
| the early fight was going to happen just north of the crossroad where a great stone building was located |
 |
| Confederates had three brigades covering the area |
 | |||
| while to the east, covering the stone bridge and Sudly ford of the "Bull Run" were a force of more infantry and a battery of artillery |
 |
| amazingly the Union chose to run a brigade at full speed up the road on the west side of Henry Hill |
 |
| they were quite all alone facing the solitary artillery battery on the hill (right side of the image) |
 |
| for nearly an hour (two turns) they were stuck in the column on the road in disorder and taking casualties (seen at the rear of the column) |
 |
| then they were able to start to form a line to face off at the Henry Farm (building) seen behind the farm and now arriving is the Virginians of Jackson (soon to earn his 'stonewall' moniker) |
The Union gambit of rushing the hill and using cavalry to storm the Confederates north of the stone building failed. There were now more Confederates on the hill and surrounding the farm.
 |
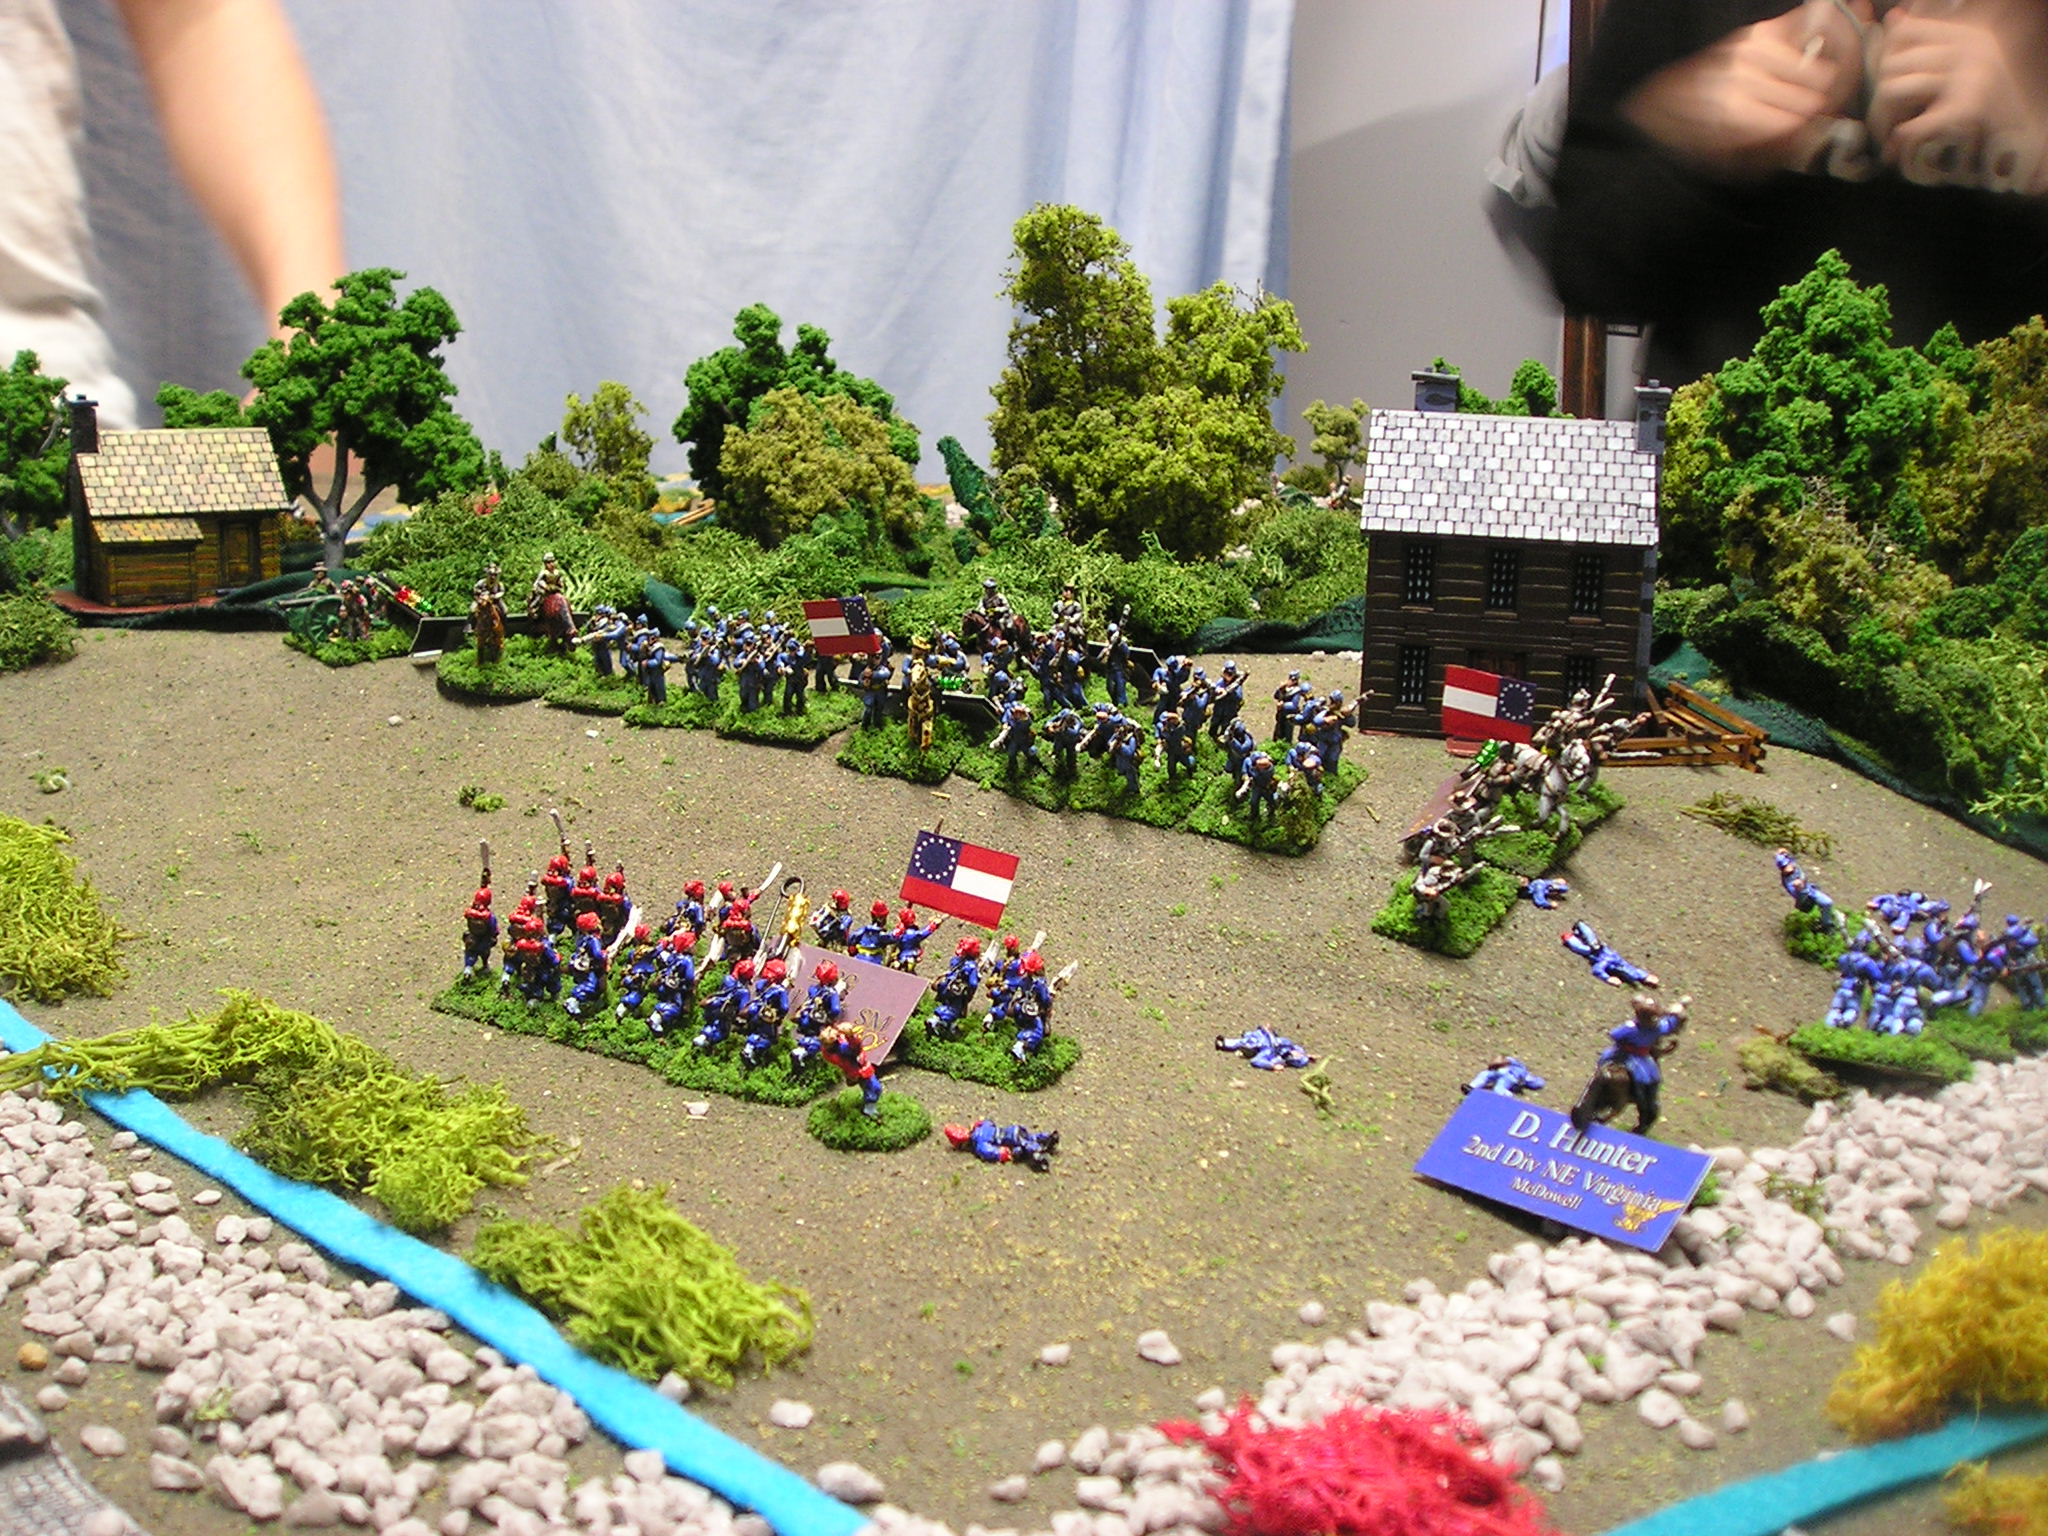
| by 11h30 the Minnesotans had arrived (in their red hunting shirts - they were called 'the Mounties' by the young Canadian players) |
 |
| one Confederate brigade had managed to be part of the northern battle, destroying Burnside's brigade, and was now moving south toward Henry Hill |
 |
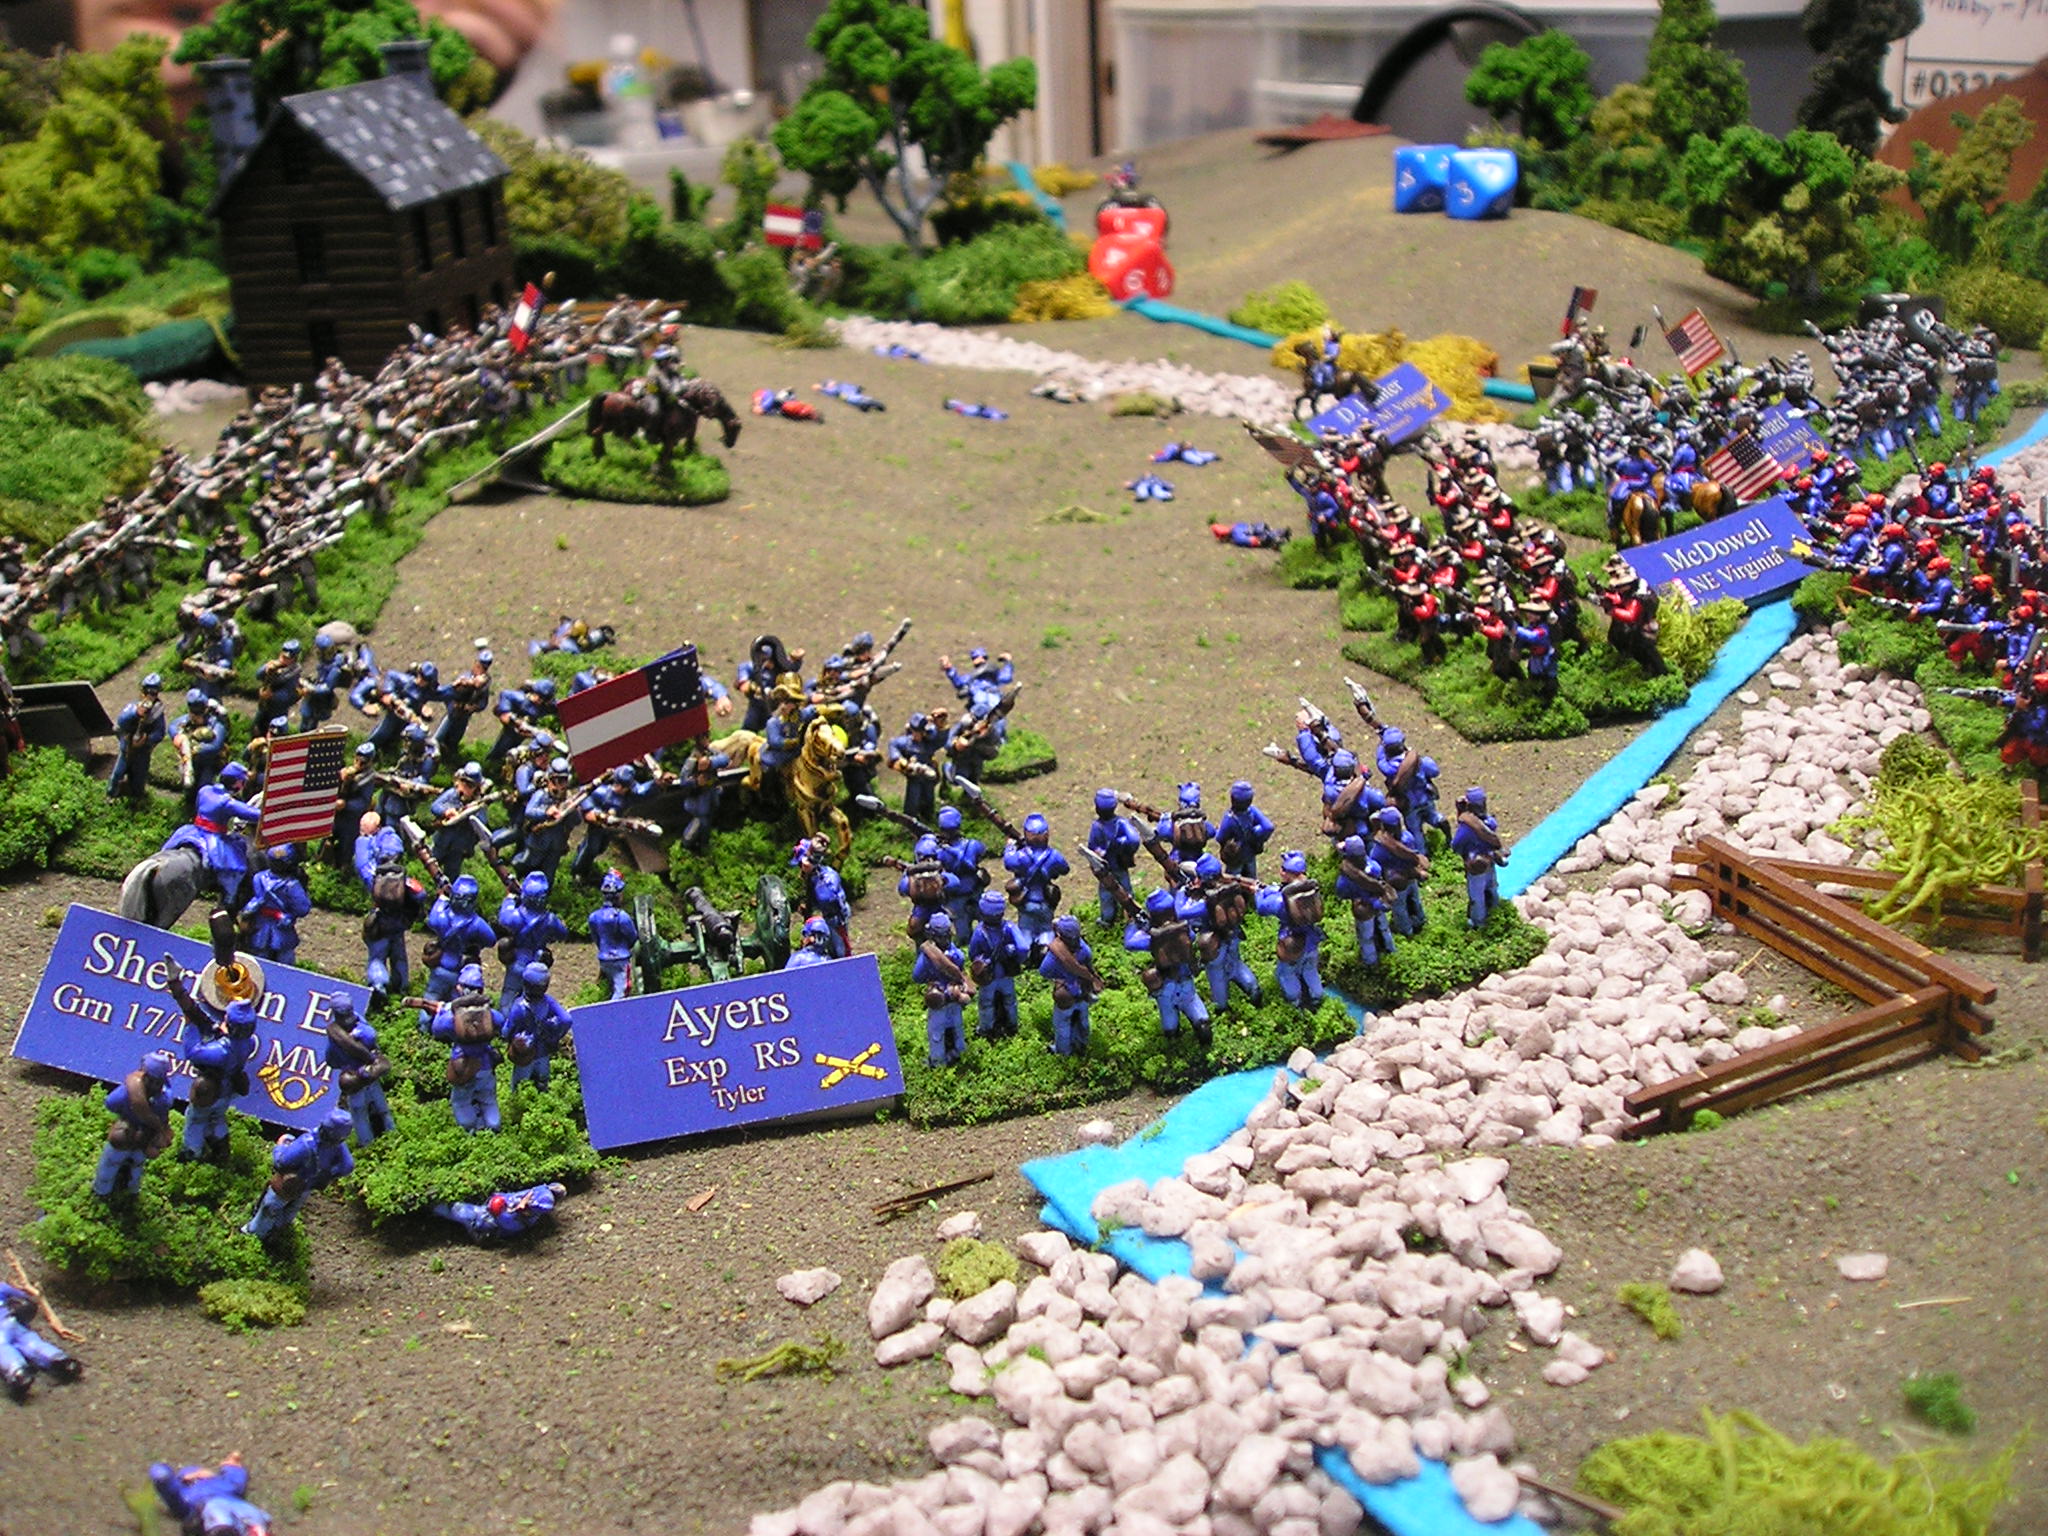
| by 12h30 Sherman's brigade was assembled north east of the Henry Hill |
 |
| while Bee's (the Zouaves) brigade had pushed out the union brigade that was at the base of the hill (shot from three sides) |
 |
| 13h00 view from atop Henry Hill, looking north |
 |
| east view of the same scene now Sherman and Jackson were trading volleys |
 |
| the Minnesotans had moved into the ground north of the stone building |
 |
| table overview at 13h00 (start of Union turn) |
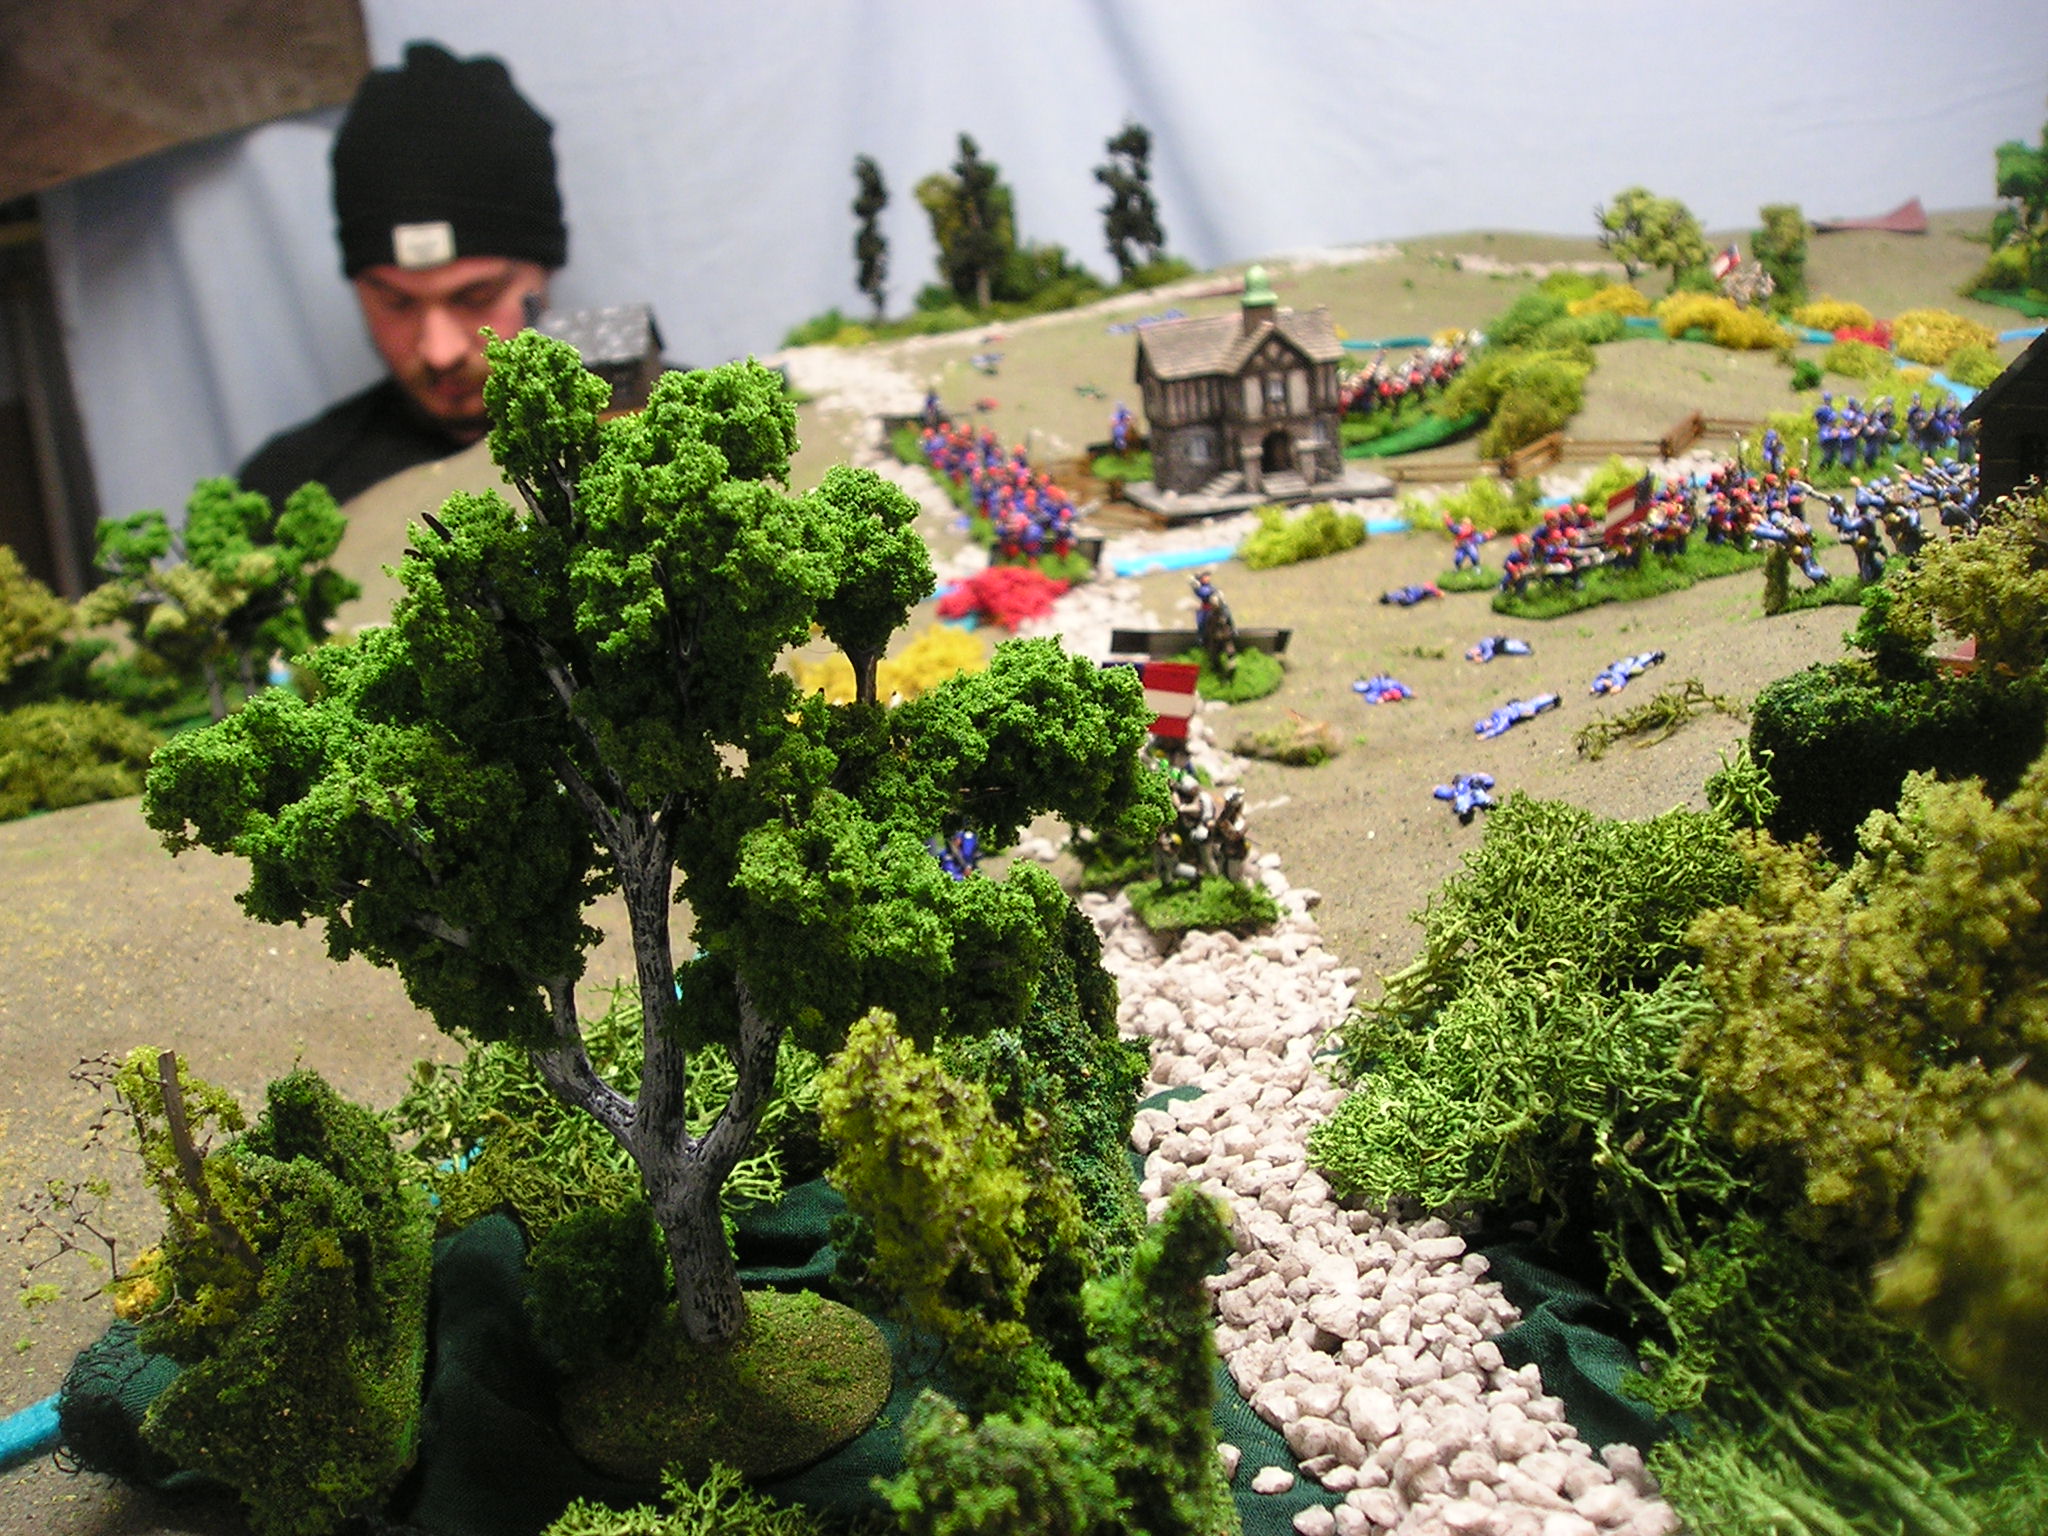 |
| the woods road looking north |
 |
| at this point there were no Union forces threatening Henry Hill |
 |
| Wilcox (Zouaves in column in foreground) had also arrived via double-quick march in column on the road the stone house and crossroads are clearly seen here in the hands of Union forces |
 |
| to the east of the stone building are the Minnesotans and seen to the north of the stone building is Union commander Brigadier General McDowell |
 |
| 13h30 the time keeper and quick scorecard with three Confederate and four Union losses |
 |
| Jackson had moved down the hill and Bee was covering his flank as they squared off against three equal or larger brigades |
 |
| Jackson had Johnston attached and was trading volleys with Sherman's brigade (and the Union troops were taking far more casualties) |
 |
| while other Union troops (yes in grey uniforms) had set up to cover against the flank action of the Confederates that had been covering the ford |
 |
| ... though they had to keep watch over their shoulders as a small Confederate brigade was marauding in the north |
 |
| the volleys came hard and fast - Sherman was getting the worst of it |
 |
| 14h00 map overview |
 |
| Bee was now gone and Jackson was out of ammo having had a charge checked by Sherman |
 |
| Now Bonham had arrived and the Henry Hill was secured |
 |
| by 15h00 the marauding Confederate brigade had started to inflict casualties and the stone bridge was in Confederate hands (flag in foreground) |
 |
| Sherman had now inserted a battery of artillery into his line and was actually wearing down Jackson |
 |
| McDowell had hopes of yet taking the hill ... |
 |
| Henry Hill secured |
 |
| General McDowell would not be able to advance further |
Now with the hilltop secured only a miracle success would bring the points and position needed to win.
Sherman was charged with the task.
He charged towards Jackson - charge checked. The ensuing Confederate fire then utterly shattered the brigade and KILLED Colonel Sherman.
 |
| 16h30 table view Early had arrived (lower left) and Smith was on the woods road stopping any flanking actions on Henry Hill |
 |
| the gaping hole in the Union line from Sherman's brigade fleeing ... |
 |
| there were forces that could 'hold the line' but too many Union troops had been lost by this time the 3:2 victory point requirement was not possible |
With only a few hours of daylight left, the Union forces would have to retreat first north then east as the Stone Bridge was solidly held by Confederate troops and artillery.
 |
| General Beauregard would win the day. |
Overall I was impressed with the game set and tools that I made for things such as disorder, low ammunition as well as Fresh, Worn and Spent indicators for all units.
I'll leave you, dear reader, with a time-lapse of the whole battle.


.JPG)


6 comments:
An epic event!
More than two decades in the build-up makes it most satisfying.
Fantastic looking game Murdock; your trees and buildings really add to the immersion.
Cod that's great praise coming from the terrain master.
Great looking game David and a pretty convincing Confederate victory. I like markers to either blend in or add to the look of the whole thing, as yours do.
Regards, James
Thank you James!
Post a Comment