In an effort to put my ECW forces out on the field and actually test out he Carnage and Glory II rules & computer system, I ran a game of it recently on Dec 9.
 |
| We just used the base force given in the starting scenario, here are some of my Parliamentarians |
 |
| more of the full Parliament line |
 |
| Royalist horse, a mix of Jeff's set and Rob's collection now merged under Rob's command |
 |
| more of the Royalist line |
 |
| Royalist horse on the right flank |
 |
| closer view of the Royalist horse |
 |
| The King's stand (yes that's a model of Cromwell? - not a good omen) |
 |
| Parliament command |
 |
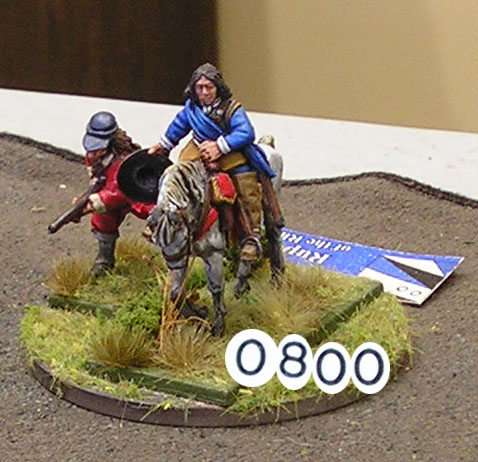
| The Prince Rupert stand |
I took some pictures just as the first turn was 1/2 way through.
 |
| long view of the table from the Parliament left |
 |
| Royalist horse on the right pressing forward |
 |
| Parliament foote were not going to be able to take the center hill before the Cavaliers had it |
 |
| while facing Prince Rupert the Parliament horse got ready to charge at the enemy guns |
 |
| some Parliament dragoons take advantage of the nearby enclosed fields |
 |
| as usual once movement begins, the horse will clash first |
 |
| here the hill in the center can be seen with Royalists starting up the slope with the bright Parliament flags on the other slope |
 |
| more around the hill |
 |
| still more views of that hill |
Each turn in Carnage & Glory II is 15 minutes of real time.
 |
| not much real change from mid turn at 08h00 |
 |
| Royalist artillery gets ready to fire |
 |
| Royalist foote crests the hill |
 |
| while other Royalist foote take up station in the one hill gap |
 |
| Parliament was arranged with a gap that could fire artillery at the opposing foote and in two supporting lines |
 |
| over at the enclosed fields ... the horse and Dragoons made ready to engage |
So by 30 minutes into the battle, simulated time as it may have taken us 2 hours to get the troops out and moved to this point since Rob as unfamiliar with the system, clash of arms had come.
 |
| the Parliament Dragoons had made a poor choice ... not dismouting |
 |
| they were stuck in a confused mass near the hedges |
 |
| on the Parliament Right, some Royalist horse had been beat back! With an amazing prisoner taken! |
|
The Prince Rupert of the Palatine was now a prisoner of the Parliament!
 |
| Over on the other flank the horse clash was more of a mixed affair with neither side winning advantage |
 |
| Parliament foote continued to hold ground in the center |
 |
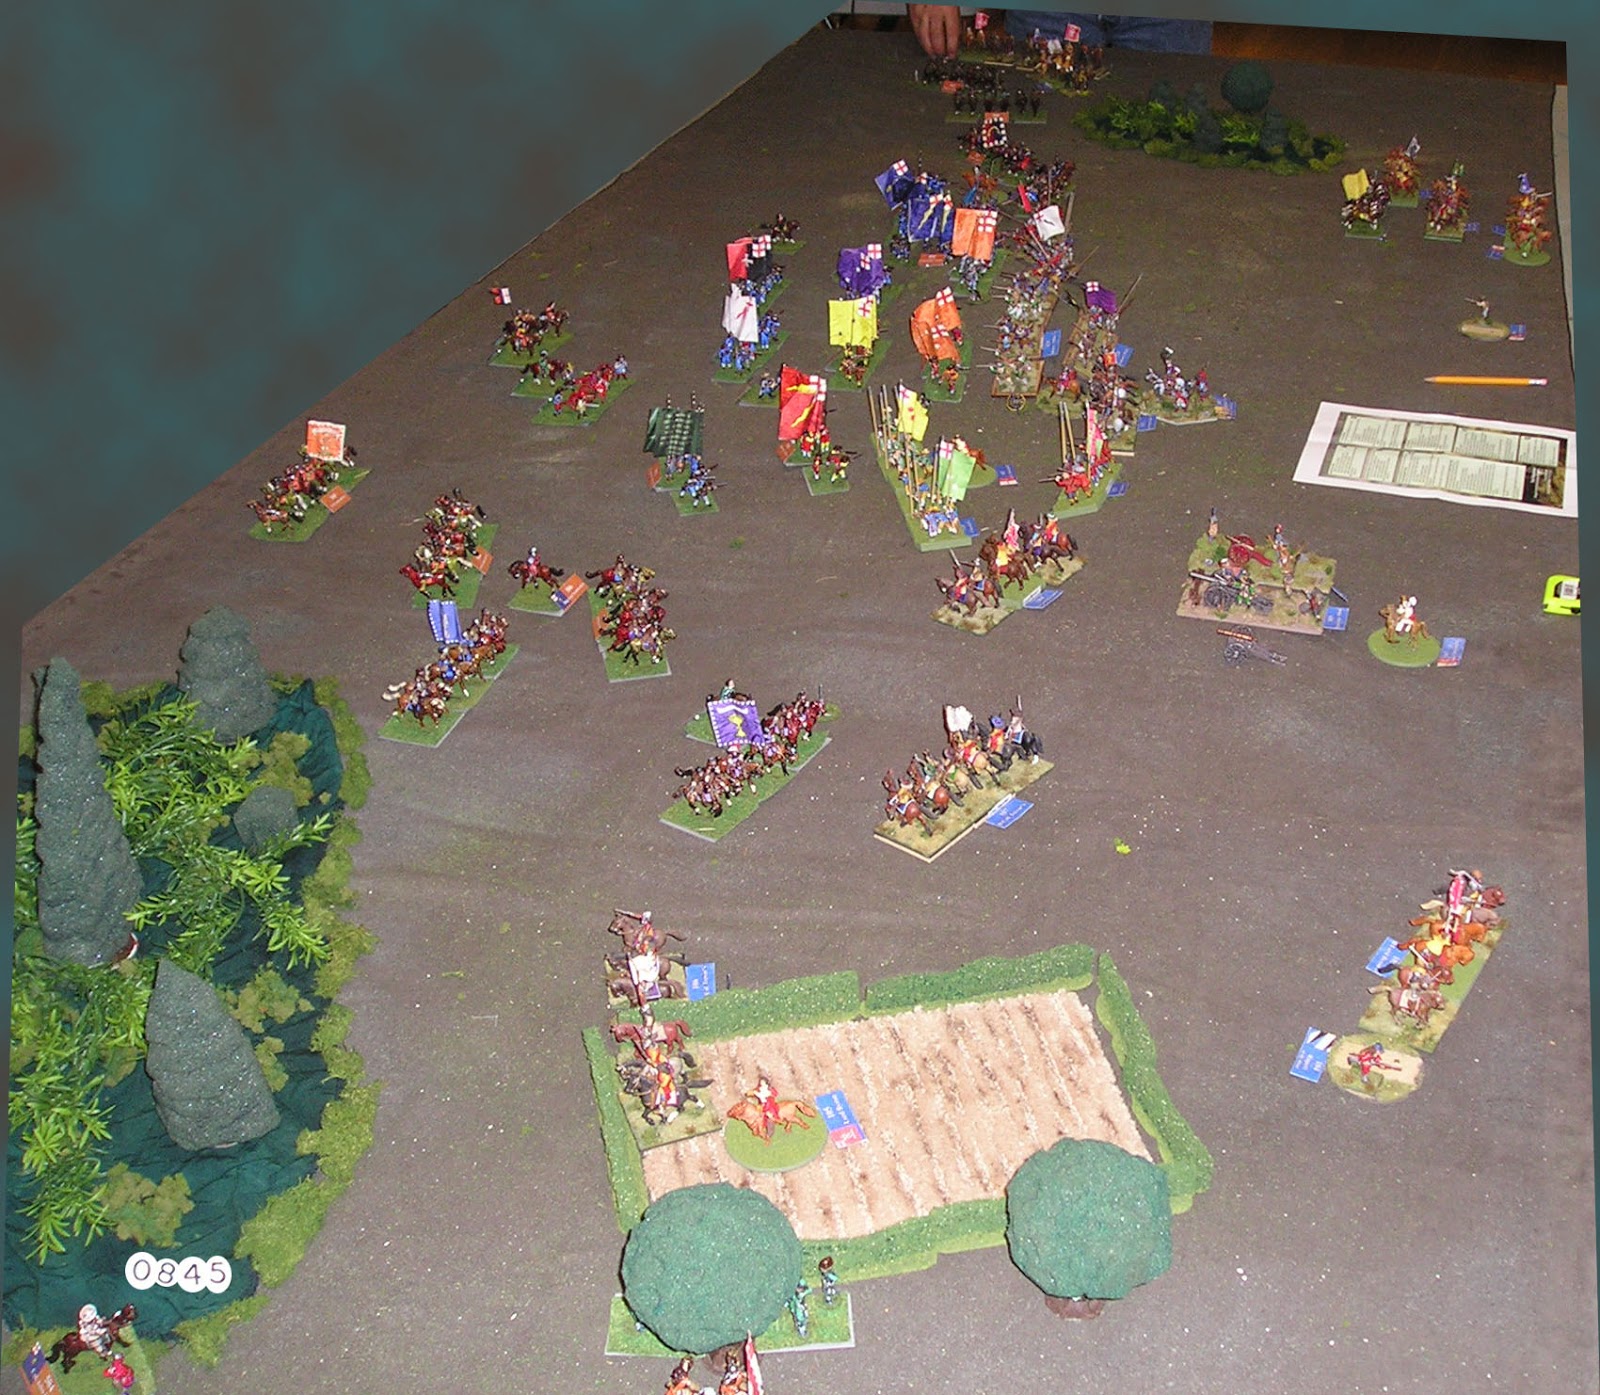
| the start of 08h45 the dragoons had been smashed, their colors taken and their badly wounded colonel taken prisoner, he was to expire before the end of the day |
 |
| Royalist horse smashed the dragoons |
 |
| now in the center both forces of foote had come into musket range, with one force 'balking' at any charge |
 |
| the massed pikes did get ready to engage in push of pike though |
 |
| the Parliament did climb the hill and force a musketry exchange with Royalists on the top of the hill |
 |
| while the capture of Rupert had precipitated a breakout of Parliament horse |
 |
| on the other flank a regiment of Parliament horse had broken out and started a series of 'fall back' pursuits into the Royalists lines |
 |
| the center hill was still coming under contest and both sides were taking casualties yet not giving ground |
 |
| an actual push of pike did happen |
 |
| the rear line of Parliament were able to stiffen the lines enough to hold |
By the end of the 4th turn 09h00, the Royalists were just holding on, they had relinquished initiative to Parliament for good now and their officer losses were taking a toll on the horse.
 |
| the confused situation became clear by the end of the turn |
 |
| having lost 1/3 of their guns, now the Royalist artillery may have some targets to shoot at ... or are they Royalists falling back? |
 |
| Royalist horse overcome the loss of Prince Rupert and manage to push back the Parliament horse |
 |
| until they are stopped with a rough fight that changes the 'mind' of the horse commander switching him to a defense mindset (the yellow 'wounded man' standing on the command stand) |
 |
| more Parliament horse flee into the woods |
 |
| The push of pike was inconclusive |
 |
| while firing was more effective, driving back a Parliamentary regiment of foote |
 |
| the second line holds as the other foote flee to the rear |
 |
| next to the hill it would take two Royalist officers to keep one regiment of foote from fleeing while taking 30%+ casualties |
 |
| even some other Parliament foote were 'pinned down' from forward movement due to the losses seen elsewhere and having friendly troops retreat 'through' them |
 |
| not that the Royalists could move forward ... their losses and exhaustion from the sharp fight had their brigade pinned |
 |
| Parliament high command is used to 'rally' one foote force |
 |
| this turned out to be enough ... for the Royalists had dropped below 75% morale (to 74%), while Parliament morale was a mere 77% ... so not some great victory, merely holding on longer than the other side |
 |
| The Earl of Essex gets to declare a victory |
With that ended our first C&GII game, wow! End of the whole war really seeing Prince Rupert becoming a prisoner!
All in all it was a good run of the software system and we will definitely be going for another game.


.JPG)


