Showing posts with label Solo Game Play. Show all posts

Sunday, December 01, 2024

Shako II - Solo scenario throwdown - October 2024 - Flavor of Maloyaroslavets

 Over a couple of days in October, I had opportunity to set up the table and leave it, so that I could run a game over a longer period of time without having to clear it all away.

I would have post the data about this game in November, however the day I was to start working on this my bride took a slip and fall and did much damage to her left elbow, after a day in emergency, then overnight and surgery the next day for 6+ hours, she was able to recover in hospital for a few days.
Then return home.

I have been her arms for a few weeks now and shall continue to have much time taken up with these ongoing support tasks.  Thankfully her recovery is progressing well.

With the delay explained, now onto the battle:

Scenario 2, from Scenarios for all ages, was a contested river fording situation.  It reminded me very much of Maloyaroslavets, from the retreat from Moscow situation the French faced in 1812.  This being the case I chose to make it a Russian defending the line, with French attackers.

Again as a solo game, I chose some cards to make the 'command decisions' of the two sides, the Russians came up the 4 of clubs and the French the 5 of clubs. Meaning that both sides were only going to have 'middling' plans with no real commitment to much at all.


My Eugene model had commanded cavalry
many times after the first Maloyaroslavets game
now out in a command stand again

an even older generation Russian command
figure was selected to take on the role of
Baron Sacken for this encounter

I used the ruined hovels for the 'built up areas'
that the game calls for

so ... the plans were terribly simple
I was hoping that the French could get a toe-hold into the
ground on the far side, enough so that the
large force of infantry could storm across
with their flank covered

Once again I used a time-lapse system to capture all the action, which turned out to be a good idea, since I could not fully recall all the actions taken from just the still photos.


Reviewing it all via the editing process, I recalled that the French column did get across the river, in force, yet were all 'damaged' and fighting uphill into supported artillery.  The damage may only have been a 'shaken' or 'disorder' yet it was enough to make the attacks just that little bit weaker ...

The coup de grace was the Russian Dragoon force riding down a French demi-brigade to a man, capturing their eagle and putting a total victory on the battle for the Russians!

Looking back I see it was last October 2023, when I managed to get in scenario 1, perhaps I'll be able to do scenario 3 in 2025?

Let me know if you enjoy this sort of content or if I could change it up some way more interesting.

No idea if I will get in another game before the new year, though I have some painting progress to report in the coming weeks, happy holiday season to everyone reading.

Sunday, October 29, 2023

Solo Throwdown : Napoleonic SHAKO 2

 Opportunity to get the Napoleonic miniatures on the table came a week ago, it has taken time to process the video and photos into this new game time-lapse.


my tabletop deployment zone marker
for French forces

I had a mind to try out more from the book series by Grant and Asquith "Scenarios For All Ages", so I decided to let by d12 have a go at where to start ... obviously I rolled a "1" - must start at the beginning!

Neat part about this scenario is that it also had basic instructions for running the game solo!

Once again I am doing this mostly as a video posting, as there are no other players to make detailed reporting to or about this event.


It was good to get the Napoleonic troops out on the new game mat, with their own new fur bases and get the whole set documented in a game this new way.


a panoramic photo from the end of turn 3

These panoramic photos are the type I used to do with other software and stitching them together by manual processing, now my iPhone does it all quickly.  I think I may do more of them in future games.

The scenario has the Bavarians holding a hill line, they must not permit 2 or more combat effective units from passing beyond the hill-line.  The time limit is based on the number of turns for the Russian line infantry to march from one side of the board to the other, then add 1/2; this worked out to nine (9) turns.

Fast, bold action was called for the Russians (fast is not something they are known for), and some luck from a few failed Bavarian defense rolls could make it possible to get more than 1 unit across in time.

The die rolls for the Bavarians were amazing, they killed the leading Russian skirmishers in the first encounter.

From there things bogged down, though the Russians came within one turn of making it happen all the same.  Good scenario design - showcasing asymmetrical forces and doing a job with what is at hand.

another panorama showing the end of game positions

I also got a photo of one of my 'wrecked batteries', that was not used in the video.


the wrecked battery marker


Computer work station has moved upstairs as the temperatures have definitely gone lower overnight and I do not wish to freeze my paints.

More study coming this month and likely a start on the special fantasy commission, expect photos.

Wednesday, August 03, 2022

Murat Playtest

 I was asked by a fellow Napoleonic game player to go over a set of tabletop rules they have built and have some commentary for them.

I decided to use the battle of Quatre-Bras to run a game in, as the layout is reasonably well known and the history well known.

You will see the die rolls in the images, along with the turn counter (d20), red & blue dice are combat & morale AND the initiative dice
the white one is for luck or morale or firing
the green one for morale and movement

deployment
(the French light horse still to arrive)

initial positions

artillery fire was wearing down the opposing batteries

'smoke puffs' can be seen in front of the guns
they will drift across the field to the west
as it was determined wind was from the east

Allied troops arrive (top left)
while the melees are joined in the woods
(both left and right)

Dutch troops are falling back in both woods
French Cavalry (center) is pushed out to the right

now artillery has begun hitting the Brunswick forces hard

close range fire had run out of ammunition in the woods
(double 1's)

snake eyes also ended ammunition for the British
troops before Quatre Bras

the ensuing melee went REALLY BAD

now across the lines the French were pushing back the
Anglo-Dutch allies

more artillery fire was massing against the black
clad Brunswickers

the Brunswick force had fallen back into QB
while British guardsmen came forward
the Dutch in the woods (left in image) had been
fully pushed out now

British guards fail to stem the French tide
(right side of image)

the Dutch outside the woods fail to rally at all
continue to fall back

the Brunswick forces in QB are being encouraged to hold
via Wellington and his staff directly

the French left had broken out of the woods

in Quatre Bras, firing goes well for the French

then a melee causes the Brunswickers to collapse

Wellington is killed in action

the whole force had only a few guards to hope to re-take
Quatre Bras

This quickly failed

the French sent guard horsemen to open the right flank
only a force of Hanoverian conscripts were in the way

they lost the die roll of the exchange by 14 pips!

the Anglo-Allied force was now routed
Wellington was dead

The system allowed for good employment of combined arms and I really liked the one page QRS.

There are some changes I have suggested via an email to the designers.

Thank you for reading this quite delayed AAR.


Wednesday, July 06, 2022

Getting ready for a playtest

 I have been asked to make a review for a home-made set of rules and I thought this would be a great chance to put my new blocks to the test.

Found out already that I need to make some more blue 'command' stands.

French Forces

Allied Forces

Can you guess the battle?

Going to have a few runs at this one using this battlefield, to test out the concepts and make my notes.

Having read them over a few times and now printed them I have also made up the control materials as suggested ... got some ideas on sorting that out smaller already.


made my own hard copy of rules and QRS so that
I do not have to constantly refer to a computer screen


More in a few days.

Wednesday, June 01, 2022

Lone Warrior rules sets

 While researching some ACW ideas I came across a solo wargame rules set website that I thought would be of interest to those who read here.

a logo I made for the recent ACW
campaign series - used on Discord


LONE WARRIOR

Loads to look at and study.

Tuesday, August 31, 2021

Solo Game Play System - a proposal for 'any' time-frame/scale

 I have been experimenting with solo play rules and concepts since the isolation of the pandemic lockdowns began.

I have a few books about the subject of solo play from Grant and Featherstone, yet none of them have a simple yet easy to use system.

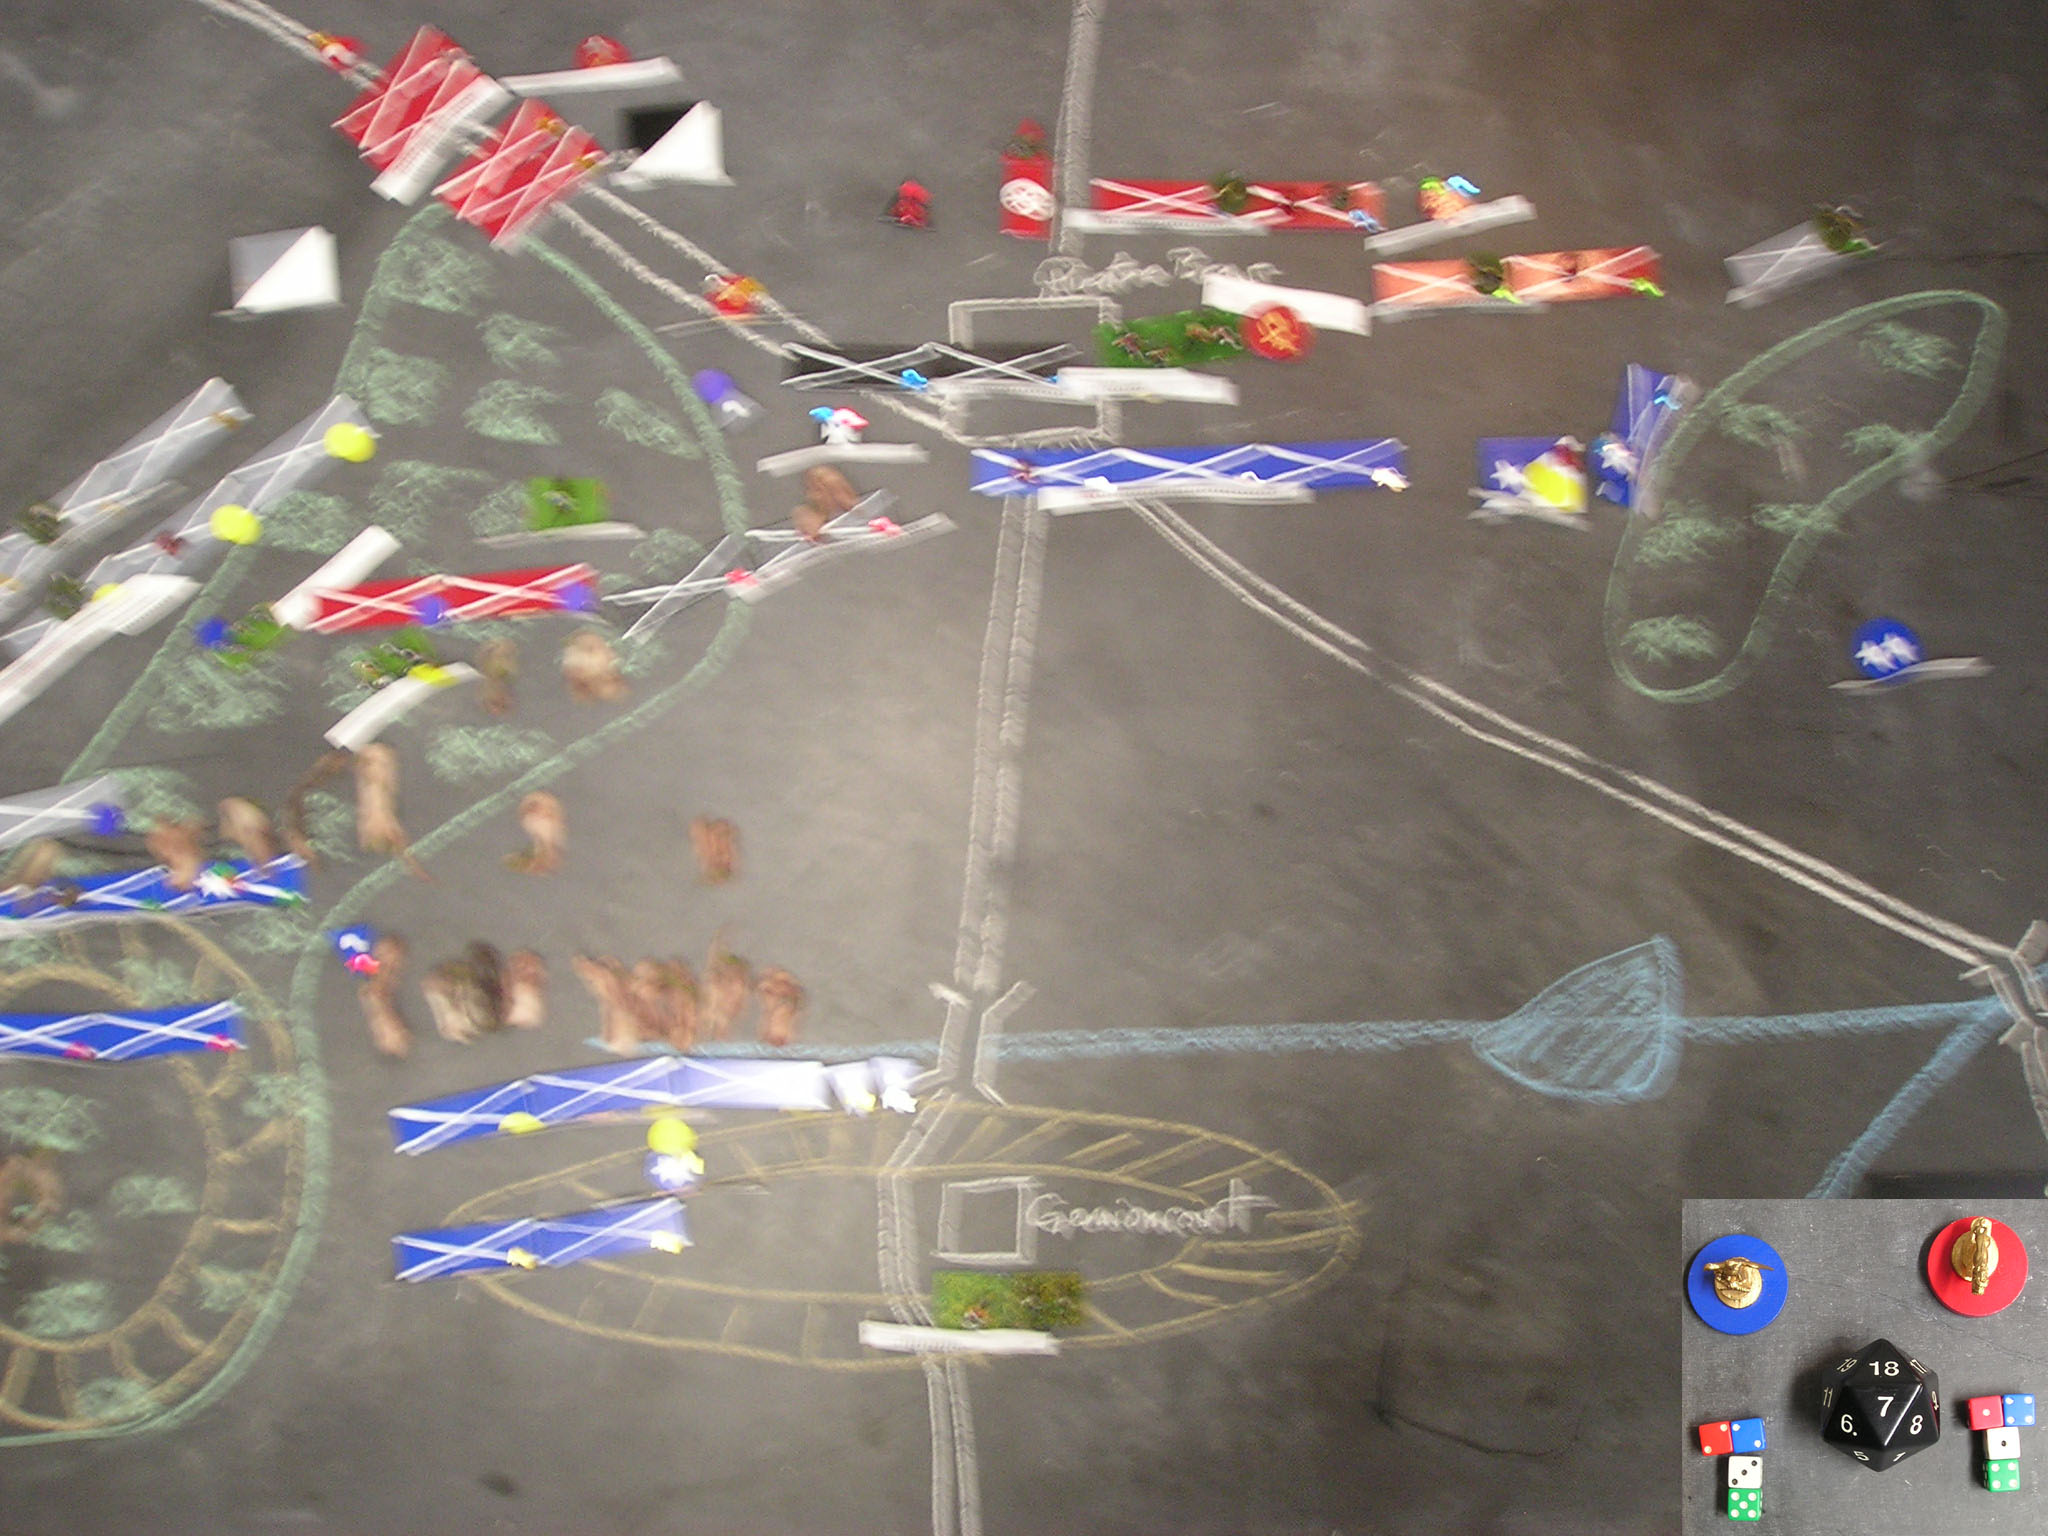
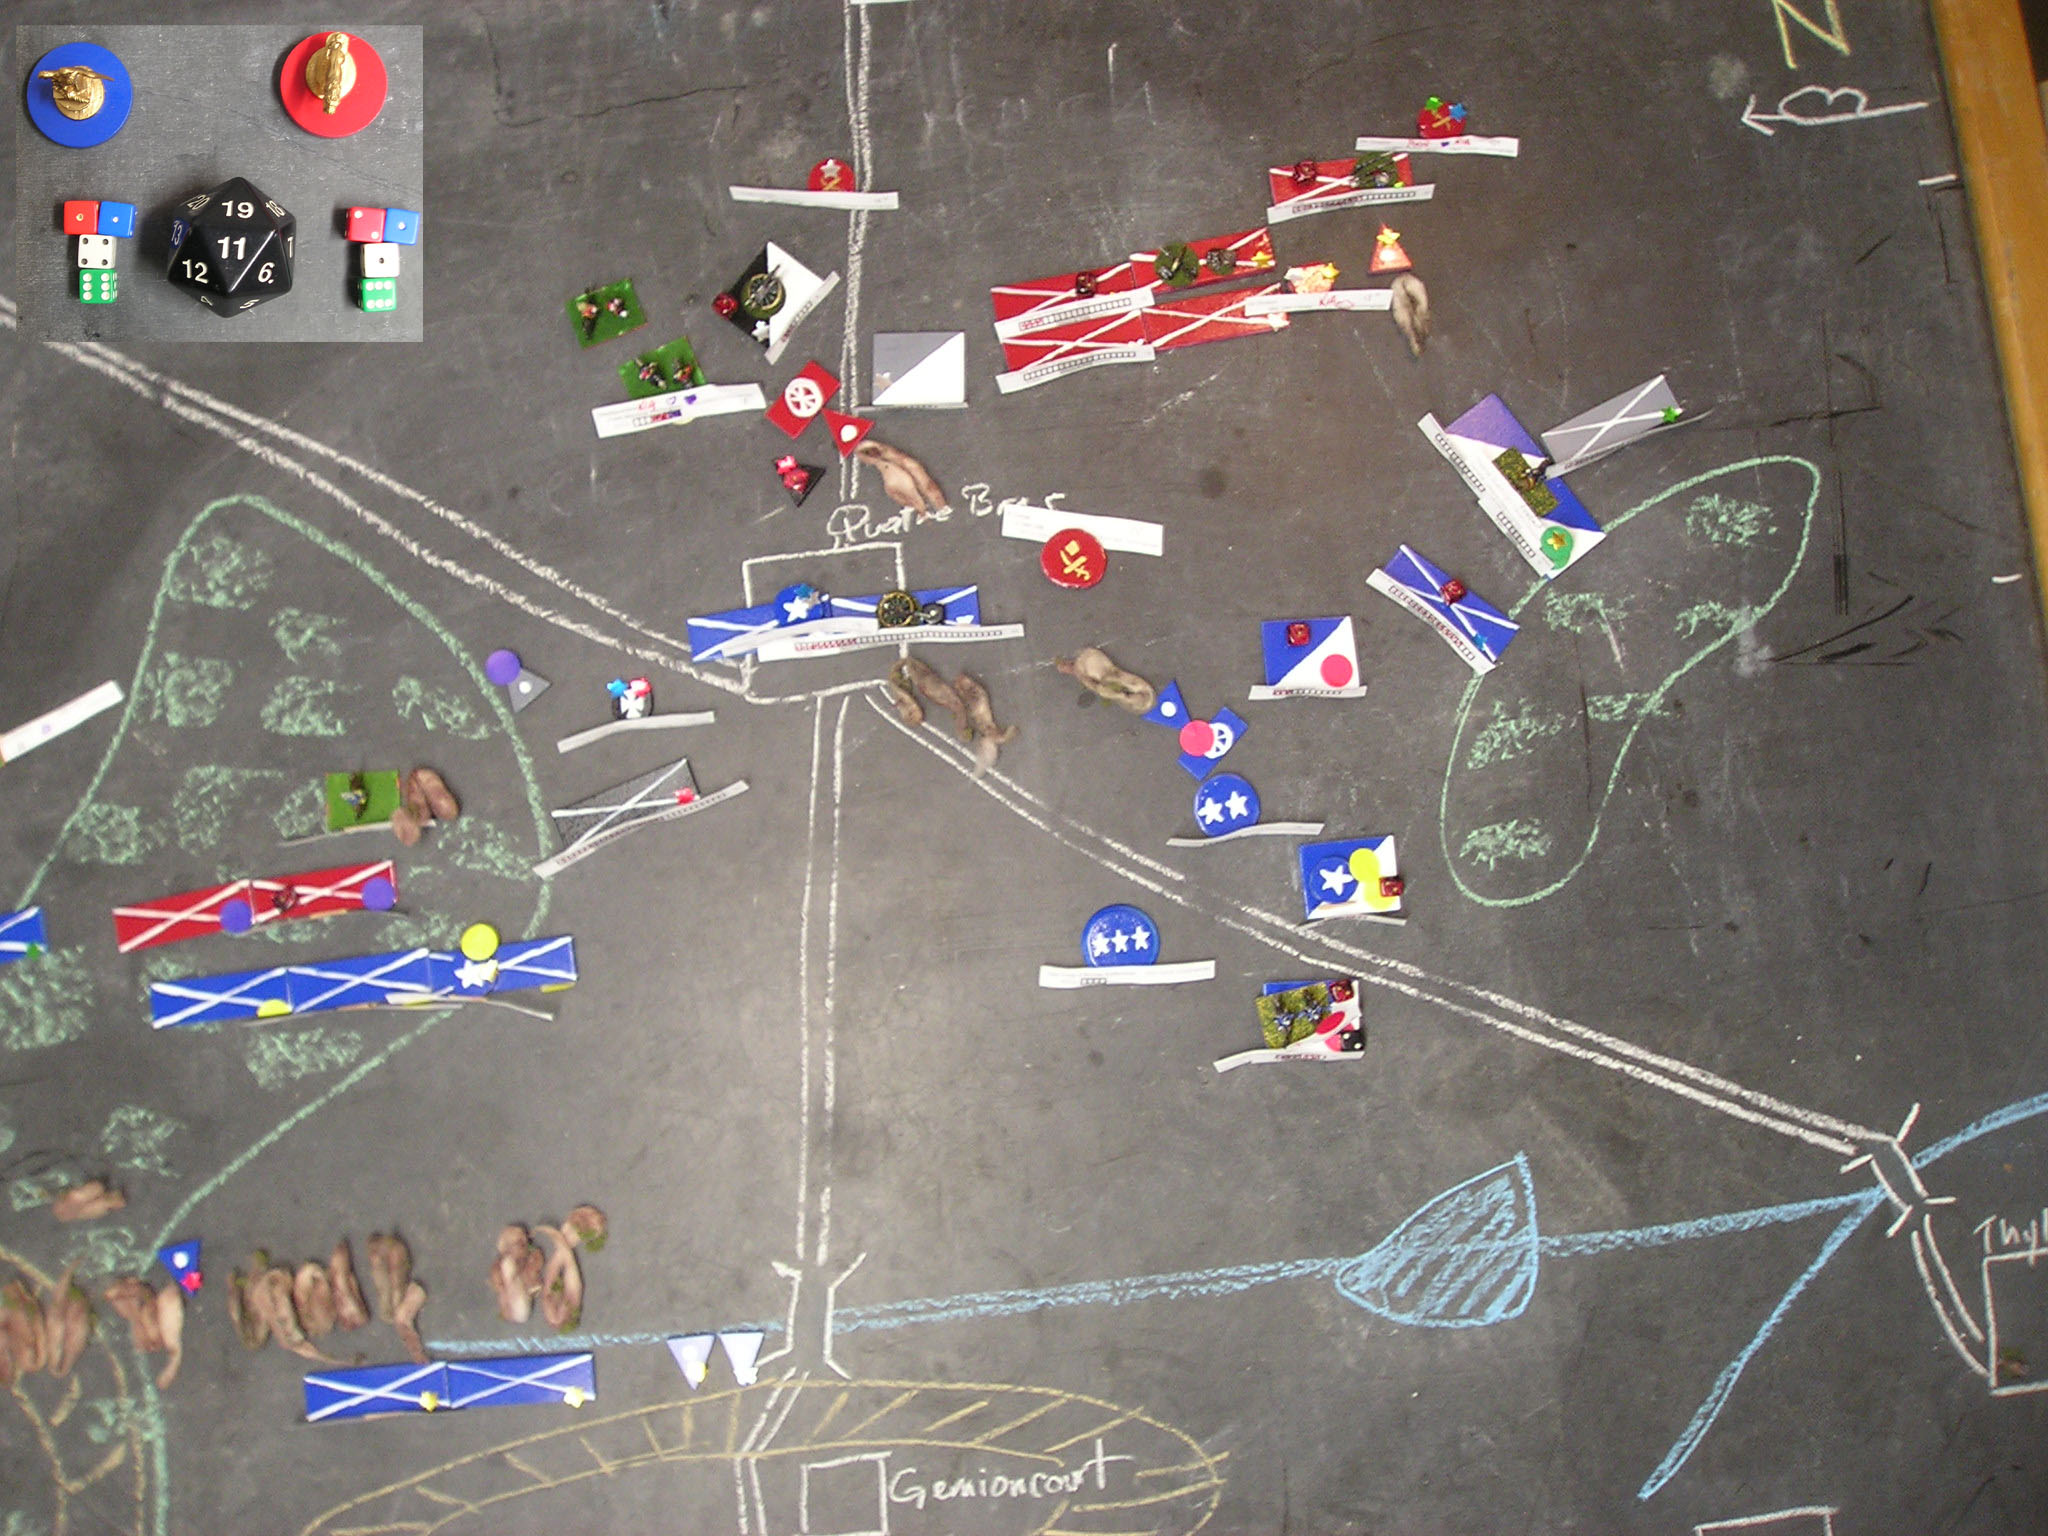
So here I am proposing my own, one that I have played out on the tabletop in ECW and Napoleonic games - and sampled using Squad Leader (WWII).


set of tools


In essence any solo system has to bypass the 'know it all' that the player operating it has.

This makes any real 'surprise' events difficult, so that is best to not expect from almost any solo play system.

Alright so that is out of the way here we go:

First, have some chips, or blocks, or beads that are different color, yet not different shape or texture, so that you can have them in a bag or cup.

I have used 2 for each 'command' and 3 for the overall commander and 3 extra as a start mix.
This means for a sample SHAKO game, with two foot and one horse division, you get 2+2+2+3+3=12 'markers' or 'chips' or 'beans'.  I used Orange ones for the Parliament and Purple ones for the Royalists in an ECW game.

'markers' or 'chips' or 'beans'

With this mix for each side I then add two 'other' color ones and one RED or TURN END marker.

These beans are going to be used to determine if or whether orders can be changed.  So if you want more order change possibility, then reduce the number of beans, or add in more of the RED ones; keep reading you will understand.

Each command then gets a card from the deck - you may do total random, or not as you please.

tools

Tools meanings:


Spades = attack to kill or cause maximum death (even if that means your own death)

Clubs = operations (attack or defense) in a planned way - using maximum combined arms

Diamonds = operations (attack or defense) using maximum expenses, ammunition, fuel or technology

Hearts = defensive mindset with preservation of your own forces as the primary consideration

the numbers on the cards can be included as 'how much effort' or 'relative energy' they will put into the operations, where a 2 is 'meh I'll follow it sort of' and 10 is 'this is the way...'

the face cards then become certain personalities (or simply 11, 12, & 13)

Jack: the opposing division or sub formation commander is the 'target' of operations.

Queen: the opposing 2IC (if possible) or 2nd most important (valuable) asset of opposition as overall target.

King: opposing command is target of operations (if not possible then most important (valuable) asset)

Aces are the 'purest' form of the tactical technique, so ace of spades will be to 'kill, kill, kill' (even your own men!) and ace of hearts will be to prepare for with drawl or move to a perfect defense taking no life-and-limb risks at all.

useful tools

no card deck?  print this

After drawing the cards (or assigning them), for the commands and setting your plan (or preparing for attack with spades!).  Set your table/troops according to plans and rules for the game you are using.

Draw three 'beans' before the game start - this sets 'initiative' unless there's a scenario demand for it.

Draw three 'beans' each side at the start of each turn (before normal rules) - this will then set-up your orders options.

So at the start of turn 1 there will be 6 beans for each side drawn.  These get compared, for example, if there's a majority of the side drawn: ie I am Parliament and I draw3 orange 2 purple and a green, then the orange is dominant and the Parliament may make 1 order change.  If all 6 are orange, then they may make 6 order changes.  For each order change one 'bean' is put back in the bag.

If the totals are equal or favor the opponent color, (orange and purple) then NO ORDERS may be given.  Alternately you could allow a 'tie' to permit one order - provided both sides want/need one order.

Any time a RED or turn end 'bean' is drawn (in the three) then, at the end of the turn, the whole group is 're-set'.

 A re-set consists of 1/2 (rounding to be explained) of ALL 'BEANS' to be put back into the draw bag.

this is where the two green (or other color) and RED (turn end) 'beans' become important.
1/2 eliminated is easy when the number is even and there's no 'other color' 'beans' in the mix

If the number is odd and no 'other colors' are involved then the side who is in control of that set of 'beans' gets to decide which 'extra' 'bean' is discarded back into the draw bag.

If there are 'other color' beans available (including the RED (turn end) 'bean') then the player who drew them may decide which 'color' (purple or orange in the example) those green or RED 'beans' will be used as in discard.

Example:

Parliament player drew the RED 'bean' and has a green 'bean' also 7 Orange and 8 Purple 'beans' -thus has not been able to give orders.
The Royalist player has 6 Orange and 6 Purple - also not able to give orders.
     at the end of the current turn, BOTH PLAYERS will discard 1/2 of their 'beans'

Royalist is easy, 3 of each.
Parliament must discard at least 3 Orange and 4 Purple 'beans', yet may substitute 2 of them as the green and RED ones that they have.  This means at the end of the discard the Parliament side could have 5 Orange and 4 Purple 'beans'; having discarded 1 Orange 1 green and 1 RED (as the 3 Orange ones required) and the 4 Purple 'beans'.

This 'turn end' discard action is what creates the imbalances at times, along with the two 'other' 'beans' along with the draw of 3 at a time.  The idea is to create an unknown ability to change orders, leaving the player to have to continue with orders 'as is' until the change comes about and the player in solo-play mode will not have knowledge of exactly when that will happen from turn to turn until the very start of the turn (or at least BEFORE clearly being able to do the orders change).

anything can be used as 'beans'


The intent here is to take advantage of the axiom "no plan survives contact with the enemy".


the colored blocks come in many colors

Tell me what you think gentlemen.


Sunday, July 11, 2021

Shako 2 Meeting Engagement - solo

 Today, Sunday July11, 2021, was to have a remote play game of Shako with a player met via twitch games.


Austrians v French
 

Unfortunately after the start of turn one there was a power failure in the area where the online player lived and I was faced with either waiting an indeterminate time period, or taking down the game, or ... running on with what was already on the table and using my solo play system AI to pick up the game from where it was left off.

I decided to jump in!

Setup for battle

after some challenges in communications
we were able to set up the map
four 1's made for a lot of open space

troops deployed

view down the French lines

French HQ

Irish legion in French service

Austrian HQ

a Hungarian force, with Grenadier battalion
(left foreground)

view down the French lines

We were able to do the artillery and start movement, then power failed for my remote player...

after a time I took over the game and ran it solo mode:


end of first turn as the French surge forward

shaken, though now under the guns one battalion
of the Italian Division moves forward in line

other French columns are badly mauled by
Austrian artillery

still the French columns advanced

some of the columns broke out into lines
to give a harder target to the
Austrian gunners

at the end of the first move the Austrian division
commanders were still unaware of the mass
of French foot bearing down on them ...

two French columns were destroyed
this one was nearly ... left in a desperate morale situation
behind the horse guns

meanwhile French artillery rattled forwards

Hungarians and Jagers held the flank of a tall hill on
the Austrian left flank

the Italians were facing them, managing to rally

while on the Austrian right, the Austrian horse
were now mobile ...

The solo AI system had left both sides unable to make any plan changes ...

overall view start of turn 3

the hill would see a major assault start up the slopes

merged grenadiers would move to hit
the Italians on the flank, while taking
artillery fire themselves

morale rolls were not going well for the French

many battalions did not manage to rally

and another column had been put into desperate
morale status

overview start of turn 4

General Merle's 1st Division, was looking over
their shoulders and having trouble with moving forwards
because of 40% losses in the division

still they struggled forwards

now the French horse were in motion
the Austrians had move close enough for
them to 'react'

the confused situation in the center

Austrian HQ, kept managing to stay in the lead
of the movement rolls, breaking ties

the French right wing was a charnel house at the base
of the steep hill ...

Austrian guns would eliminate another French battalion
this turn

while the Jaegers and Hungarians were
just able to maintain the top of the hill

the opening to turn five left the French
desperate ...ready to risk all to win!

the risk did not pay off - at the start of turn six
now the French were behind 6-1
needing to break 6 battalions/squadrons
before loosing even one more of their own!

it was a killing field on the slopes of the hill
merged grenadiers hit line in the flank in melee

the center of the field was left open as the 1st Division broke

Austrian HQ was going to win, and they knew it

the cost of victory included a full battery of horse artillery
being over-run by French Dragoons

a desperate series of shots were made from the rear covering
French guns ... not enough kills - too many were needed in
the short time remaining

it was the hilltop and guns that managed to hold off
the 1st Division, then the Grenadiers finished off the survivors

no battalions on the hill were un-harmed
they did what was called of them to stand
as the Grenadiers charged the French flank

Great little game, I am looking forward to next weekend when my online opponent will take another shot at the battle situation.  He certainly had a great deployment and I was concerned they might make it into the lines ...

Next Sunday, 18 July 2021, at 11 am.  Watch the action on https://www.twitch.tv/murdocksmarauders