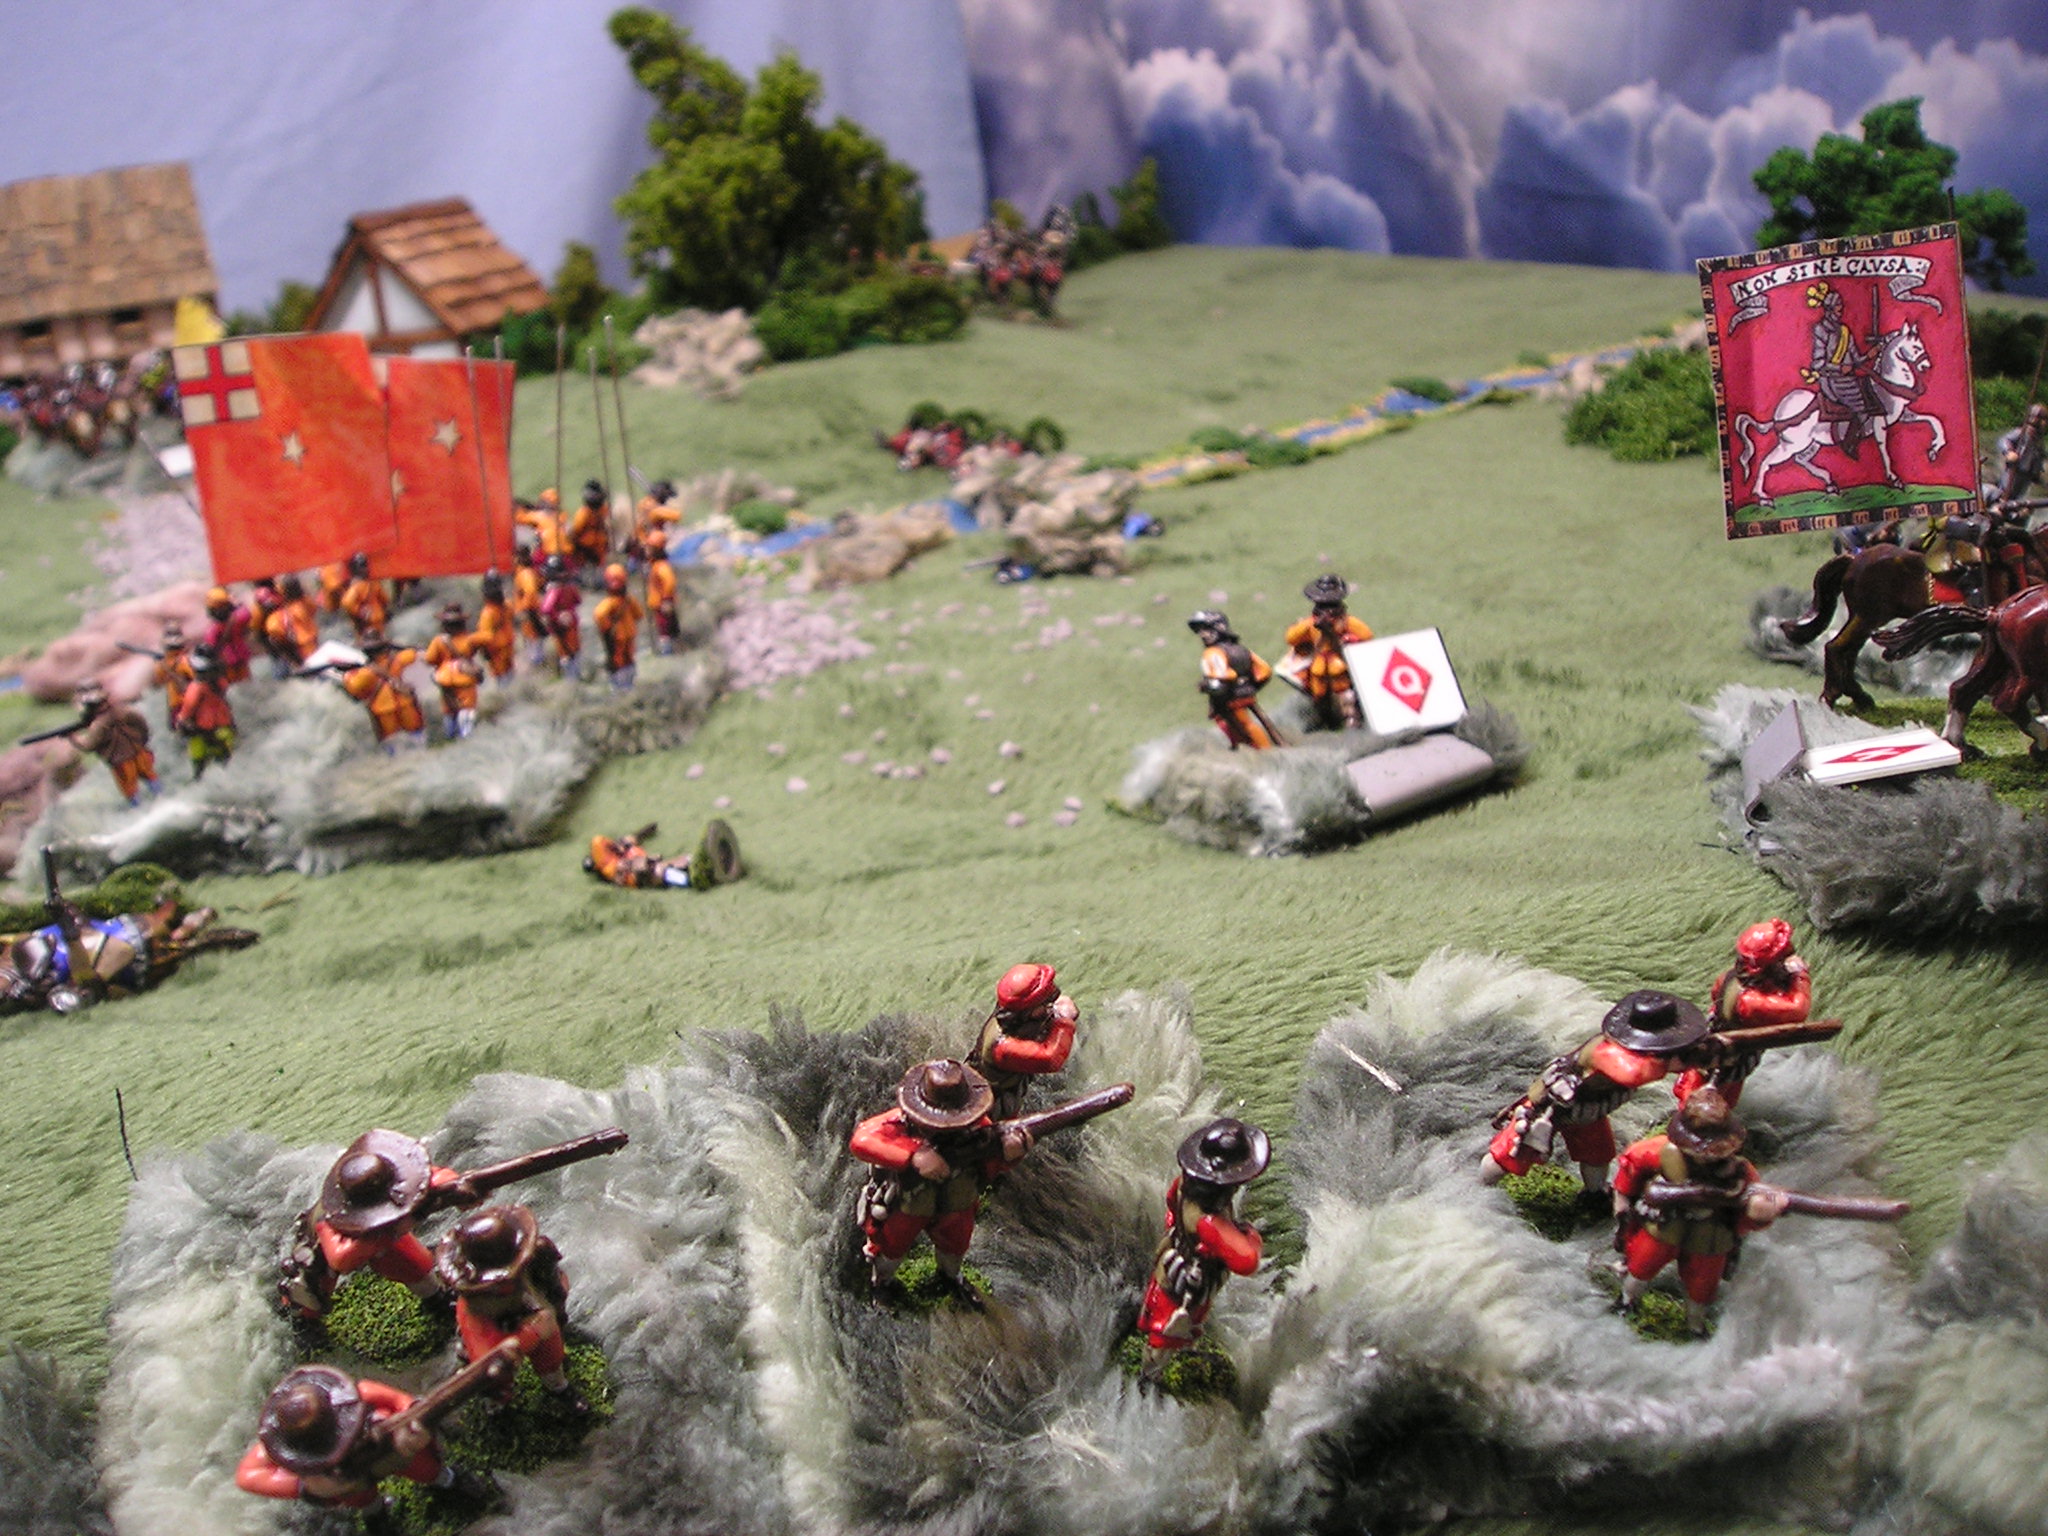
The new model forest got put into action for the first time in a solo-play action battle using some ECW troops (on their new teddy bear fur bases) and Victory Without Quarter rules set.
 |
| new layout with forest and 'tufts' to break up the otherwise flat green spaces |
 |
| new forest |
 |
| new forest with an older "weeble tree" in front to the left |
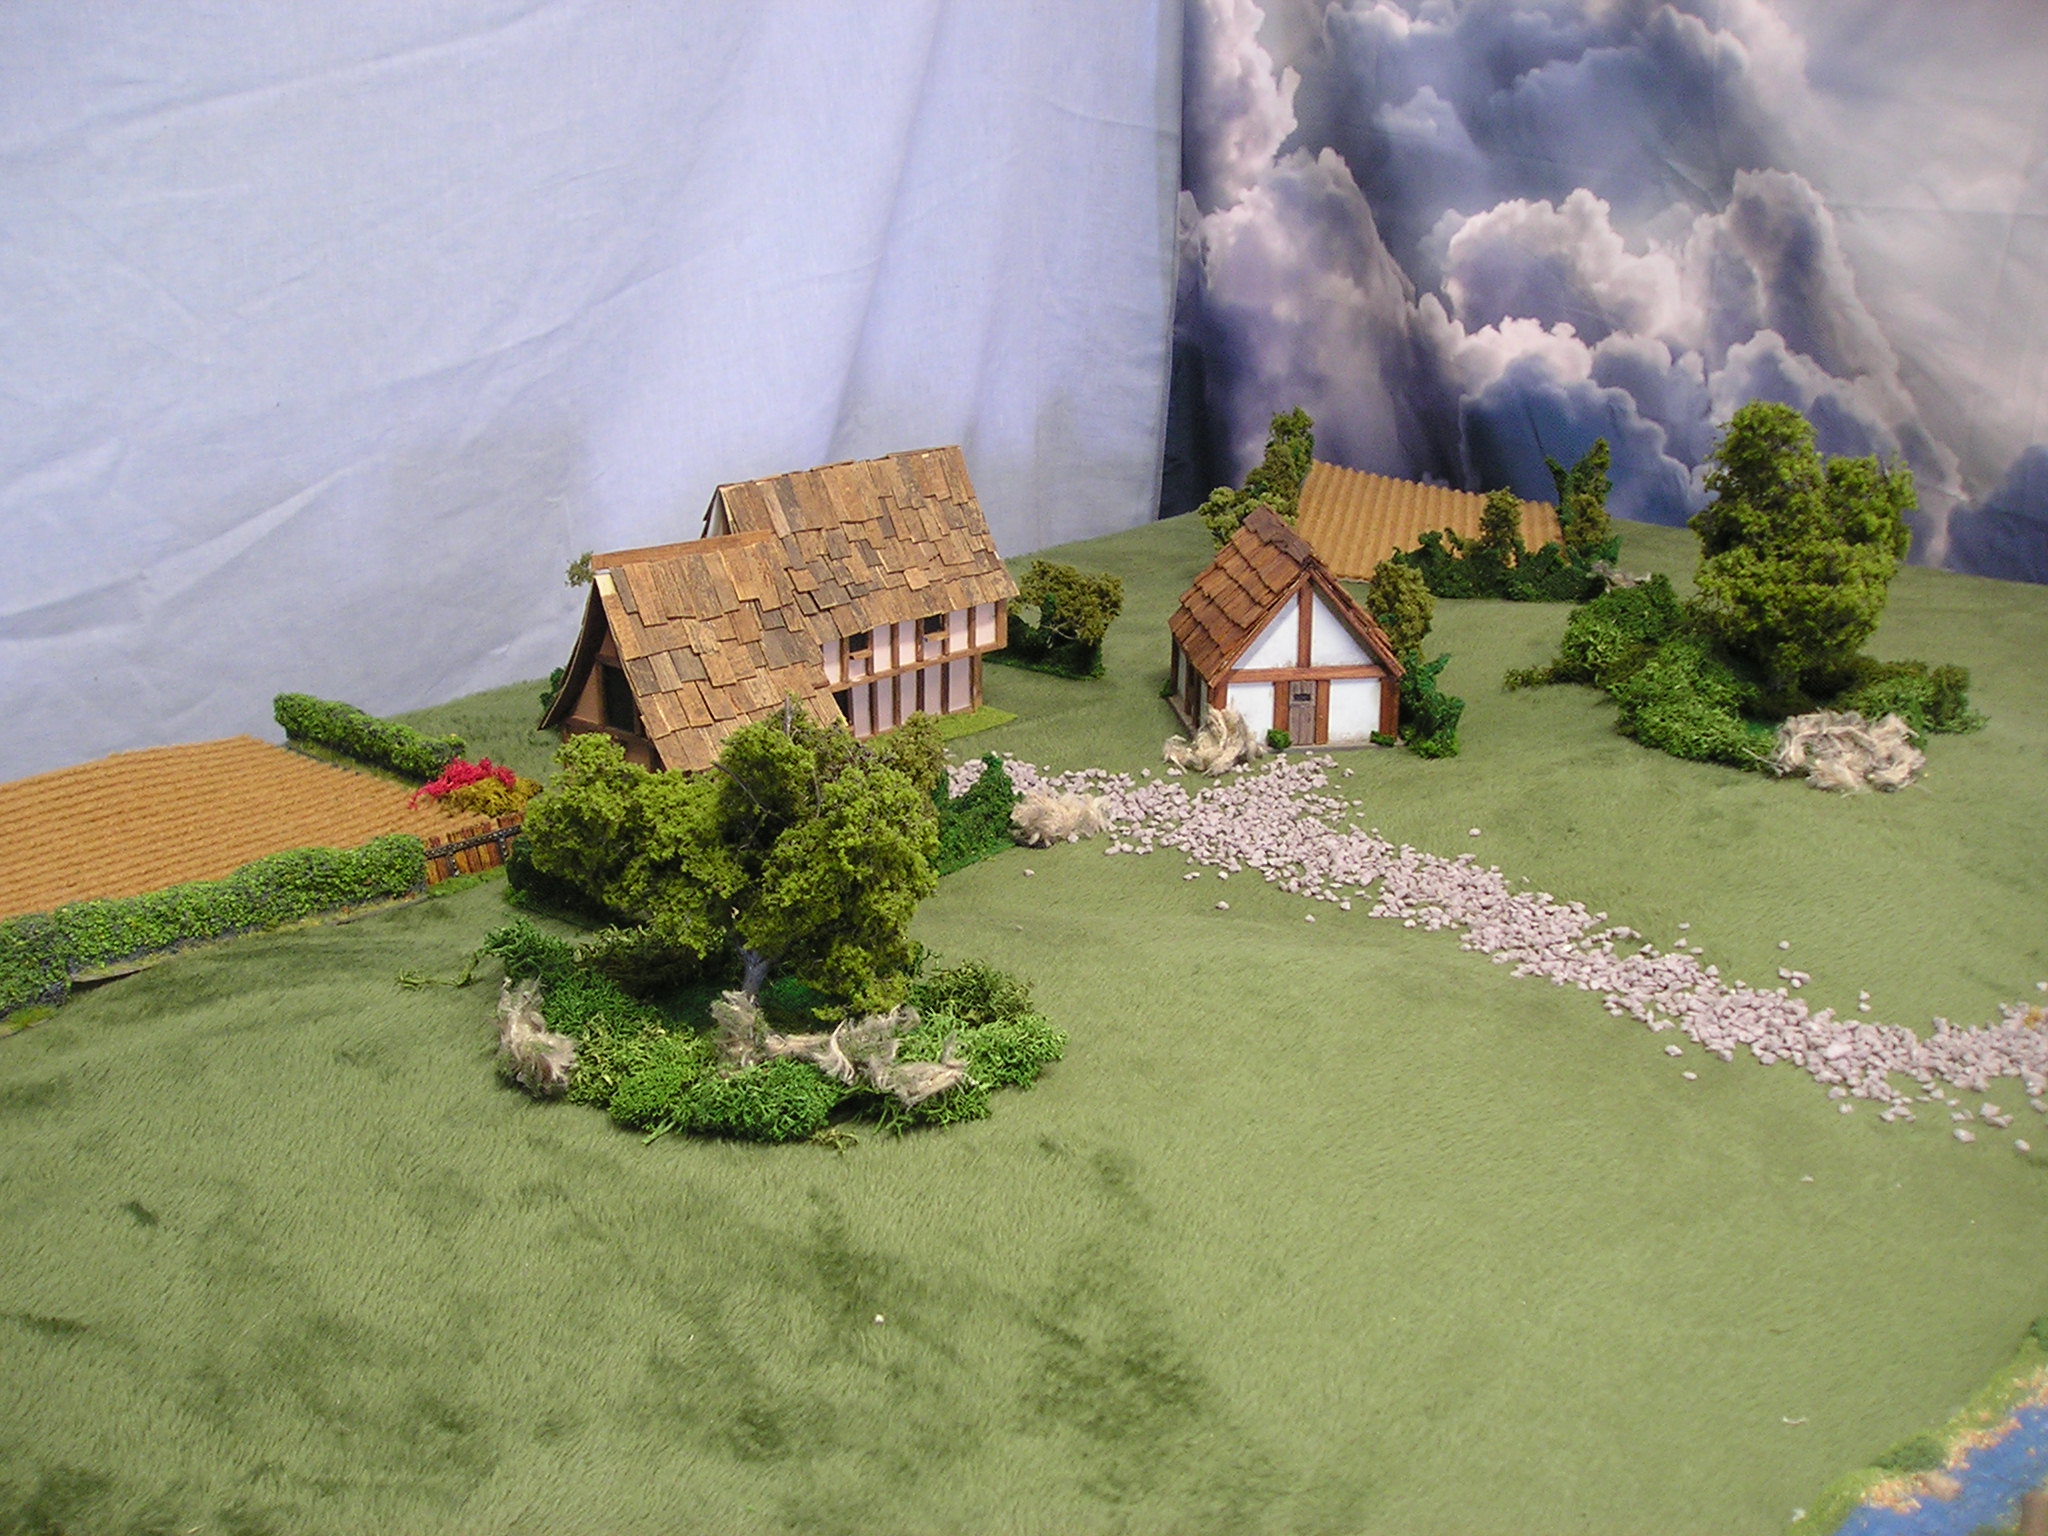 |
| new trees and a village with gravel road |
 |
| new trees now with a old foam tree in the photo center |
 |
| the new trees look great |
 |
| as a massed forest they look excellent |
 |
| the village comes off looking better with the rough trees and hedges |
 |
| a lone copse with a large tree upon a low rise ... |
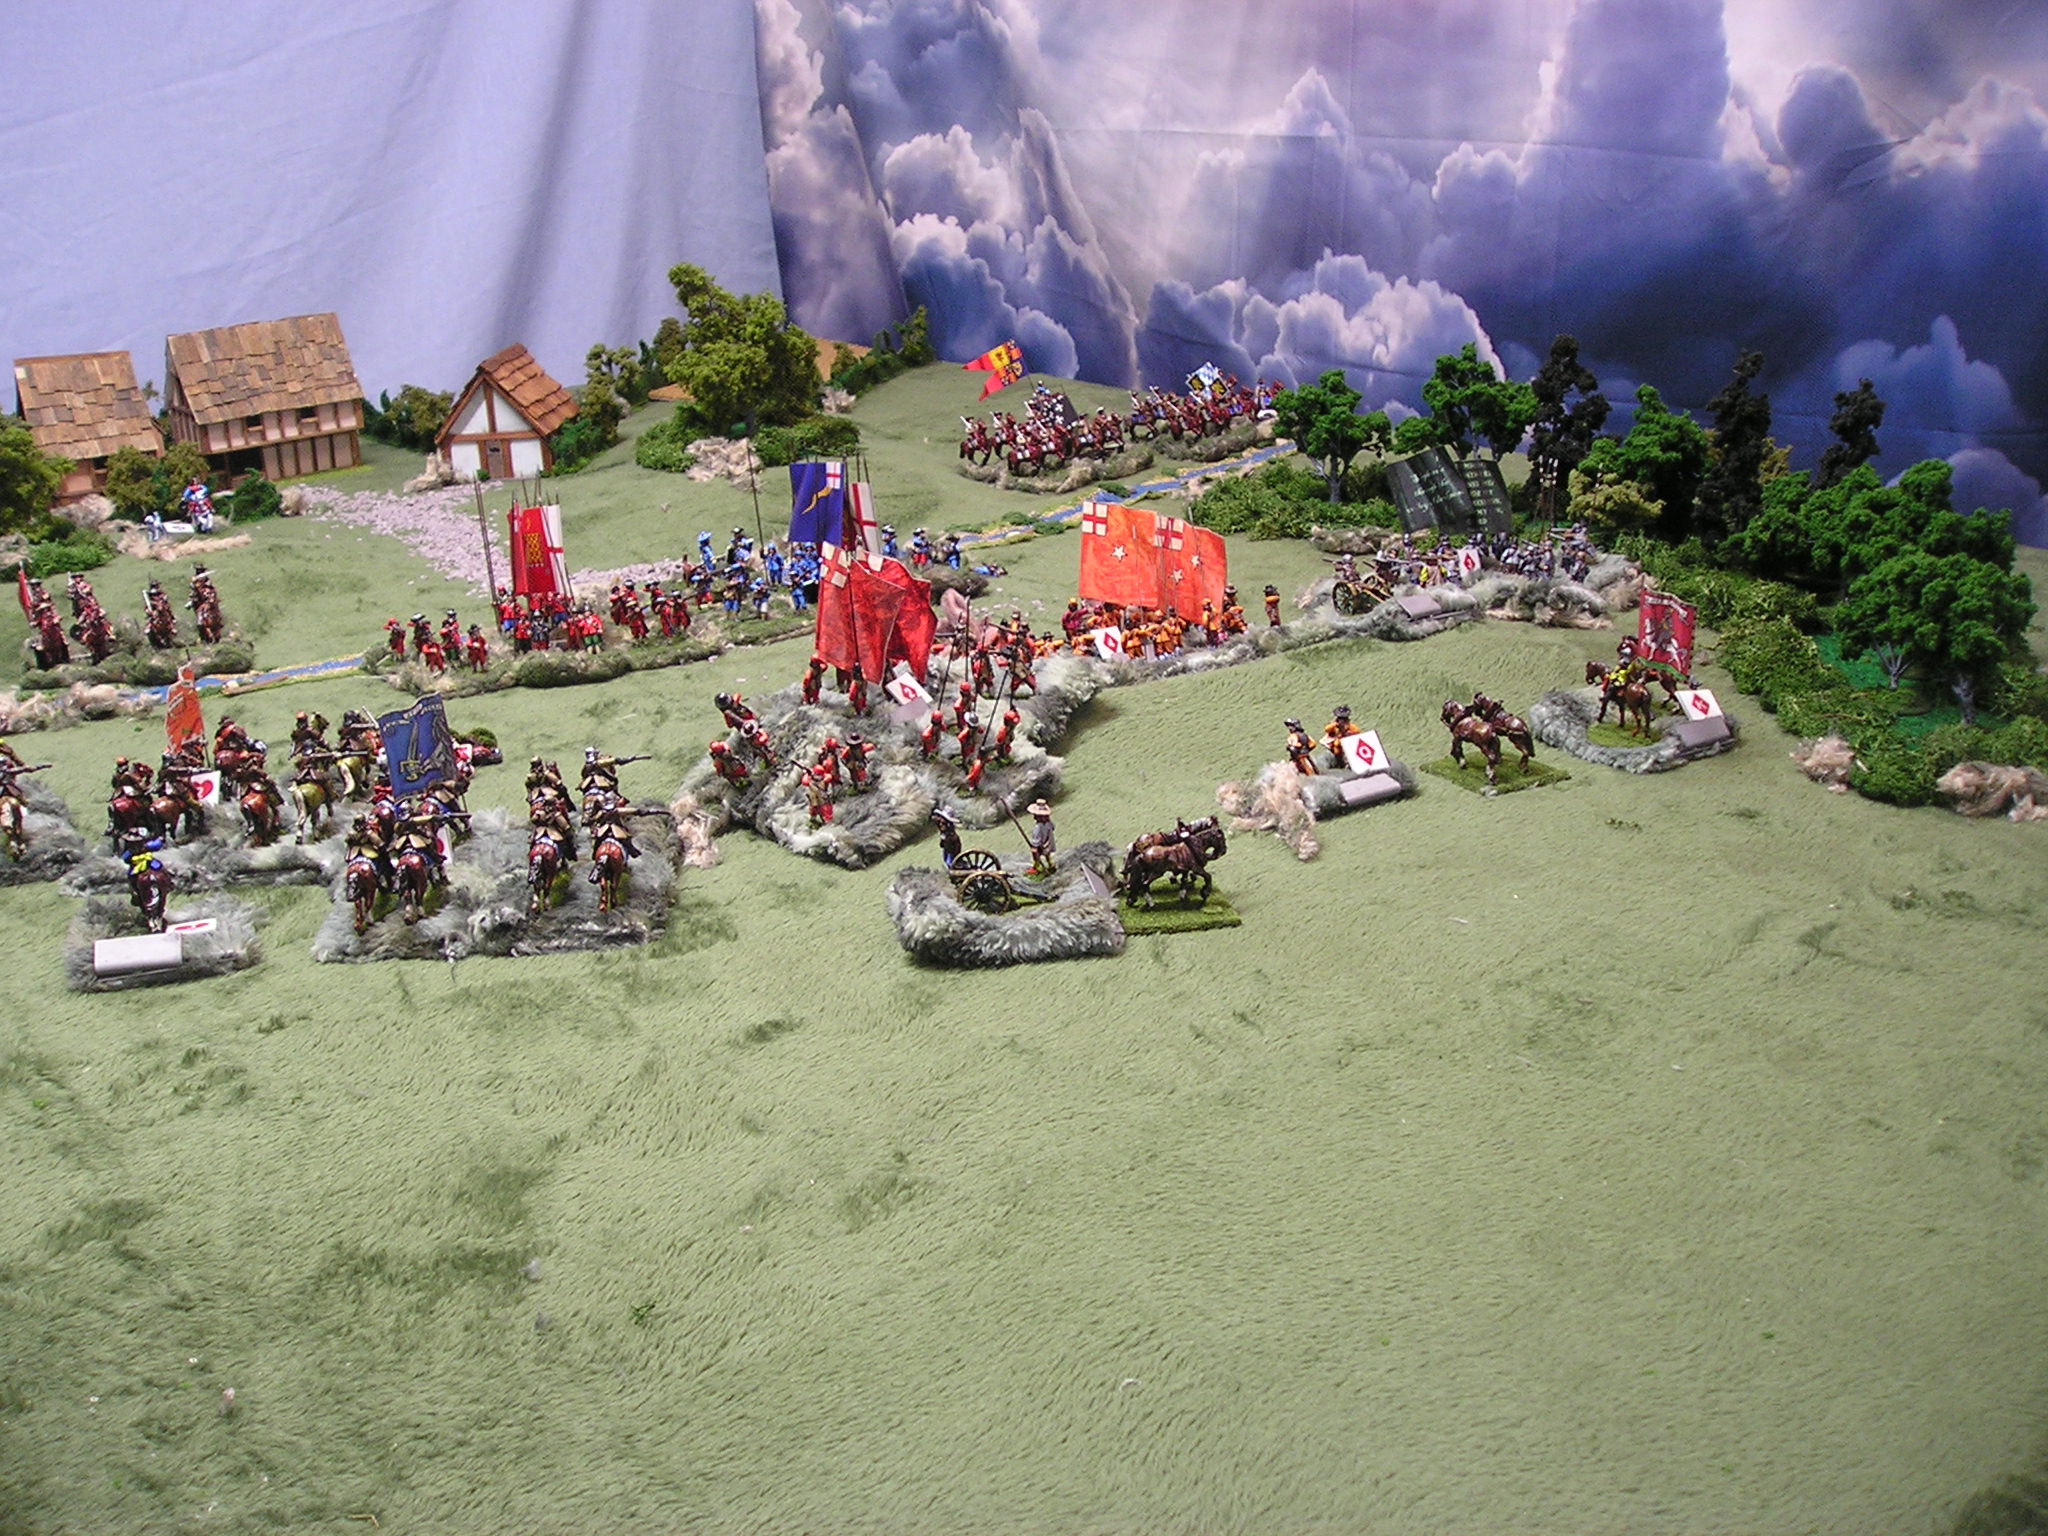
The 'battle' was to see a 4 horse 2 foot force of Royalists coming out from the village against a Parliamentary force of 3 horse and 3 foot with 2 light guns.
 |
| overview of table |
 |
| Royalist lines |
 |
| Royalist left flank horse |
 |
| center of the village |
 |
| Parliament command |
It took a few more minutes to sort out the 'cards' needed to run a game of Victory Without Quarter using the troops given.
 |
| opening positions, seeing the Parliament rushing to get into position to control the river crossing |
 |
| as with most battles, the early game is one of maneuver |
 |
| each 'turn' has a variable number of cards which determine which units or commanders move or take action, one at a time |
 |
| these early moves were simply photographed from a stationary camera to see the moves |
 |
| essentially the early 'decks' had more Parliament moves happen than Royalist ... |
 |
| though a Royalist horse troop did push hard into the line ... getting shot away by a pike and shotte unit |
 |
| this did not work out well for the Royalist plans |
 |
| now the Parliament lines could move together |
 |
| Parliament artillery also actually managed to get a hit! |
 |
| though the tough blew regiment did not flinch |
 |
| while the horse (seen in the left of the image) were busy 'rallying' rearward |
 |
| another deck, limited moves |
 |
| still another deck, now at least the Royalist left wing horse were on the move (top right of image) |
 |
| overall command of the Royalists had made efforts to stop the routing horse |
 |
| only just barely stopping them from fleeing the tabletop |
 |
| they had halted at the very edge of the village |
 |
| the lines were facing off now with musketry starting |
 |
| shotte and pistols in the fore and exchanging volleys to the rear |

 |
| the Royalist left wing horse took some hits from artillery |
 |
| this caused a pause in the Royalist plan |
 |
| Royalist high command re-positioned to be ready to help both wings |
 |
| the horse were half destroyed, a decision was needed |
 |
| meanwhile the Parliament forces were pouring on the fire ... |
 |
| the next deck |
 |
| a horse unit that was only inches from fleeing ... had turned around |
 |
| unfortunately the other shaken horse had routed |
 |
| and routed |
 |
| so the final remaining horse was going to have to do the job alone ... with the wing commander attached |
 |
| Parliament now needed to get victory before the Royalist horse could reach to the flank |
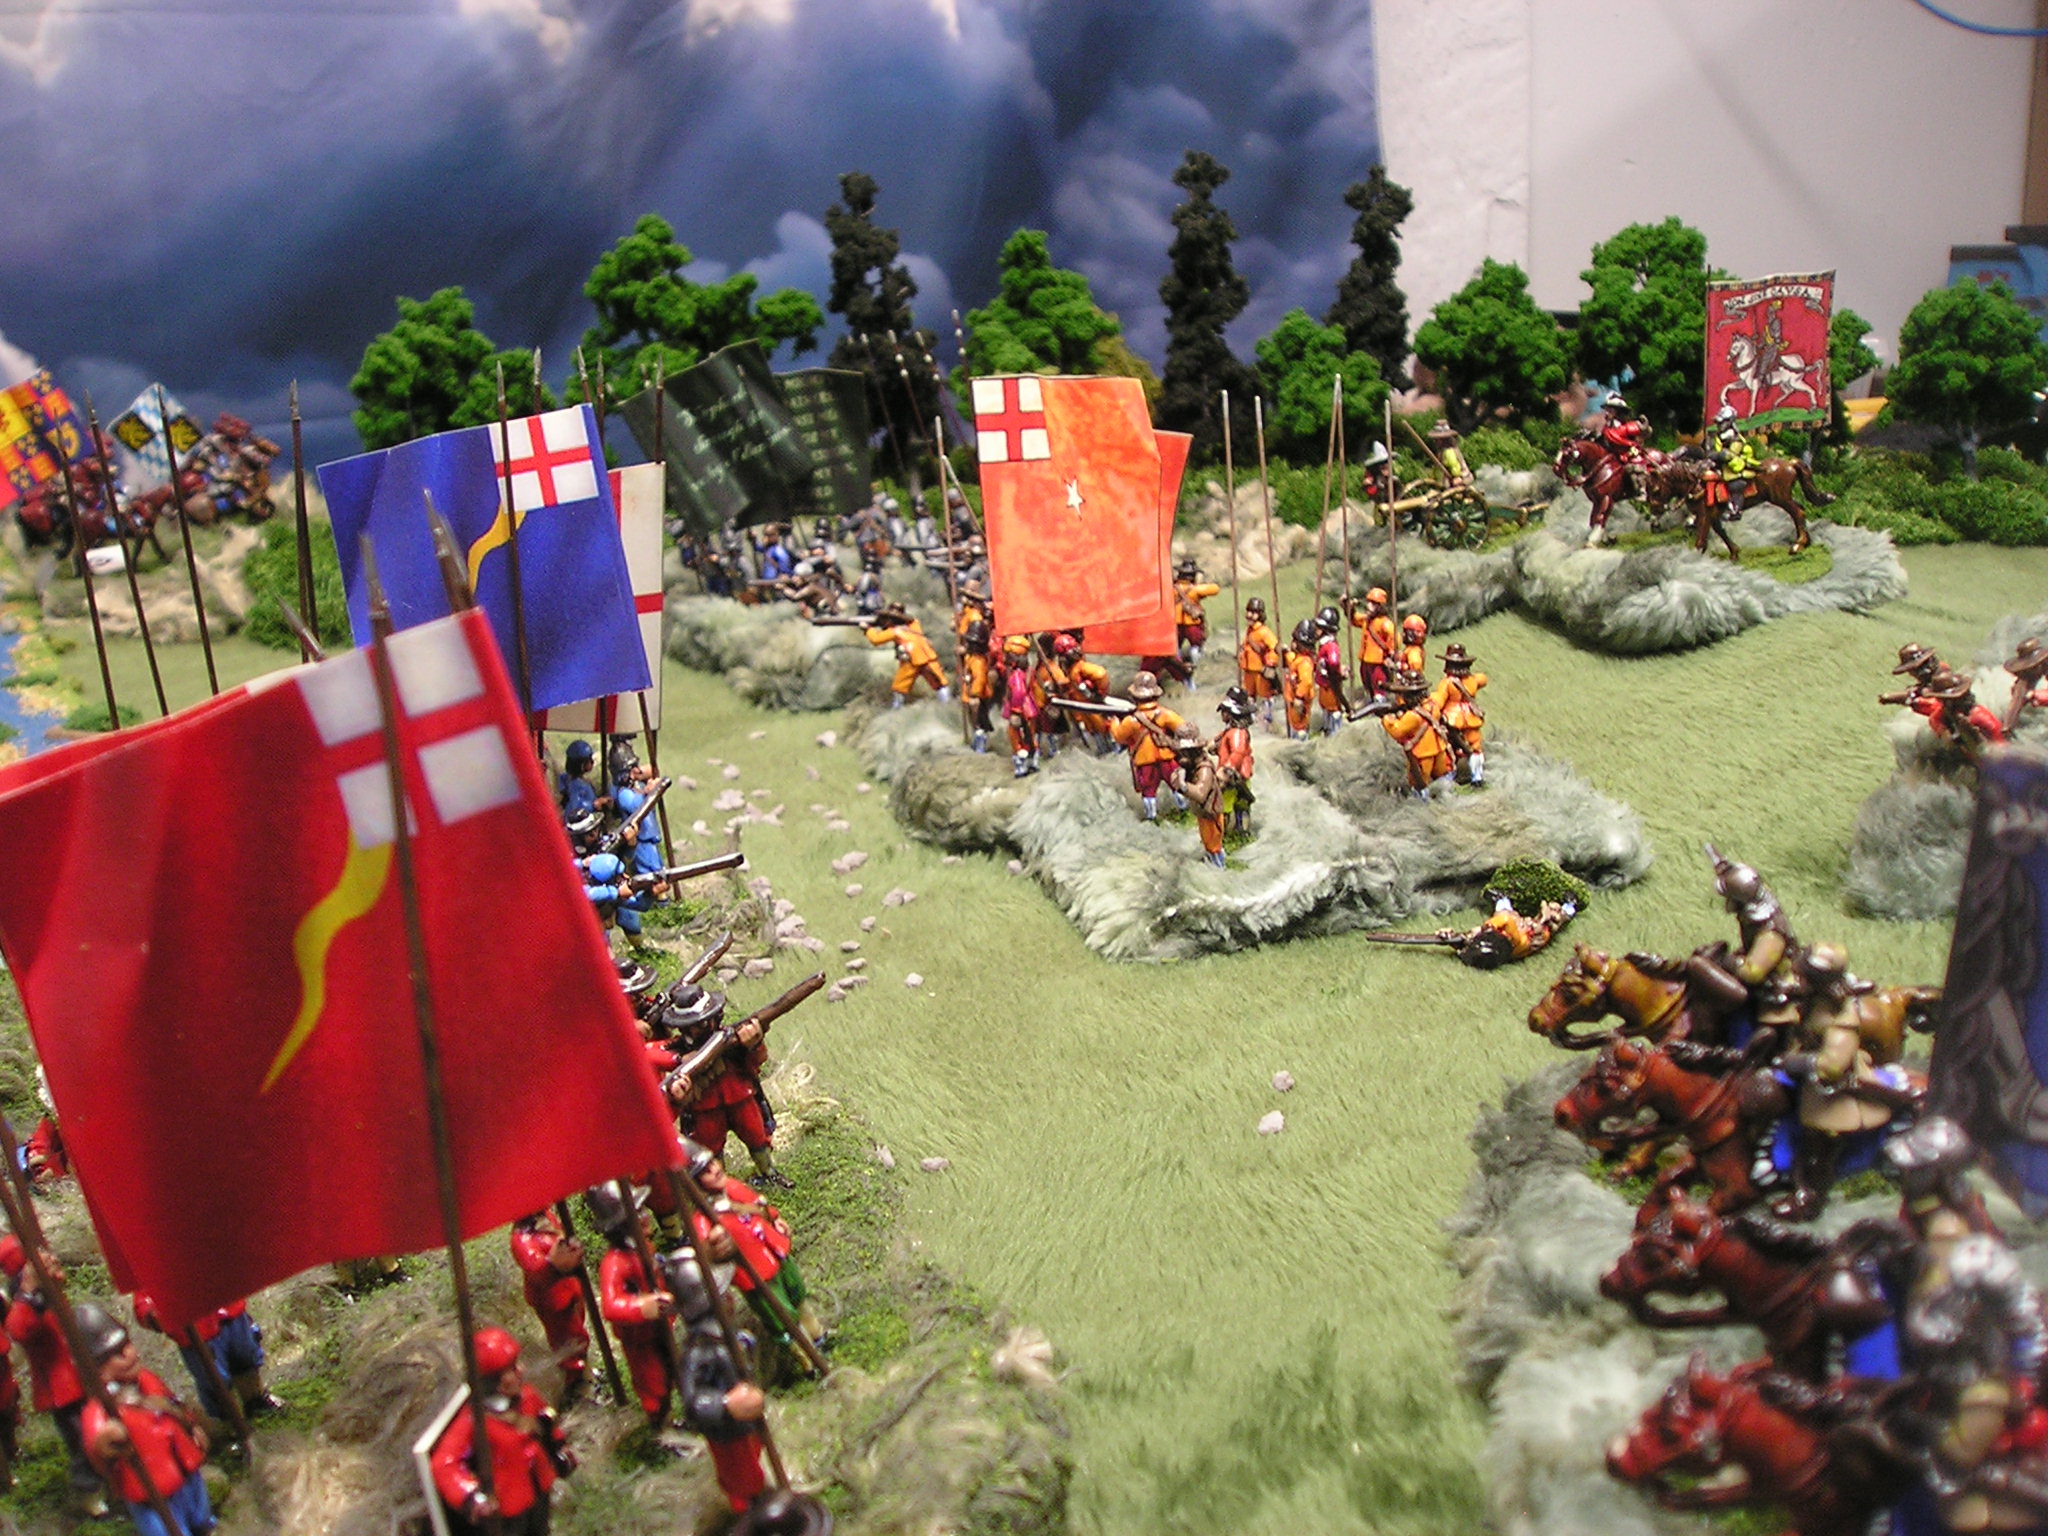 |
| so the fire fights were going to be vicious |
 |
| now the battle of maneuver had begun |
 |
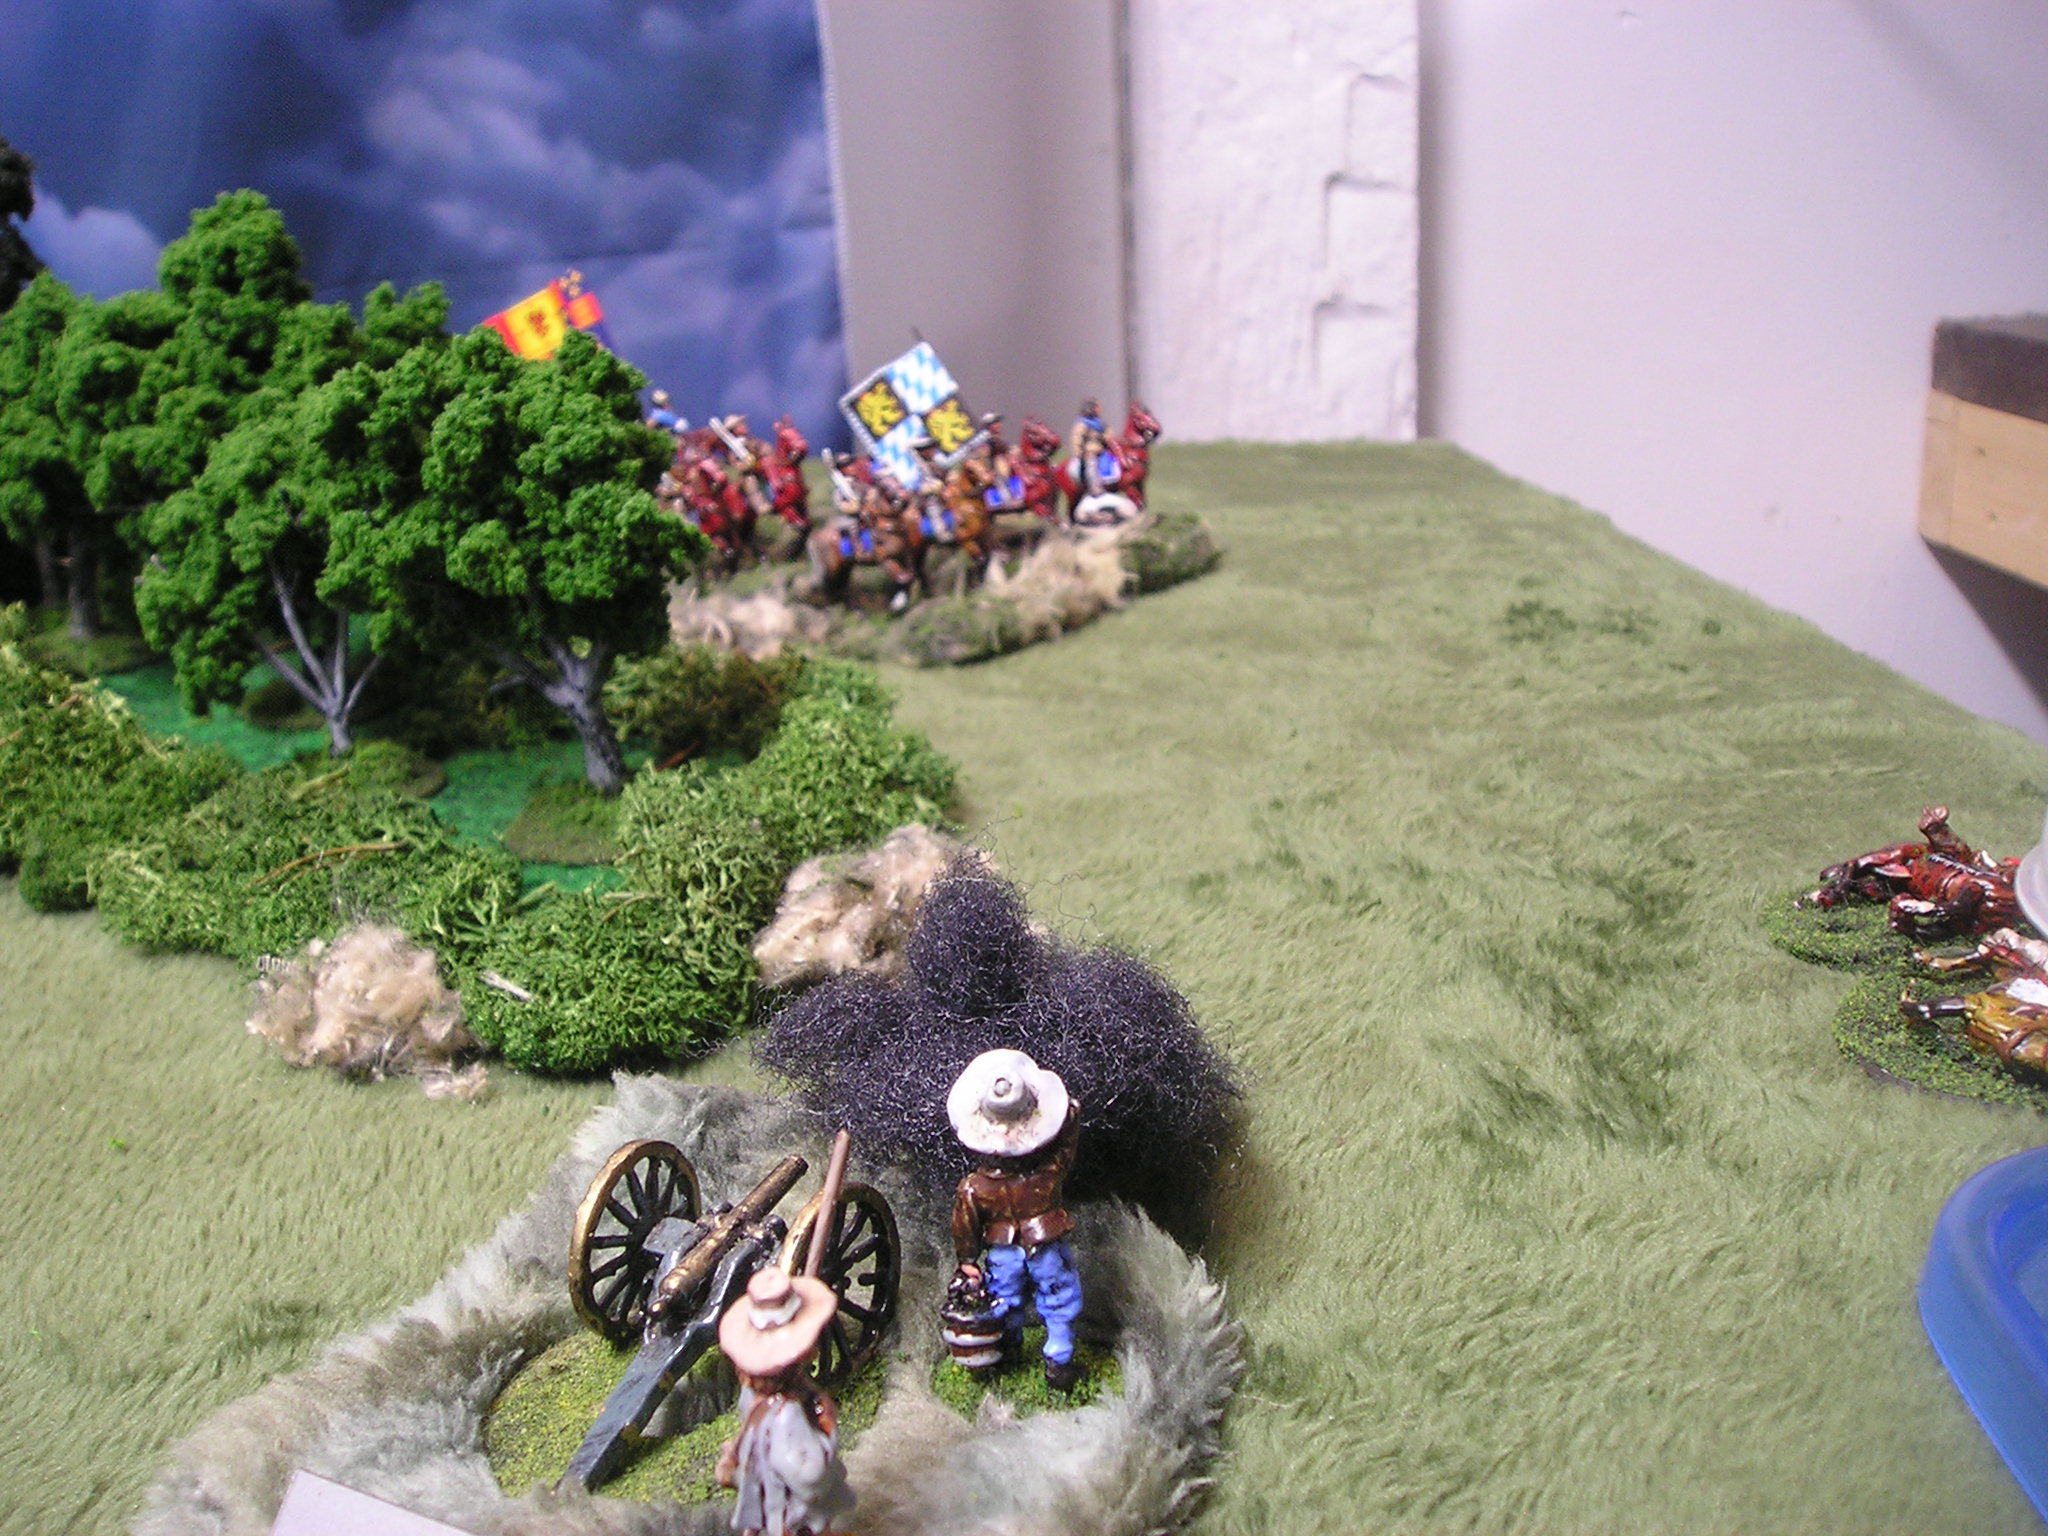
| the deck obliged and managed to permit the Royalist horse to ride deep in the flank |
 |
| Artillery had been readied ... |
 |
| while the Parliament commander scrambled to get foot to support that gun |
 |
| while at the same time routing the Royalist blew foot |
 |
| now the remaining reds were going to have to hold off twice their number |
 |
| the Royalist banner can be seen beyond the woods |
 |
| peek a boo in the trees |
 |
| next to last deck (I had decided that 20 was the limit for this battle) |
 |
| the Royalist flank attack had been hit by artillery |
 |
| the view was just enough |
 |
| though the morale check was passed since the commander was attached |
 |
| meanwhile the rest of the army was rushing to cover |
 |
| in the shadow of the hill more Parliament troops were rushing to the right flank |
 |
| even as a horse troop of Parliament had failed |

 |
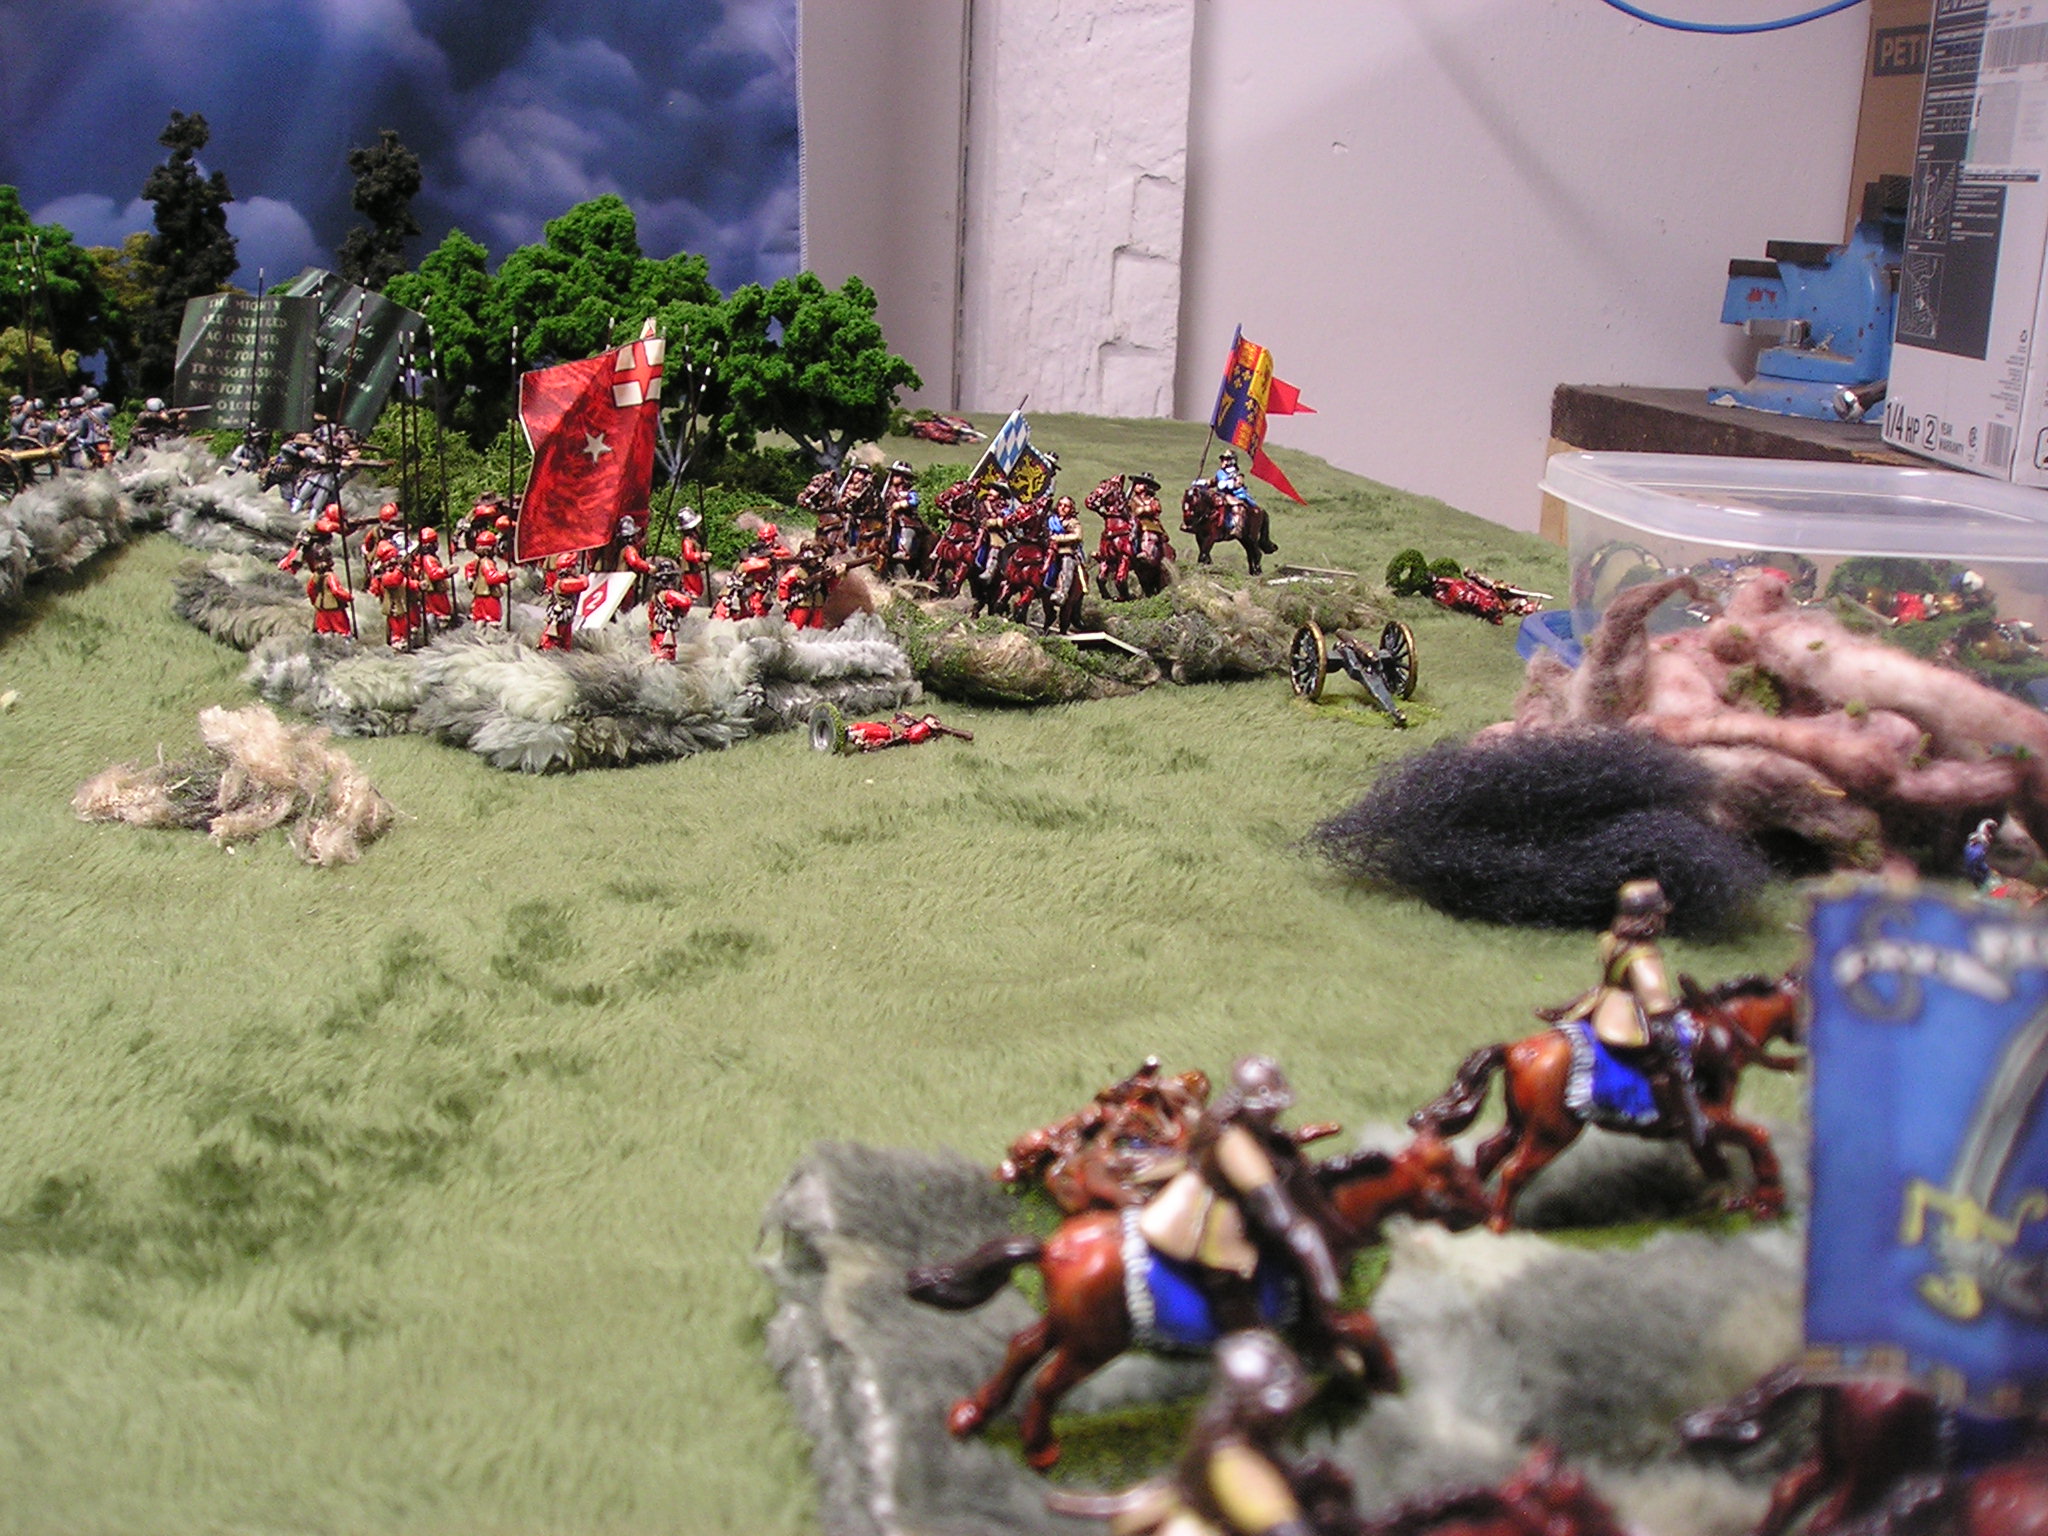
| scene of three horse clashes, now the reds were being forced back ... |
 |
| while the blews were finally routed off the table |
 |
| other horse troops were managing to hold on |


 |
| army command were called upon to keep the reds in the battle |
 |
| final deck positions |
 |
| the last Royalist horse attack |
 |
| held in check by a pike & shotte unit |


 |
| more foot were coming |
 |
| the last acts |
 |
| with Parliament army commander attached the pike & shotte drove off the Royalist horse |
 |
| holding at the side of the river ford, the Parliament had seized the river crossing |
 |
| a Parliament horse unit could not muster up enough courage to charge the last Royalist foote |
 |
| while more Royalist horse fled the field |
 |
| it took the brigade command's life and a continuing effort from the Royalist commander to stop the rout of the reds |

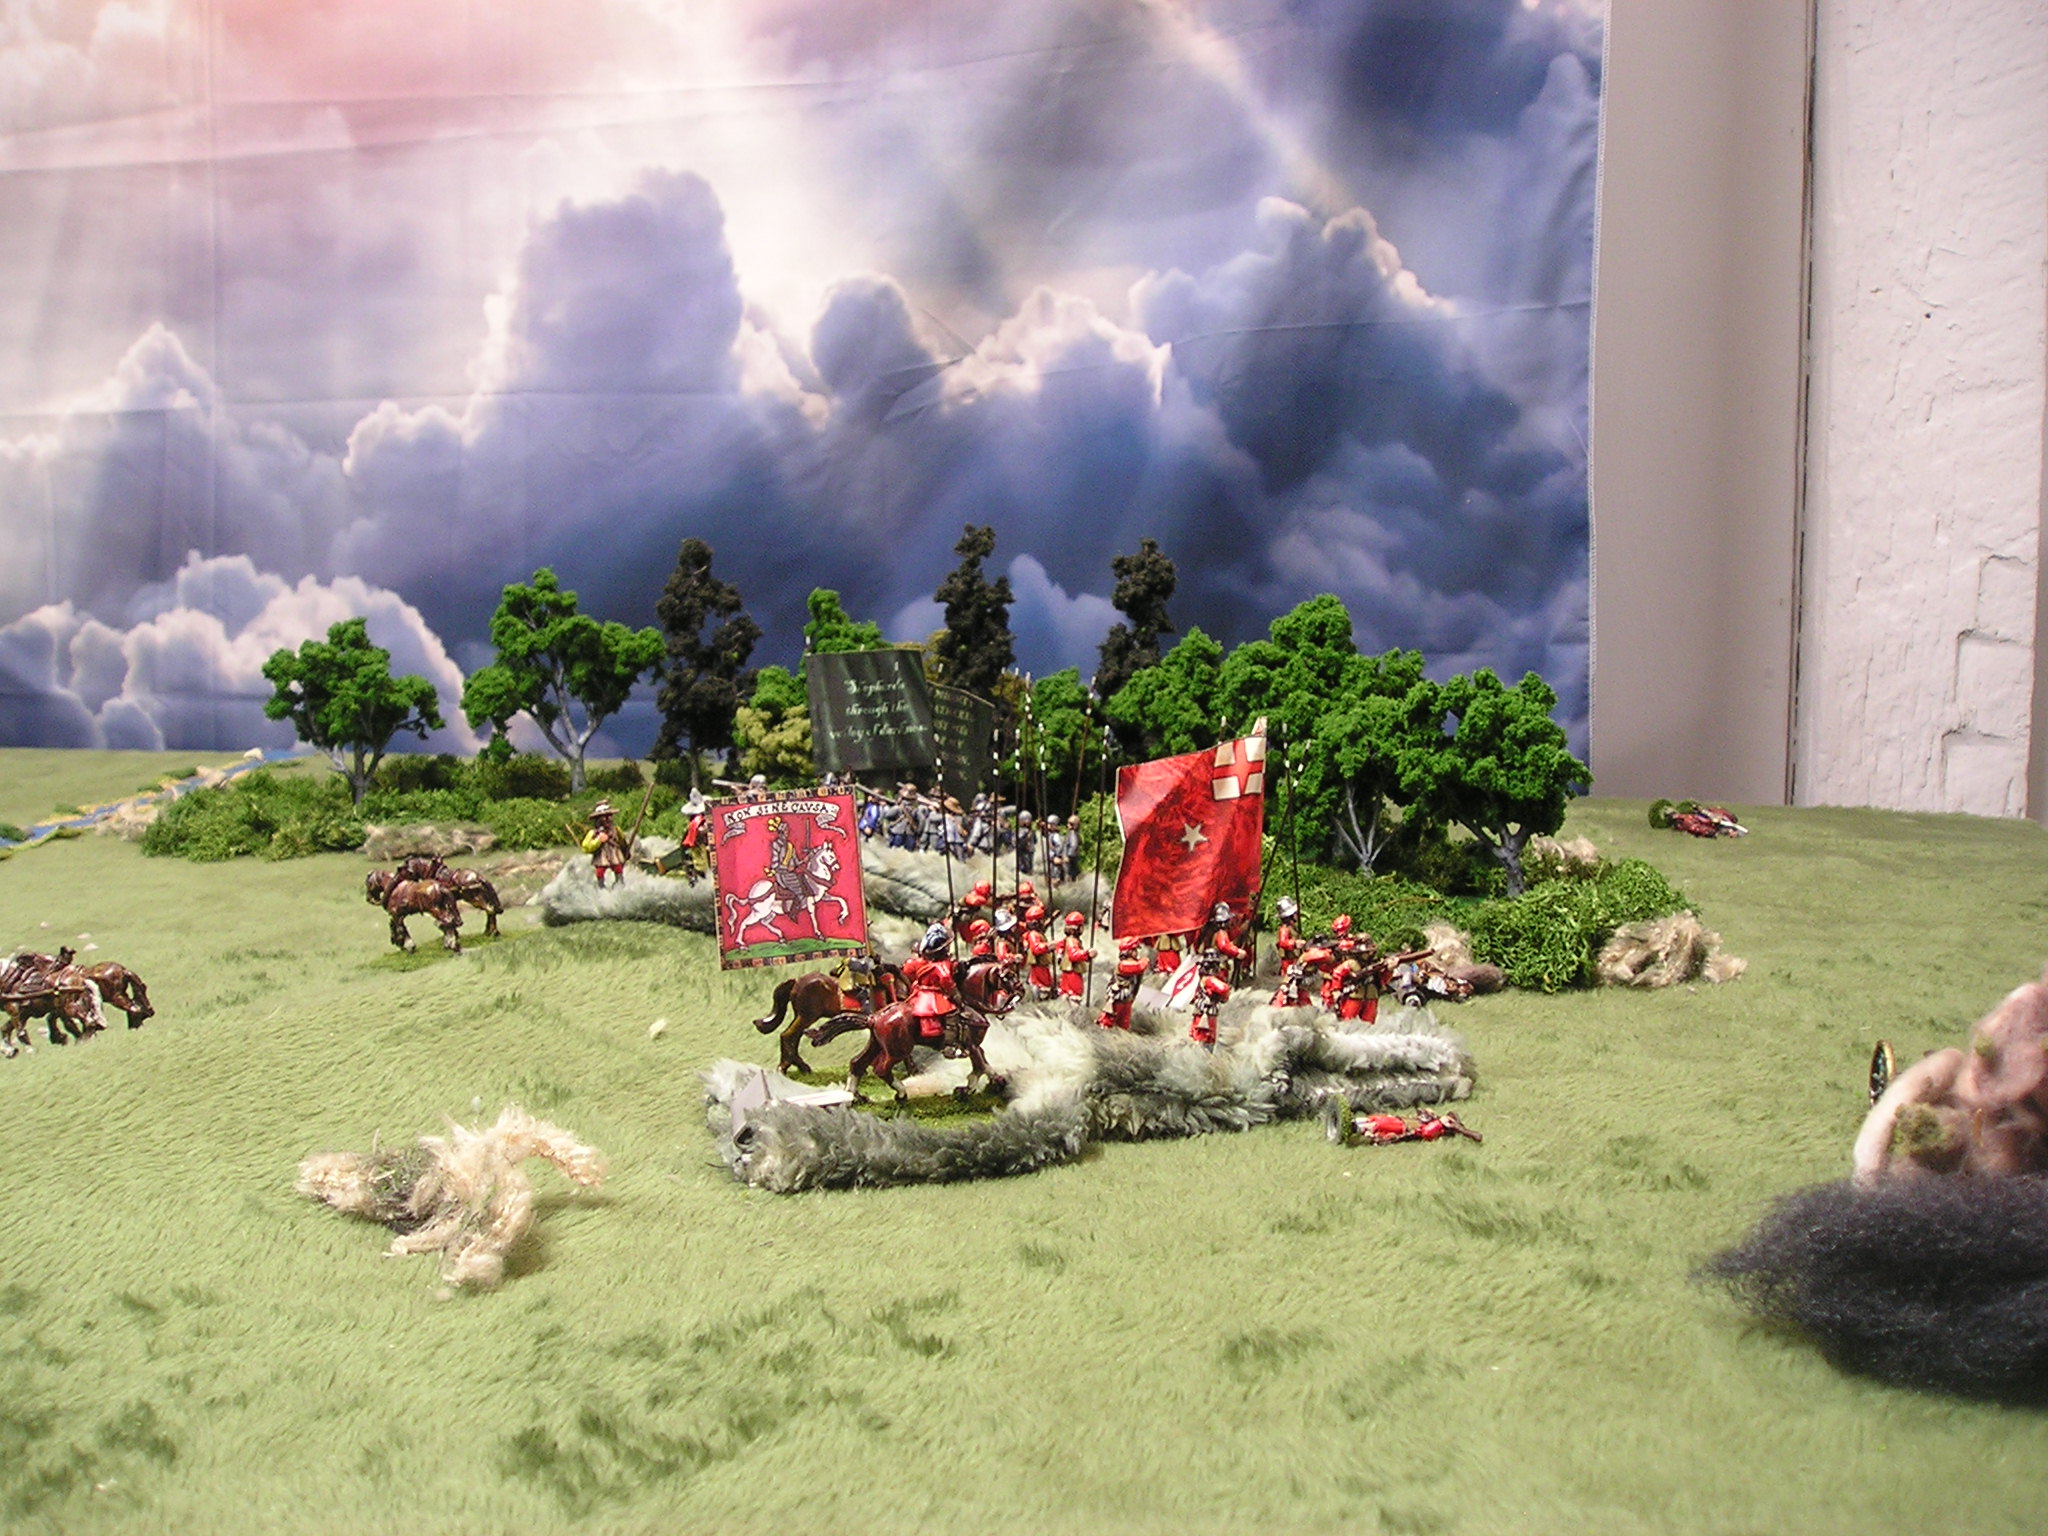 |
| the battle's end |
 |
| my home-made quick game deck |
 |
| losses |
I'll finish off with a few more photos of the table at game's end.


