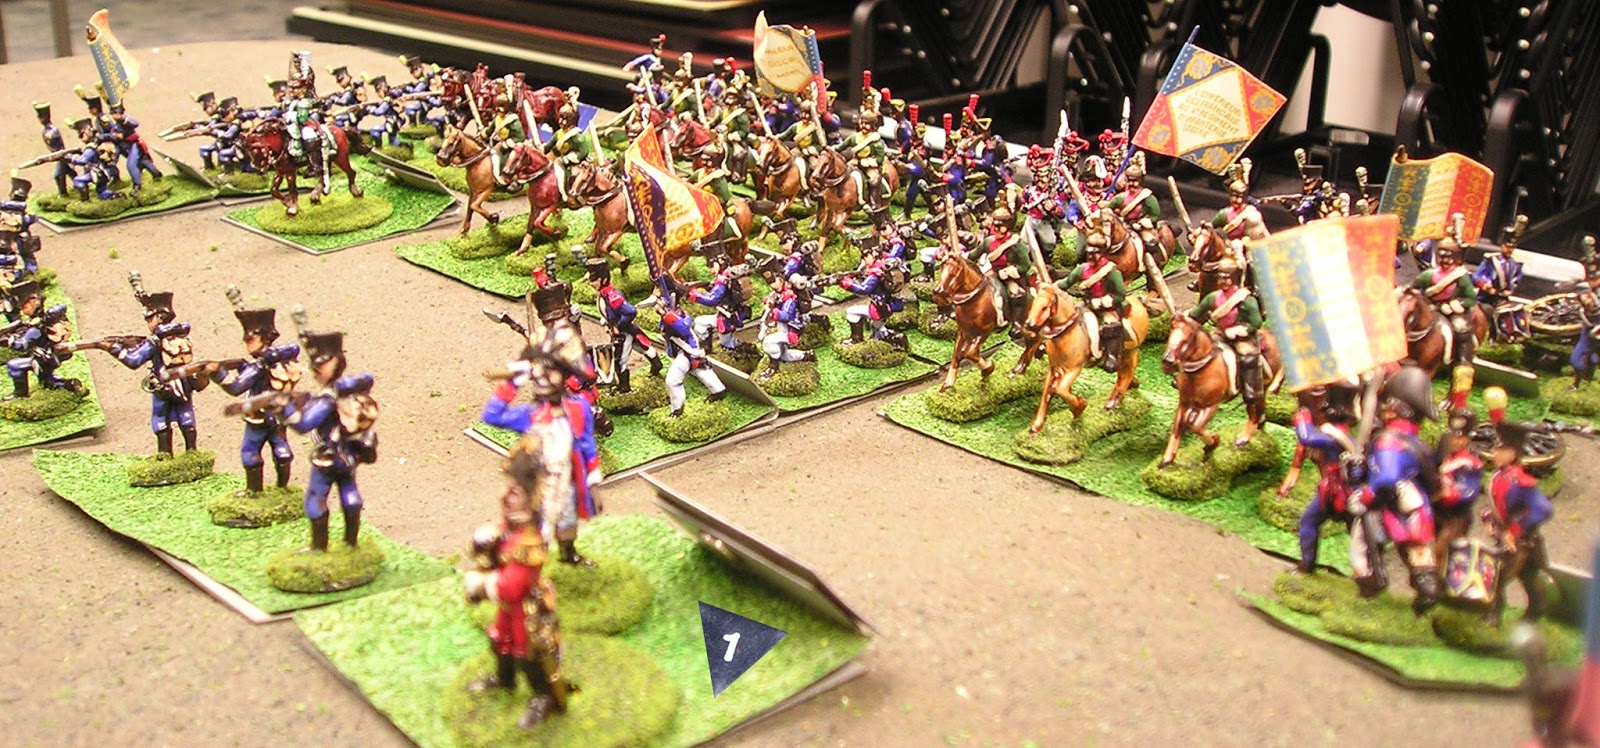
Another Library SHAKO II game, this time with red coats supported by death or glory Brunswickers.
 |
| one of my 'Eagles" that I use as a tabletop marker, in this case it was used as the deployment line |
 |
| the table layout |
 |
| deployment this time took a bit longer as there were some terrain discussions about both sides |
 |
| the French held back a division of foot to arrive on turn 1 |
 |
| the Anglo-Brunswick force aligned with reverse-slopes |
 |
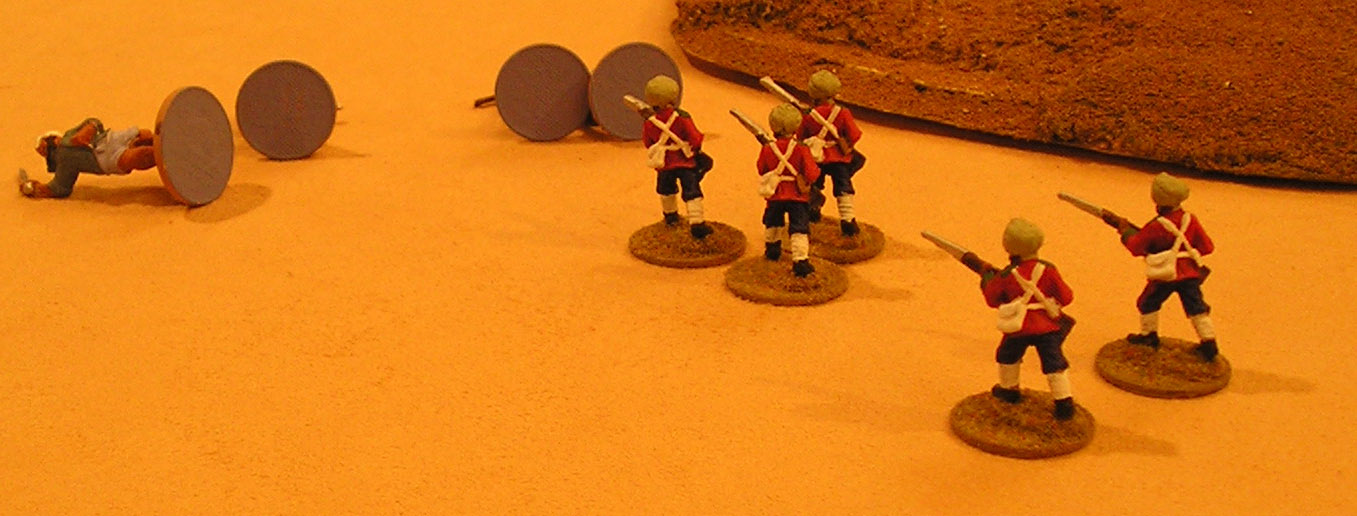
| save for a few Brunswickers and the artillery which positioned so as to deal out as much damage as possible on the advancing French. |
Right from the start an error appeared in the French plans ... we had discussed sending two divisions up the same line so as to hit the flank of the Anglo position, the problem was he also put his Dragoons in the same line for the start ...
 |
| the confused mass of foot and horse became disordered in the French flank |
 |
| Anglo artillery could not reach the mass in trouble, though they did reach the first advancing division |
 |
| more of the confused mass, as a division of foot pressed through a division of Dragoons |
 |
| Anglo troops moved to be ready at the hill crests |
 |
| while French forces surged forward |
 |
| the leading division was clearing fanning out into the Anglo flank |
A few turns passed in artillery fire and a few hand to hand encounters.
 |
| The French columns press onward, now clear of the horse |
 |
| a wave of men rushes over the low hills |
 |
| French Command |
 |
| tip of the spear, thrusting towards the Anglo lines |
 |
| French horse battery now run to the flank, opens fire at point blank range, wile Anglo artillery continues firing |
The close-quarter battles had only begun.
 |
| overview at turn 5 |
 |
| the light cavalry commander with the skycloth backdrop |
|
 |
| light cavalry force sweeps into the flank |
 |
| at the same time the second division of foot slams into the same Anglo flank ... the test of the Anglo defenses was on! |
 |
| table on turn 6 |
 |
| French Cops artillery was firing all game at long range, did not hit much |
 |
| Anglo Command |
 |
| The melee in full force |
Still nothing had been decided, by turn 7 the outcome suddenly came into clear focus.
 |
| fully engaged, the Anglo defenses must hold |
 |
| casualties mount as battalions of French foot began crumbling in the brutal hand to hand combats |
 |
| still the French pressed on |
 |
| light cavalry engaged on the flank, cut down by Anglo light horse |
 |
| Anglo foot battalions delivered volley after volley until French units fled |
 |
| the two sides light cavalry clashed, the French did not win out |
 |
| masters of the field, it was the Anglo heavy guns that dealt out the bulk of the casualties, which led to damaged columns before they could close to hand to hand |
The Anglo-Brunswick forces were the winners, though not by much.
Next game at the library will be January 23, 2016


