Sunday, January 24, 2016

SHAKO 2 Games at the Library - Flavor of Spain again


Once again we set up the SHAKO II tabletop, using a pickup game format and this time the 'random' map generated turned out to be an excellent test of offense and defense skills.

The random terrain generated ended up being a 3 sector town and two steep hills.

The map setup with troops looked like this:

map layout with the miniature troops deployed


shown in detail the map came up like this:
map layout in detail
some of the deployement:

Great looking Italian force, shot guns, did not attack

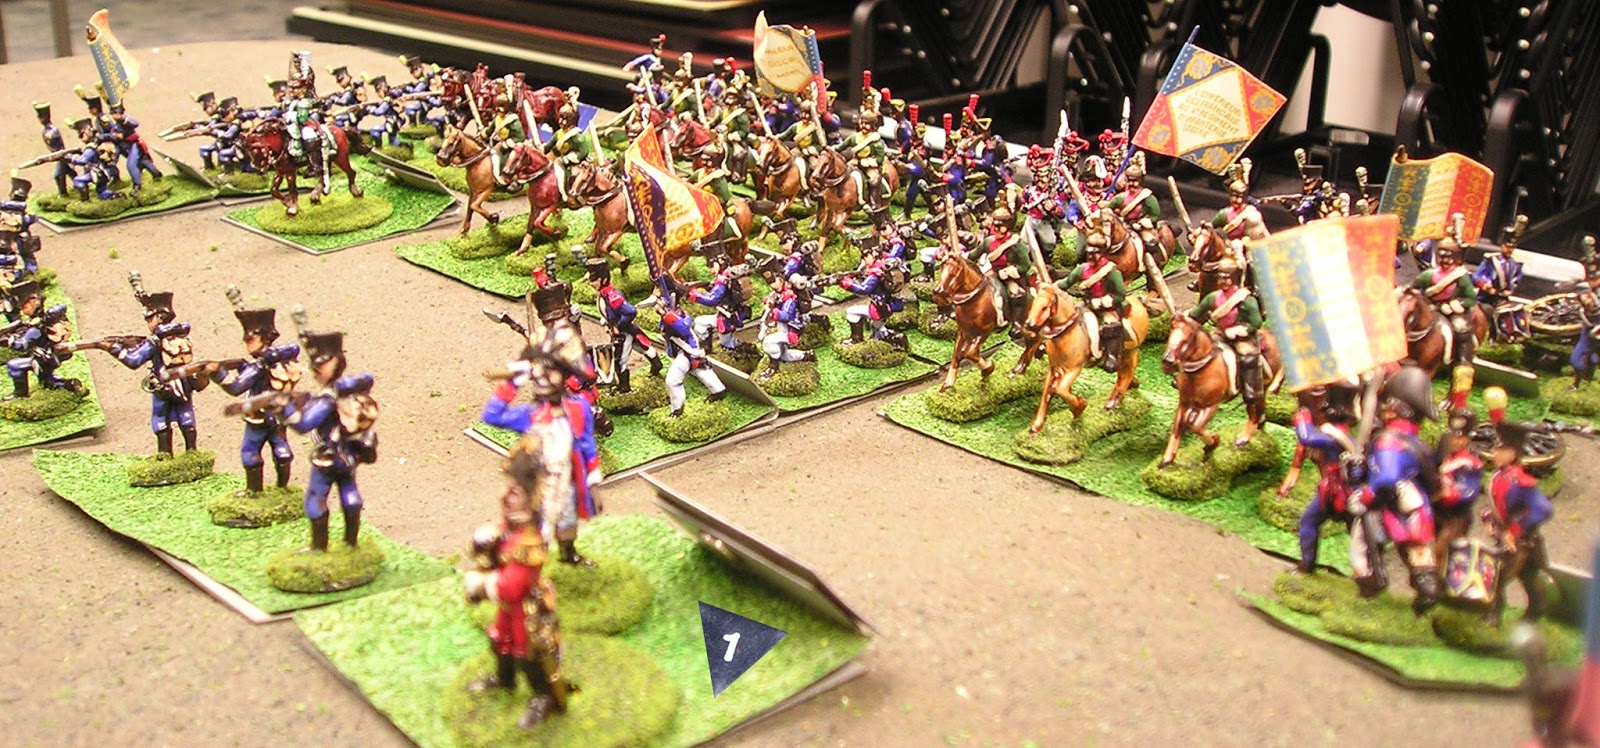
main body of French force in columns for the run into attack

on the French left, dragoons were ready

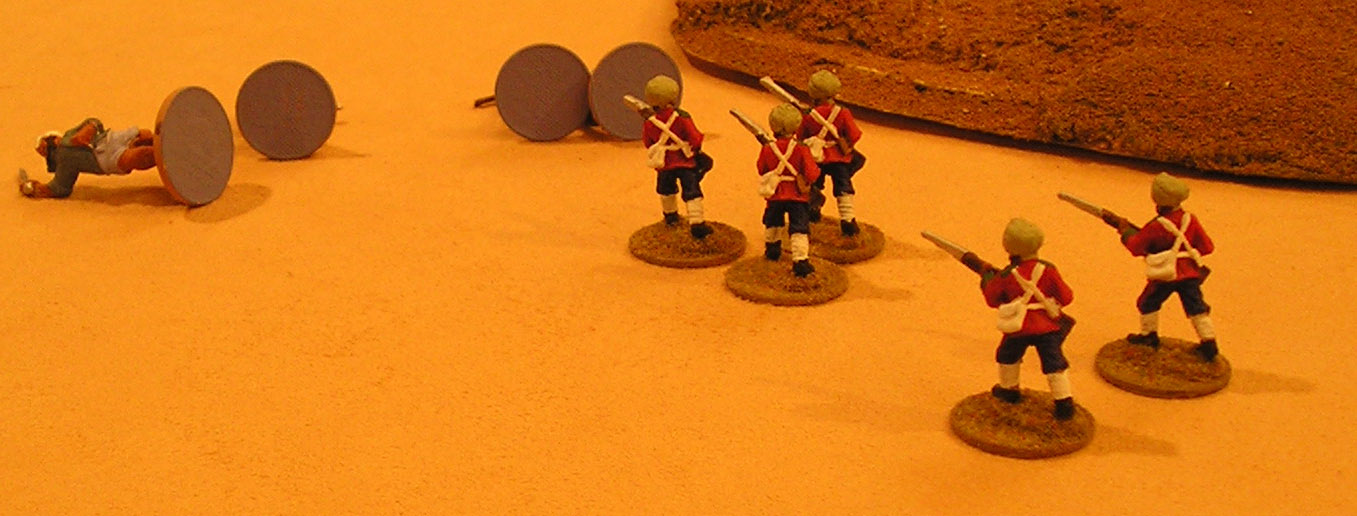
in the town, Anglo foot were deployed

Anglo foot in the center, light horse in reserve

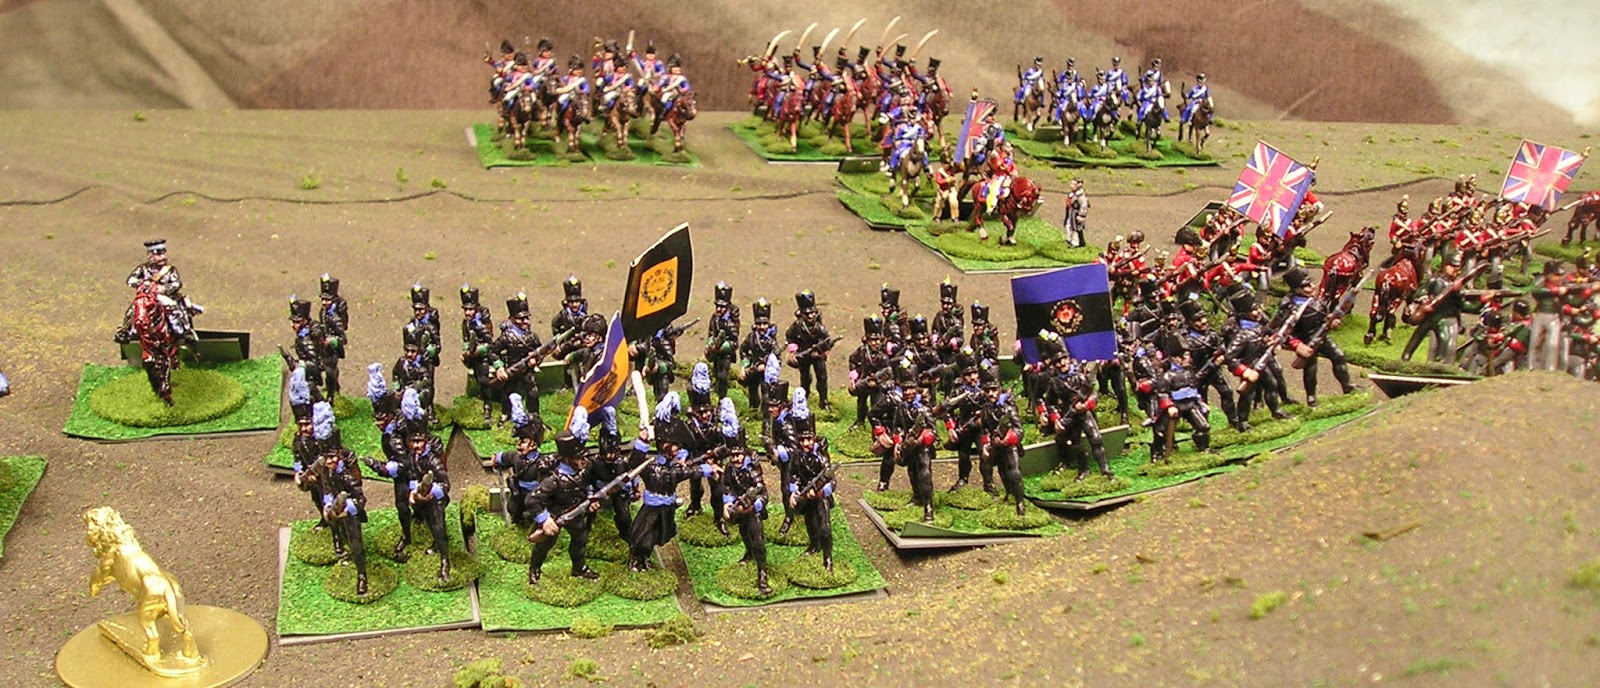
The Brunswick force were to storm the hilltop
Turn one was straight into battle, by turn two, a horse battery had been over-run by Brunswick horse and the French dragoons had been run off, then the Brunswick horse slammed into the French line, which held and drove off the light horsemen; though not before the impetus of the whole division had been stopped as the Division Commander had also been over-run by the Brunswick light horse.

table at turn 2
The Brunswick force was to take the hilltop and make it an immediate fortress that no French could dislodge them from in the end.

Indeed the 'death or glory boys' made glory the choice of this day of battle.

Three charges went up the hill and three times the French tumbled back down.


turn 4 saw the French Light Cavalry arrive

In splendid fashion

a colorful display of horse power

while the Brunswick force owned the Allied right and the hilltop

a column of French prepares to storm the town, battered all the way by artillery and rifle fire

In the end the French Light Cavalry were to thrust at air ...

No pictures were taken as we ended in the middle of turn 5, the English Light Cavalry deployed to the right flank and were going to slam into the damaged French Dragoons, who had been shot up by Brunswick horse artillery.  The French had lost all the artillery on that flank and the two assaulting French Divisions had been damaged or destroyed.  It was clear that this French assault had failed.

We had time to re-set the game and have-at again.  Amazingly we got into turn 3 this time and again it was clear, the French were not going to have success against this location.  The players for the attacking French were allowed to re-set their attack plan.  The score was not as bad, yet the result was the same.

English officer confident of the town defense, assaulted twice in the second game and resulted in the destruction of the attacking division, with help from the Anglo artillery and nearby infantry.

We are set to go again at the Library on February 20th ... I am considering doing a more "Danube Valley" feel for the next encounter ...

... any suggestions?

Tuesday, January 12, 2016

Campaign of Hundred Days, recruiting

With the gamebox for Cyberboard firming up in my mind the time has come to again seek those stalwart players of Napoleonic battles who wish to take part in a play-by-email campaign game.  This time the Campaign of the Hundred Days, or what most refer to as the Waterloo Campaign.

As with the Campaign of Nations game that I ran in 2012-15, the overall plan will be to have a 'sample run' for the new players to get a feel for what a turn or two will be like, then go straight on into the action.

Also similar to last time, the plan is to have at least 3 active 'commanders' for the field armies supreme command, Wellington, Blucher and Napoleon; who need not be the tabletop commanders (though really each would like to take on one another I am sure).  While also needed will be many tabletops for running the games, especially the smaller more 'skirmish' level actions at the start of the campaign.  These game players need not have any particular 'stake' in the campaign, leaving them free to 'play out' the battles with their miniatures on their own tabletop(s).

In essence I am seeking both the senior command and these 'proxy battle hosts'.

If you have a keen desire to take a command position, like Bonaparte, Ney or Grouchy for the French, Blucher, Pirch or Zeithen for the Prussians or Wellington, William of Orange or Uxbridge for the Anglo-Dutch then you do not need to have any miniatures at all - indeed the "Blucher" player in our last campaign owns no miniatures at all.

If you have no desire to command, yet would like to share your miniature collection and have 1815 era battle situations established for your game group to play out (or solo play) then please do come forward and let me know what you can support on your tabletop!

Sunday, January 10, 2016

Hundred Days Campaign more mapping samples

I have been busy with replacing the missing data that got wiped out in early December.

Part of that data was a set of pieces and parts put into cyberboard for a Hundred Days Campaign.

This has put me behind where I had hoped to be in the Campaign process at this point.

I had posted about the maps yesterday, now that I have been able to rebuild the pieces sets I want to share them and get feed back.

Again the question is which would work better?

the black and white map with pieces sample

the color map with pieces sample

The strength of the black and white map is that I can cover a larger area of the Belgium frontier and permit players to better simulate the conditions of 1815.  Whereas the color map has been better researched and contains more specific detail to assist in battlefield preparations.

What are your thoughts, please comment?

Saturday, January 09, 2016

Waterloo Campaigning - map thoughts

Color Map, from Napoleon game - with hex grid

Map of Belgium and borders in black and white
I am seeking to start a Hundred Days Campaign and looking to get some feedback on best map vision.

Keep in mind that the 'pieces' moving on the board will be military symbols in color like these:

French Cavalry Brigade
Prussian Infantry Division
Napoleon Bonaparte
I like the idea of the color map, yet the ground is not as fully covered.
The black and white map is easier to read with all the markers on it.

Saturday, January 02, 2016

The Sword and the Flame - Colonial battle

Bluebear Jeff hosted a Sword and the Flame game in connection with his ongoing 'Afristan' Campaign.

This time I was to command my own colonial force.

Rob had the duty to come at me with some 'whirling Dervishes' and a camel riding surprise.

Capt. David McMurdock

21st MNI -- Madras Pioneers

The column entered the Alghaz region with scouts well to the van ... this came as a surprise to the Dervishes

Eventually the Gordon Highlanders were able to take control of a mesa region, using the rough ground as cover while getting a good view of the possible lanes of advance of the Dervish tribesmen.

a mob of swordsmen charged across a rough field, nearly all stayed in the charge, they were shot apart in their advnace

while to the left flank another mob of swordsmen were spotted, they chose not to advance and faced the 21st firing at them

in the end the Gordon Highlanders dispatched the mob of swordsmen, then resumed their position in the line, the 21st advance scout was pulled back from the rough ground

a reverse-view of the column, Capt McMurdock cantered to the rear so as to view the action and give direction correctly

the blue mob of swordsmen advanced on the 21st, who gave as good as they got and sent the mob off the field with dozens of dead and wounded

overview of the position - highlanders to the left, 21st in the center, 58th Rutlandshire to the right

the Gordon Highlanders massed rifles to put down the Dervish who had popped up in range

more of the 21st were the targets of the Dervish shooters

once the shooters were put down, Ghuka riflemen advance to cut off any more

overview of the situation, no more camels to the left, Dervish shooters were screaming in agony in a sand pit on the far left, to the right van was another group of Dervish shooters, who appeared to be better led (possibly the Mullah was with them?), they decided to retire once it was clear that no Dervish were going to outflank the massed Empire forces.

While the action was a success, there were many dead and all the mules were loaded with wounded.
Clearly Capt McMurdok was going to retire on his command base in Kyro on the Vile River.

Resupply and rest were needed along with replacements.  There had been a report of cavalry; since the tribesmen were starting to use horse, clearly it was time to have an appropriate response.

Did Londra send the artillery also?

Friday, January 01, 2016

Library Games - with a flavor of Spain

Another Library SHAKO II game, this time with red coats supported by death or glory Brunswickers.

one of my 'Eagles" that I use as a tabletop marker, in this case it was used as the deployment line

the table layout

deployment this time took a bit longer as there were some terrain discussions about both sides

the French held back a division of foot to arrive on turn 1

the Anglo-Brunswick force aligned with reverse-slopes

save for a few Brunswickers and the artillery which positioned so as to deal out as much damage as possible on the advancing French.
Right from the start an error appeared in the French plans ... we had discussed sending two divisions up the same line so as to hit the flank of the Anglo position, the problem was he also put his Dragoons in the same line for the start ...

the confused mass of foot and horse became disordered in the French flank

Anglo artillery could not reach the mass in trouble, though they did reach the first advancing division

more of the confused mass, as a division of foot pressed through a division of Dragoons

Anglo troops moved to be ready at the hill crests

while French forces surged forward

the leading division was clearing fanning out into the Anglo flank
A few turns passed in artillery fire and a few hand to hand encounters.

The French columns press onward, now clear of the horse

a wave of men rushes over the low hills

French Command

tip of the spear, thrusting towards the Anglo lines

French horse battery now run to the flank, opens fire at point blank range, wile Anglo artillery continues firing
The close-quarter battles had only begun.

overview at turn 5

the light cavalry commander with the skycloth backdrop

light cavalry force sweeps into the flank

at the same time the second division of foot slams into the same Anglo flank ... the test of the Anglo defenses was on!
table on turn 6

French Cops artillery was firing all game at long range, did not hit much

Anglo Command

The melee in full force
Still nothing had been decided, by turn 7 the outcome suddenly came into clear focus.

fully engaged, the Anglo defenses must hold

casualties mount as battalions of French foot began crumbling in the brutal hand to hand combats

still the French pressed on

light cavalry engaged on the flank, cut down by Anglo light horse

Anglo foot battalions delivered volley after volley until French units fled

the two sides light cavalry clashed, the French did not win out

masters of the field, it was the Anglo heavy guns that dealt out the bulk of the casualties, which led to damaged columns before they could close to hand to hand
The Anglo-Brunswick forces were the winners, though not by much.

Next game at the library will be January 23, 2016