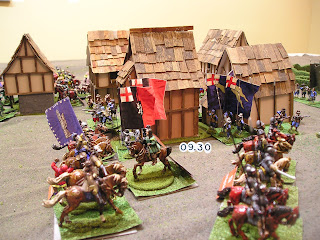
In summary I am getting faster at handling the software and I really like the simulation aspect along with the great details about units and situations. Unfortunately the details come at the expense of time ... and it may be that time is the factor we both would like to have go faster.
 |
| Prince Rupert of the Palantine as painted by Cod Sticker |
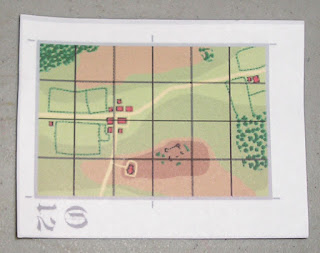
So we used the map generator for the first time by just drawing a random card:
Then used the Carnage & Glory II software to determine defender/attacker and randomized the arrival zone.
 |
| Royalists |
 |
| Parliament |
 |
| Royalists were in more open country with an open zone before the town and the Roman Ruins on their left |
 |
| Parliament were in the enclosed fields with the town nearby, and could easily capture the critical road junction |
 |
| the trouble would be holding this ground as the better Royalist horse could be counted on to stand or even defeat the Parliamentary horse |
 |
| Essex |
 |
| The King |
 |
| Royalist horse use the Roman Ruins as a breakwater for any attack |
 |
| Parliament Horse gain upper hand on the open ground to the Royalist right |
 |
| Royalist cannonade into the town is constant, though mostly ineffective |
Then came a few turns of movement and action from both Cod and I and there were no pictures taken.
Essentially the horse traded charge and counter-charge over the course of 1/2 hour, while the foot of Parliament fully covered the town and moved to press on the left flank (Rupert) in support of the horse and guns (which did not move one turn and argued about proper deployment on the other).
 |
| all was in the balance |
 |
| Royalist gunners become so tired and mired in smoke that they did not fire from 1/3 of the guns |
 |
| Parliament horse in front of Rupert, fled |
 |
| while the Royalist horse managed to capture foot colors |
 |
| The Parliament reserve and left were still standing |
 |
| The Parliamentary Horse just could not maintain the advance |
 |
| Royalist center held their ground |
 |
| a final Royalist squadron of horse were just able to halt the Parliamentary horse on the Royalist right ... then the collapse in Parliament morale came |
 |
| Cod's new supply train on the table for the first time |
 |
| Parliament leaders were out in force to attempt to halt the fleeing horse |
 |
| other Parliament leaders stiffened the Foote so as to keep them from being over run |
 |
| the Royalists were to take the day |
 |
| though not without many casualties |
 |
| Cod's King Charles (actually a model of Cromwell) |
 |
| Final Score |
 |
| a last shot of the two Cromwells on the field, one for each side. One on the brown horse painted by yours truly the other by Cod. |


