Vimeiro (3rd run)On March 6th I had the opportunity to again lay out my table and see if I could attract the few passers by in some tabletop miniatures action.

This was a second day in a row for me at the location and I had done more promoting - though the weather was very fine and even though there was a teacher strike, I would not see any young folks this day.

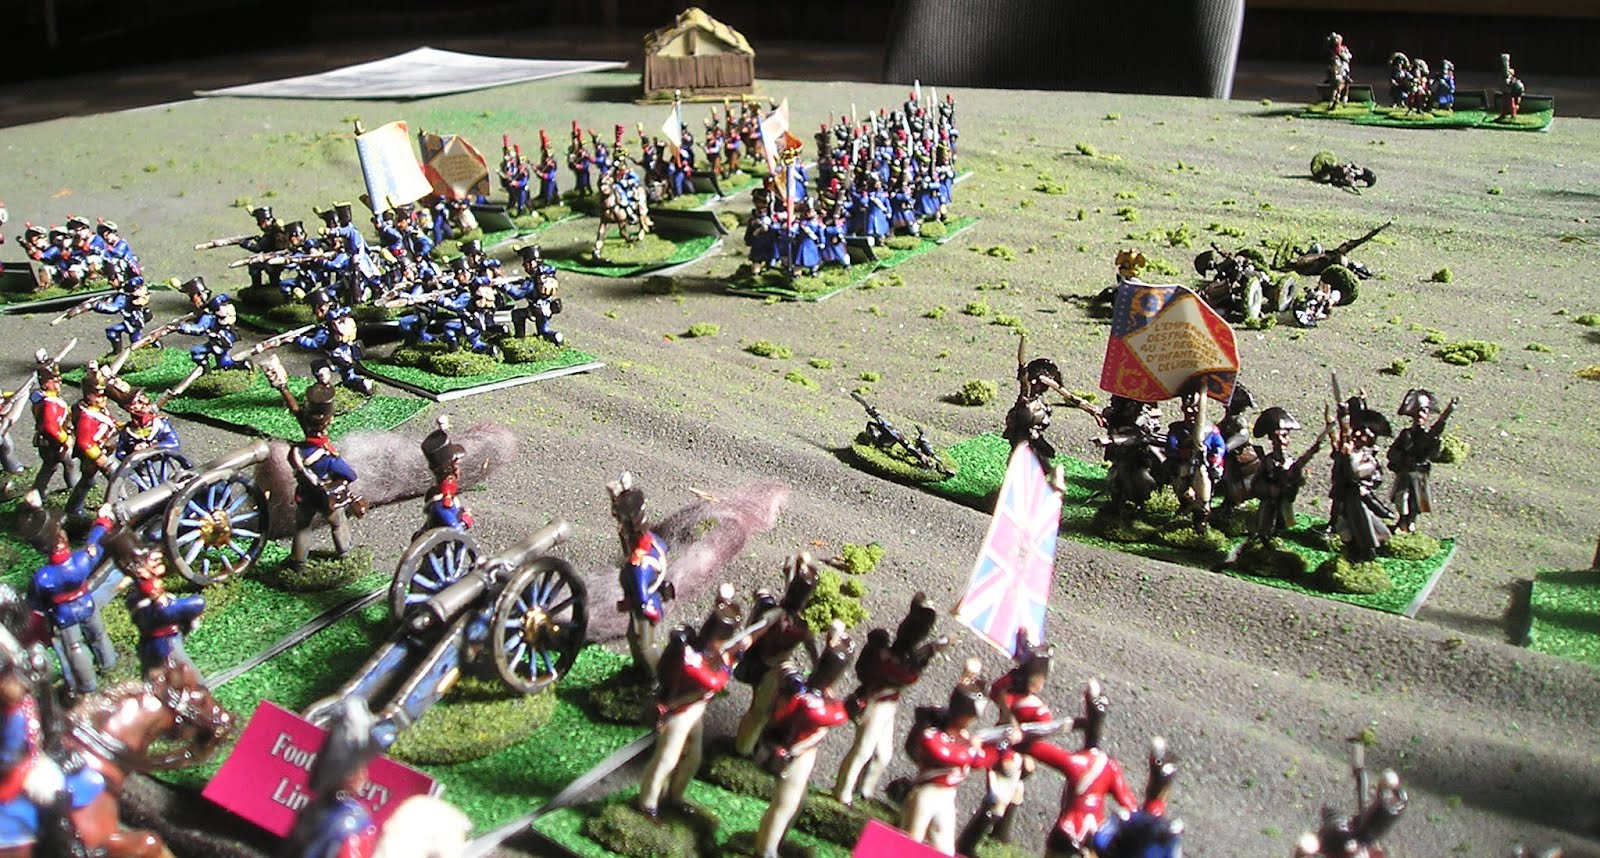
Again troops were laid out for the Anglo-Portugese as have been before ... I switched the guns to both on he ridge line to give them a better view of the French advance.

Again the French plan was simple, FULL COURT PRESS and have the CAVALRY arrive on the Ventosa flank as soon as possible.

The French were laid out as I had done them the day before, though this time, I had the right flank better positioned to get into their objectives quickly and leave room for the Grenadiers (now ordered to move off one turn after the line infantry) to maneuver.


The view of the British lines from the French ...

By turn two nothing great had happened, the Portuguese had new orders to move to Ventosa in order to shore up the flank from the inevitable fighting.

In the center the greatcoat wearing French Line Infantry were covering the Grenadiers, while taking a pounding from the well sited British Artillery.

By Turn Three the farm of Ventosa had been cleared in a very lop-sided 6-1 hand to hand combat that went against the British forces ...
The French Cavalry was marked for arrival, all that remained was to push into the Anglo left flank. Even the Left of the French was holding firm in furious musket duels ...

The Grenadier Division was pressing forwards!

Further, in the center-right the French had formed squares to defend against the nearby light dragoons.

The anglo center was a scene of desperate grapeshot, even with the casualties the French Division held their morale and continued to advance.

This Overhead view of the Anglo-Portuguese lines makes it appear that all is rosy ... the French Infantry has been halted in squares, no French Cavalry to be seen and the Portuguese are in motion ...

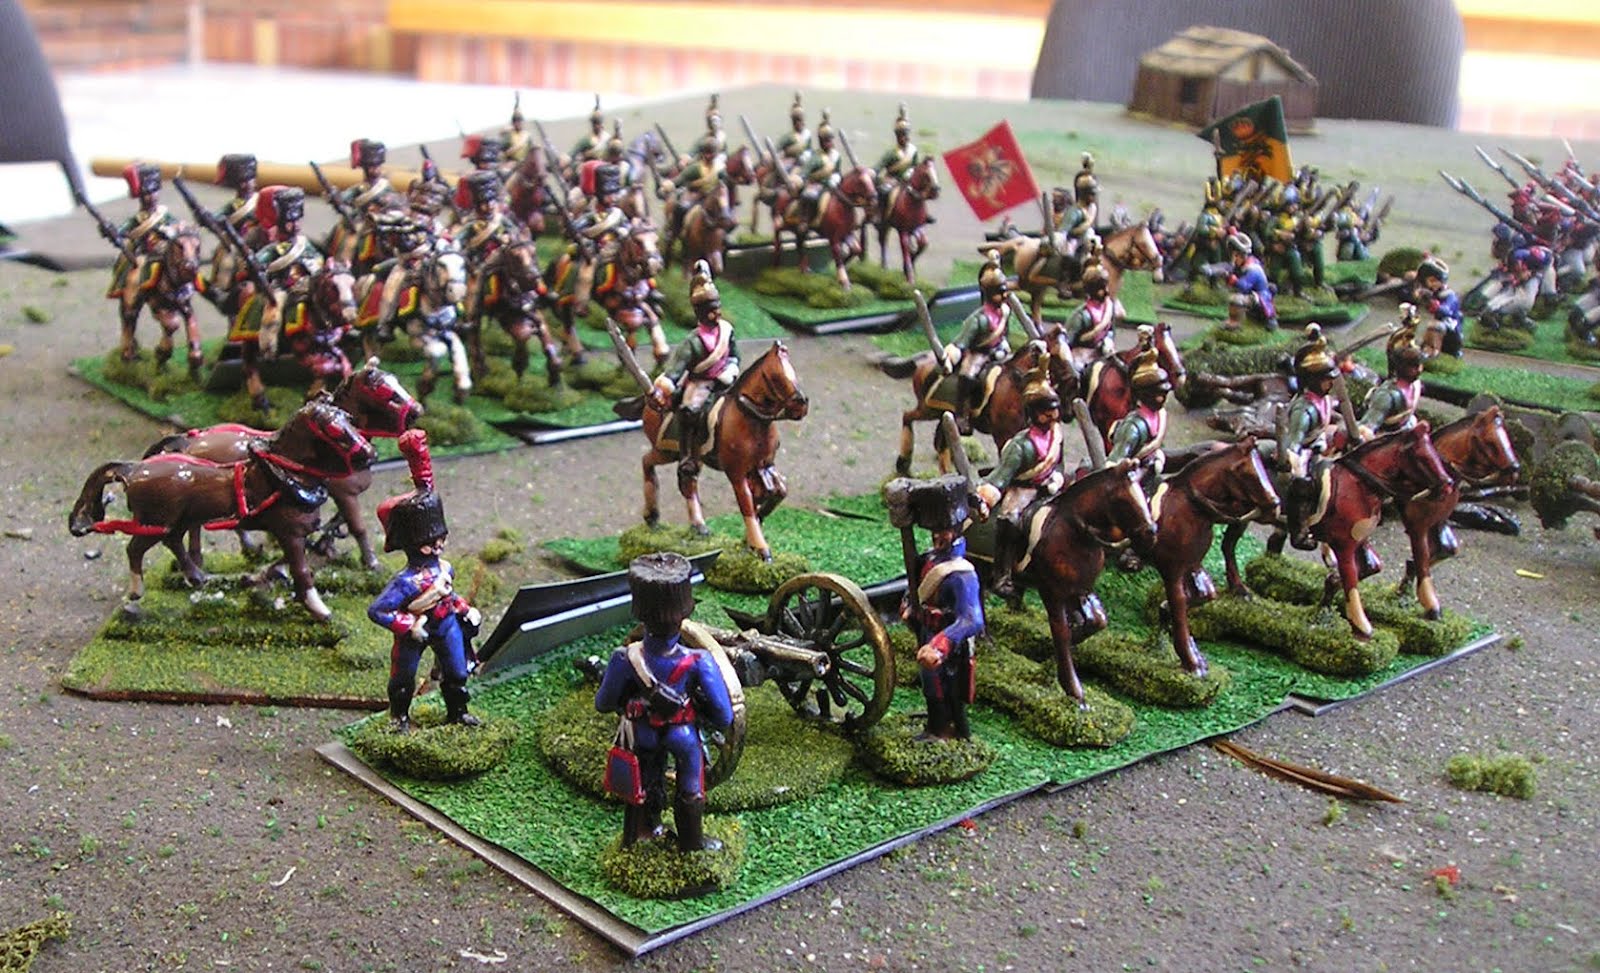
One major block of power that the French held was the Grenadier Division, seen here in motion at the end of turn Three, screened from the English guns by greatcoat wearing line Infantry, these elite troops were poised to strike!

Ahead of those Grenadiers the 91st Regiment was desperately holding the flank of the artillery positions against all comers ... though this could not possibly last. This was during movement of turn 4, and the Cavalry had arrived for the French as could be seen in the top left of this image, showing the 1st Provisional Chasseurs.

The 91st continued to hold their ground, though the columns of Infantry were stacking up against them ...


Meanwhile the Dragoons had arrived and struck behind the 91st at the British Light Dragoons that were covering their rear ... there were three times as many horsemen as the British had, and the feeble Portuguese provisional horsemen were no match for the battle hardened French Dragoons.

By the end of movement on Turn 4 the situation had gone to horrible for the Anglo-Portuguese.

Almost forgotten in the center of the line, and the object of the battle, Vimeiro itself was only the scene of limited skirmishing as the French Division had been cut in half by the massed artillery ...

From Kellerman's position his Grenadiers are set to fall upon a weakened Anglo line ...

An overview of the Ventosa plateau shows the extent to which the French Dragoons had pushed forward after driving off the Light Dragoons.

Into Turn 5 the Grenadiers had forced the 91st off the ridge and the Dragoons had smashed half of the artillery park.

At the end of Turn 5 the whole field was dominated by the French, who also held a score advantage. Without a miracle in dice rolling this battle was all but won by Junot!

Maragon's Merged Dragoon Division dominated the Ventosa plateau and was forcing the Portuguese to react by forming squares.

With the end of Turn 6, victory was all but complete for Junot.

In the center the Grenadiers had forced away British troops and captured the guns.


Unable to get into the fight on the plateau the Provisional Chasseurs were forced back to the extreme Right in order to follow the path that the Dragoons had followed earlier.


After movement in the center, near Vimeiro, the British Rifles were now being used to screen the remaining British troops from the French guns. Vimeiro itself had never been assaulted.

Meanwhile on the French Left, the 86th Linge and 4th Swiss had continued to trade volleys with their opposites in the British Line.

The coup de main came in the center, as the 91st finally buckled under assault from two battalions of Grenadiers!

Wellsley had been forced from his command post, now watching over the faltering lines as the Ventosa plateau is cleared of allied troops, French Grenadiers and Dragoons commanding it.

The Portuguese would have to perform a miracle defense in order for the Anglo forces to withdraw, not a likely event. More likely the Anglo troops would face even more losses as they fled across the Alcabrichella River.

Most certainly this was the threat that the Convention of Sintra was supposed to stave off ... Wellsley had to face a court about it, here in this re-fight, there would be no need for a court as the Anglo forces would be in retreat from Portugal yet again.
I'll wrap up this posting with a few more shots from the last positions in the game.


