The Campaign of the Hundred Days has begun last month, with a set of moves on the morning of 15 June 1815 (fictional). Players in the 'map campaign' are spread from Australia to UK and North America. We actually had one of the active players commanding in person as Ney!
This battle came in the afternoon of 15 June 1815 (fictional) and features Grouchy commanding a French Corps at the Belgian town of Ath.
 |
| French Marshal Grouchy at Ath |
Outnumbered in foot and artillery by 1.5:1 while having a Cavalry advantage to put up against the French, Baron Chasse was going to have to hold the river crossing for at least six hours before more Dutch-Belgian troops or Anglo-Dutch Allied troops could arrive.
 |
| Belgian Baron Chasse at Ath |
The Belgians had been pushed back earlier in the day from Leuze, and now Baron Chasse had determined that this river crossing at Ath would be the first stand off point to halt the French attack towards Brussels.
 |
| table at layout point of 14h00 |
The Belgian commander further directed that the retreating light cavalry of Ghingy would stand on the west side of the river to the north, while more light cavalry of Hannoverian commander Estorff would screen the road that the IV French Army Corps would be advancing on.
 |
| Dutch-Belgian forces deployed |
The foot division would be arrayed on as wide a front as possible along the river near the town, while Dutch Carabinier Squadrons of Trip van Zoudtlandt were moved from the south east to the north flank of the town.
 |
| Infantry along the river, with Chasse and Trip behind |
 |
| Bridge at Ath defended in force |
Upon seeing the defenses Marshal Grouchy directed that the French 7th Light Cavalry were to take up massing on the French left, while the two artillery armed Divisions were to line up facing the Dutch, while the foot only Division took up position as a Corps reserve.
 |
| massed batteries of the Corps and 12th Division |
 |
| Vichery's 13th Division was in open order on the French right, ordered to ready for the expected cavalry charge(s) |
 |
| The table at the start, with all the troops neatly arranged |
Within the first 1/2 hour artillery of the French had wreaked havoc on the Hanoverian and Dutch Light horse.
 |
| Hanoverian Hussars (seen to the left of the river on the right foreground) are scattered and disrupted from artillery and failed charges into French squares (seen on the left foreground) |
 |
| French artillery were deadly accurate in early action |
 |
| Dutch light horse make forlorne hope charges into French horse and foot |
 |
| a Dutch battery of light guns was over-run by French Dragoons |
 |
| Baron Chasse and the Dutch Carabinieers |
 |
| a small hillock was in front of 12th Division, here we see where the Dutch horse was delayed by Voltiguers while Dragoons prepare to assault the light horsemen |
 |
| Dutch horse artillery fired with some effect early on |
 |
| Hanoverian horse were looking in terrible shape from the early bombardment |
Then suddenly the French artillery 'luck' vanished ... where there was an opportunity to obliterate the Hanoverians, not a single gun hit. Where the Dutch light horse could have been forced off the battlefield by artillery alone, again not a single hit.
While the Dutch could not strike into the French, they did gain time to recover their breath after the early losses.
 |
| field at 15h00 |
 |
| Hanoverian Horse get a chance to re-organize |
 |
| 13th Division taking hits from the distant Dutch artillery |
 |
| battle looking good for Grouchy, who has now ordered the 7th Light Cavalry to assault on the left flank |
 |
| view down the French lines looking north towards the 7th Light Cavalry Division |
 |
| French Dragoons rest at the maximum range from Cavalry HQ (18" in SHAKO II) |
 |
| Though still holding, the range of the French horse made their attacks inevitable |
 |
| Likewise, once the French moved forward the Dutch Carabinier would be responding |
 |
| Baron Chasse and the Dutch heavies |
 |
| Dutch HQ at Ath, Chasse is informed of the loss of the Dutch light horse and orders the Carabinier to cover the left flank and the other river crossing |
Now the horse forces were committed, and the Dutch had no other reserves to call upon. Down by a score of 5-1 the Dutch must get some French Battalions or Squadrons to flee the field.
 |
| Field of action at 15h30 (click to view a larger image) |
 |
| fully recovered now the Hanoverian Light Horse were ready to attack |
 |
| their attack shattered a battalion of the 13th Division (that was covering an artillery battery) |
 |
| while on the other flank of 13th Div, another square was taking a pounding, and the far battalion of the 12th (seen in the center) was likewise taking fire from the Dutch artillery on the other side of the river. |
 |
| seeing that the hilltop would permit French artillery to blast away at the Dutch Carabineers 12th Div is seen here swarming over the hill - where Dutch light horse and French Dragoons had fought over only an hour before |
 |
| Dutch heavy cavalry now re-deploy to cover the river crossing in the north |
 |
| Dutch Jager forces make ready to exchange with French Voltigeurs across the river |
 |
| the whole French line rolls forward |
 |
| Colonel Albrecht von Estorff steadies his men for another charge into the French |
With their lead suddenly cut to 5:4 now Marshal Grouchy was pressing for the 7th Light Cavalry Division to cross the river and hammer at the Dutch Heavy Horse with artillery ... only 4 more losses would win the day for either side right now!
 |
| High point of action 15h00 now the French 13th Division had failed morale and fled! |
 |
| A huge gap on the French right, with 13th Div gone, now 12th Div must re-set to cover the guns |
 |
| The Duke of Cumberland's Hussars move to threaten the center |
 |
| Dutch line and French Voltigeur are exchanging fire over the river |
 |
| 7th Light Cavalry are making ready to deploy horse guns |
 |
| 12th Division moves to get artillery on the hilltop |
 |
| while at the gun line 12th Div battalions are struggling under constant artillery fire from Dutch guns across the river |
 |
| Forced to make the entire French advance work, 12th Division commander Baron Marc-Nicolas-Louis Pécheux surveys the hilltop, oblivious to the approaching Hannoverian cavalry danger ... |
 |
| Dutch Carabinier again drive back French Dragoons |
 |
| now Dutch artillery on the far left have no targets, so Chasse's ADC (blue horseman) delivers the orders to move the full battery to the center in order to support the Carabinier squadrons. |
The French were pressing hard in all sectors, when a series of small victories by Dutch Jagers and then the Hanoverian horse turned the whole battle upside down.
 |
| turning point 16h30 |
 |
| fixated on the hilltop Pécheux cannot react in time once the Duke of Cumberland's Hussars have an open run to the Corps Artillery and Prince Regents Hussars take on a column of French foot that fail to form square |
 |
| scene of the carnage just before the attack |
 |
| I took this photo expecting the Hanoverian Horse to die in a final charge ... thus handing the victory to the French. Little could I imagine that the French square would die to artillery fire and the column would fail to form square |
 |
| Dutch Artillery limbered up to move |
 |
| Dutch Jagers and French Voltiguers trade more shot across the river |
 |
| Advancing over the ground strewn with dead Dutch light horse |
 |
| The Dutch Jagers with a lucky hit manage to silence 1/2 the French horse guns, permitting the Dutch Carabineer to again throw back French Dragoons |
 |
| Trip's entire Brigade of Carabineers |
 |
| The ill-fated French column marching hard to the right flank to cover the hole left by 13th Division's hasty retreat |
 |
| Great picture on the hill |
 |
| looking down the river to the northwest at the active artillery and infantry, with the horse facing off at the river crossing ... |
Doom moment for the French.
At the start of the turn, Dutch artillery broke a battalion that was covering the Corps Artillery, leaving three batteries exposed in front of the Duke of Cumbeland's Hussars.
Then with a parallel charge, the Hanoverian Prince Regent's Hussars hit a French infantry battalion in column, they failed to form 'hasty square'.
This was critical, for the column was right in front of Marshal Grouchy's command HQ.
The Hanoverian Prince Regent's Hussar, then charged right through the army HQ, IV Corps had no more command as they had scattered in the face of this charge. 12th Division had suffered 1/3 casualties and also failed a morale roll, Pécheux was now at 'Desperation Morale'. 7th Light Cavalry had still not been able to hit any targets across the river.
 |
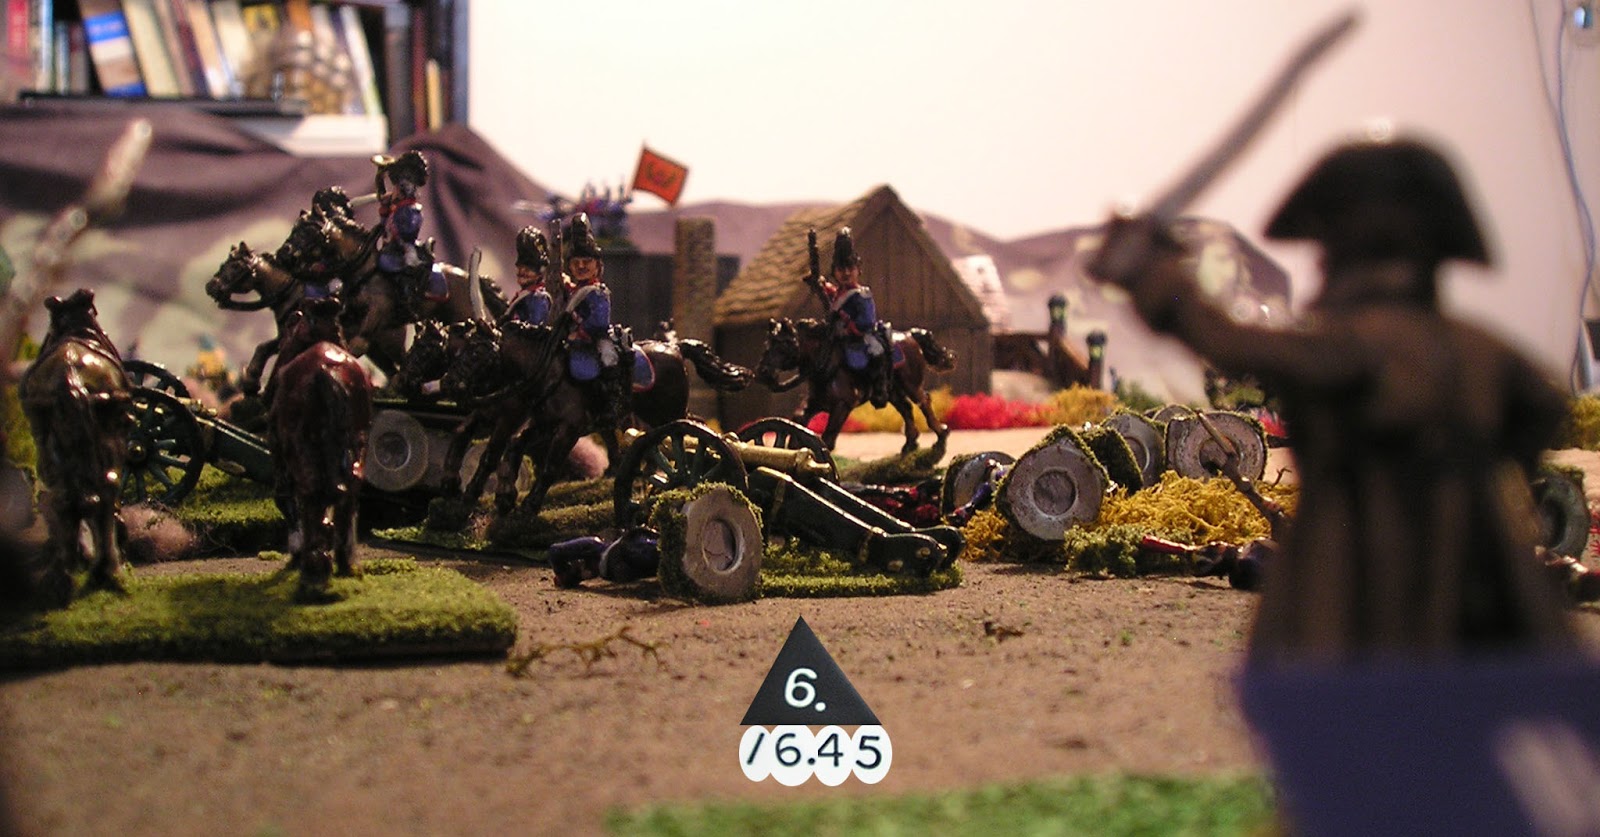
| field at the critical moment 16h45 after this time the French were in full retreat |
 |
| Hero of the hour Colonel Albrecht von Estorff of the 1st Hanoverian Brigade |
 |
| Prince Regent's Hussars slam into the ADC's and HQ of Marshal Grouchy |
 |
| Duke of Cumberland's Hussars shatter IV Corps heavy artillery |
 |
| 7th Light Cavalry continued to be disrupted by Dutch Heavy Cavalry |
 |
| Maurin was simply unable to get across the river in time. |
 |
| the meat-grinder on the hilltop |
 |
| had French infantry in 12th Div held on only one more turn more French artillery would have been pounding the helpless Dutch Heavy Cavalry, as it turns out these men would need to flee into the darkening night or become captured. |
 |
| French Voltiguers at the tip of 12th Division |
 |
| Dutch artillery was moving to get more shots in later, as it was the French were fleeing before these guns could re-position |
 |
| Gap left in the Dutch line at the river from the guns moving |
 |
| More of Estorff who could boast of 18 guns captured this day! |
 |
| Prince Regent's Hussars at the height of their prestige |
 |
| Duke of Cumberland Hussars as viewed by 14th Division commander, who would now have to form a rear-guard and permit the French to escape this rapidly devolving situation! |
Butchers Bill:
French lost 13th Division, IV Corps Artillery and part of 12th Division foot and artillery, minor losses in 7th Light Cavalry. The survivors of 13th Div will re-form with 12th Div to keep 12th Div at full strength.
Dutch lost Ghingy's Brigade of Dutch Light Dragoons and all artillery associated, one squadron of Light Dragoons escaped and will join the triumphant Hanoverians to keep them at full strength.
 |
| Battle Hero Colonel Albrecht von Estorff of the 1st Hanoverian Brigade |
Dutch Victors:
 |
| Dutch-Belgian & Hanoverian Victors |
Defeated French Survivors
 |
| 7th Light Cavalry Division |
 |
| Grouchy and the survivors of IV Corps |
Next up will be a series of game days at the library ... looking like some sort of minis games will take place in late December.


.JPG)


