I was asked by a fellow Napoleonic game player to go over a set of tabletop rules they have built and have some commentary for them.
I decided to use the battle of Quatre-Bras to run a game in, as the layout is reasonably well known and the history well known.
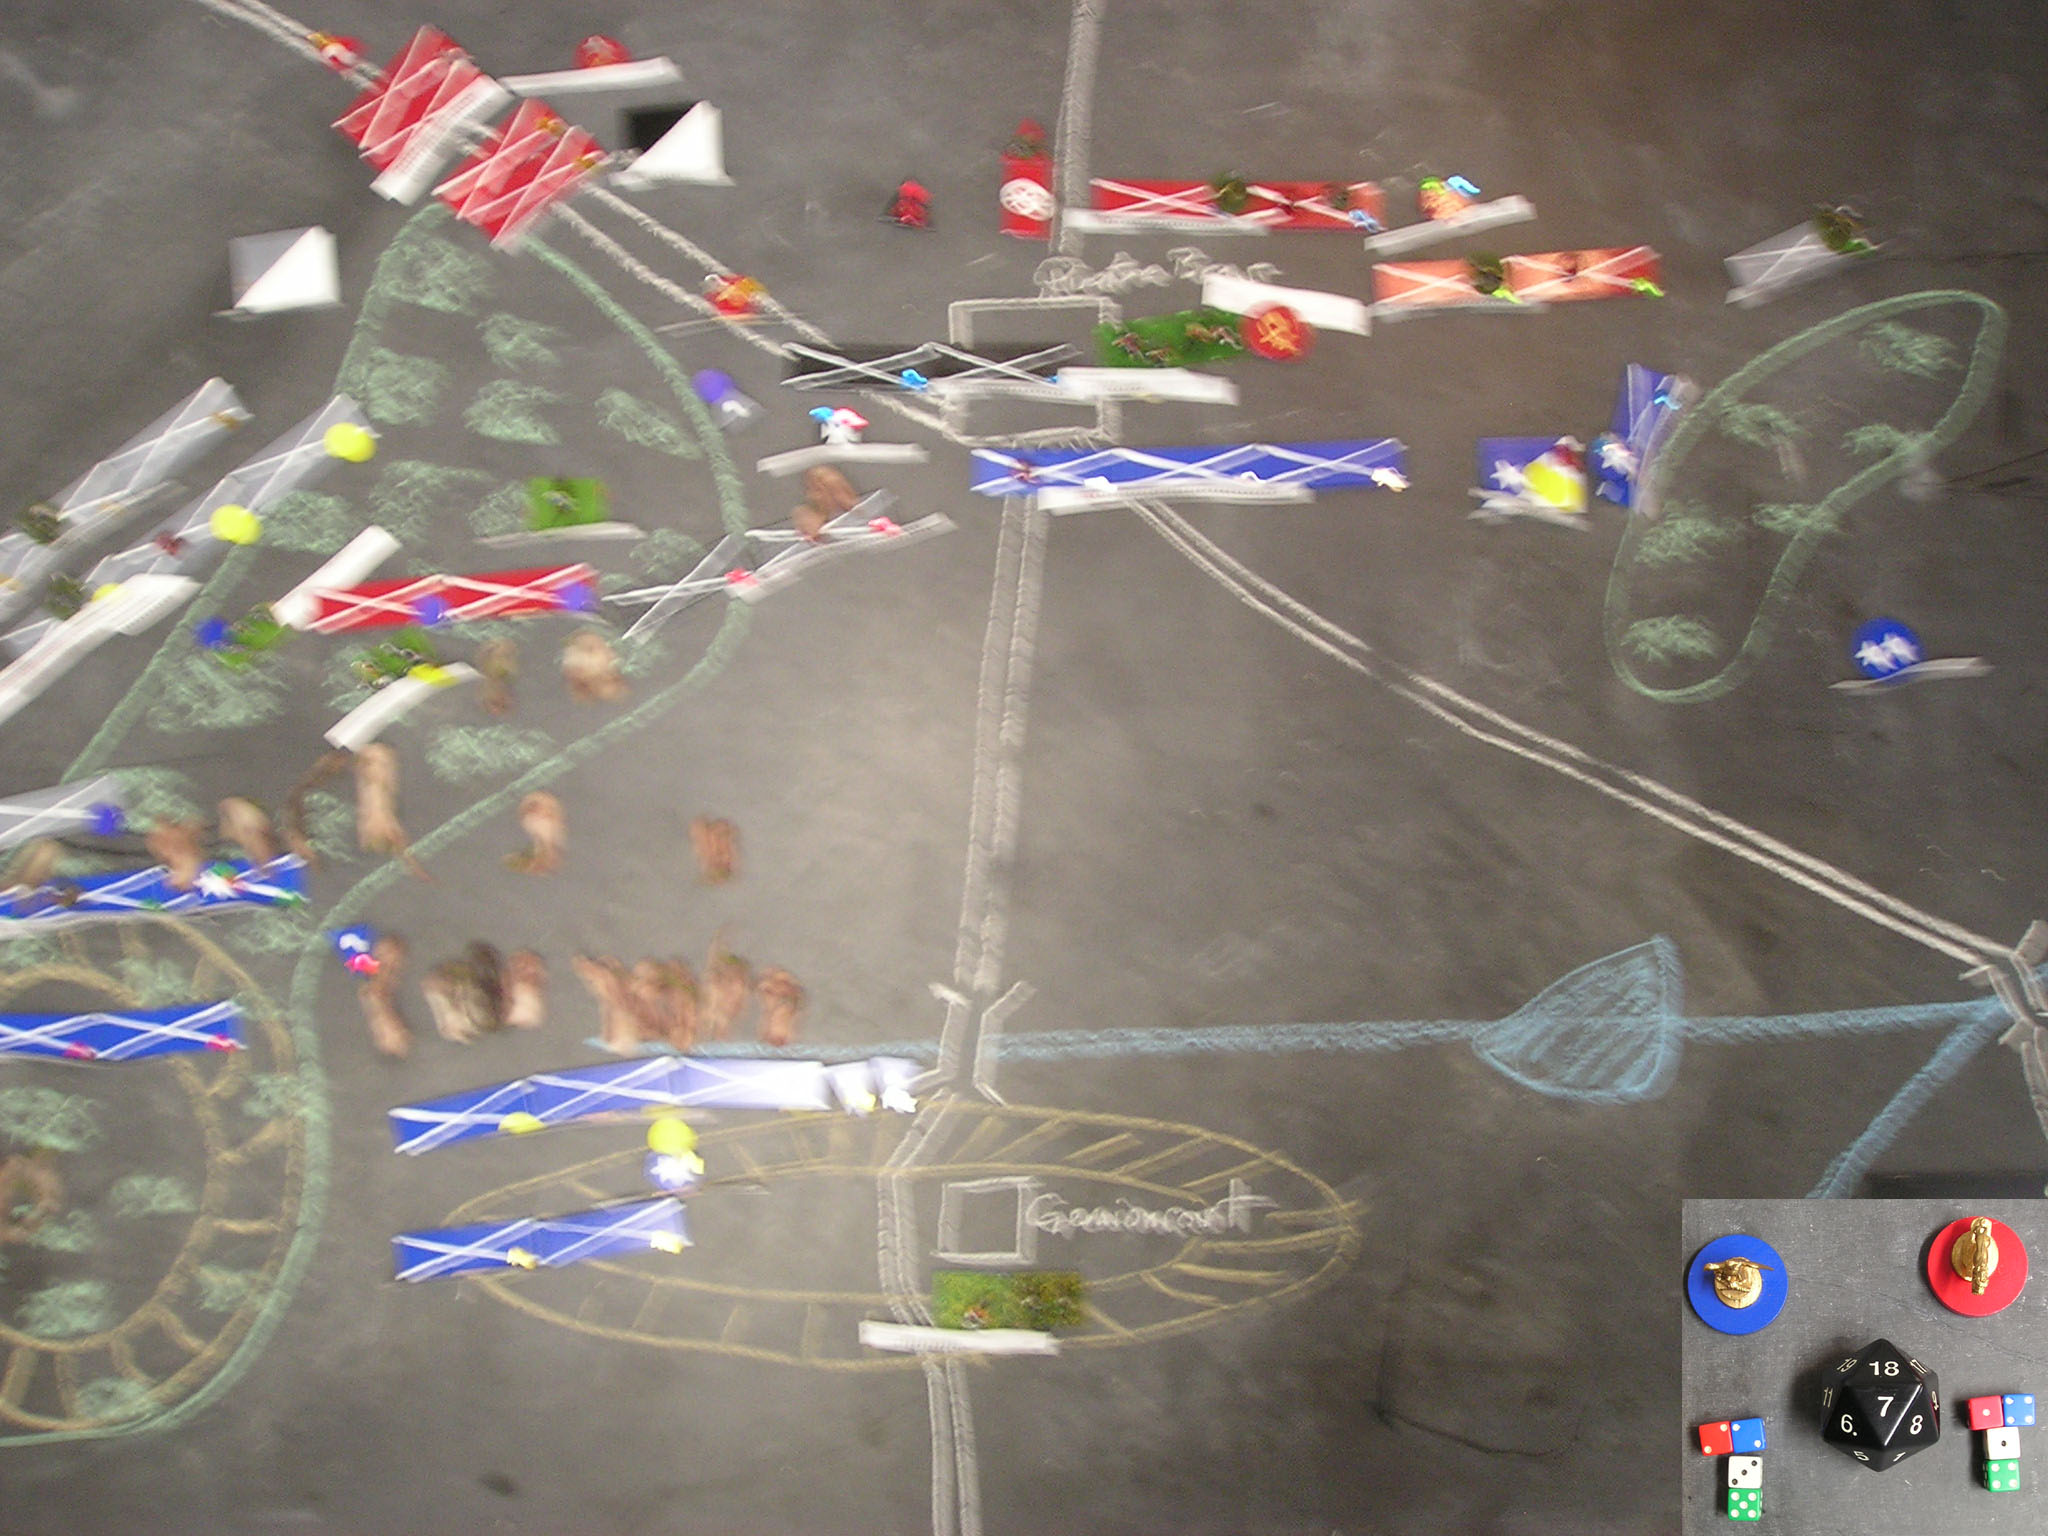
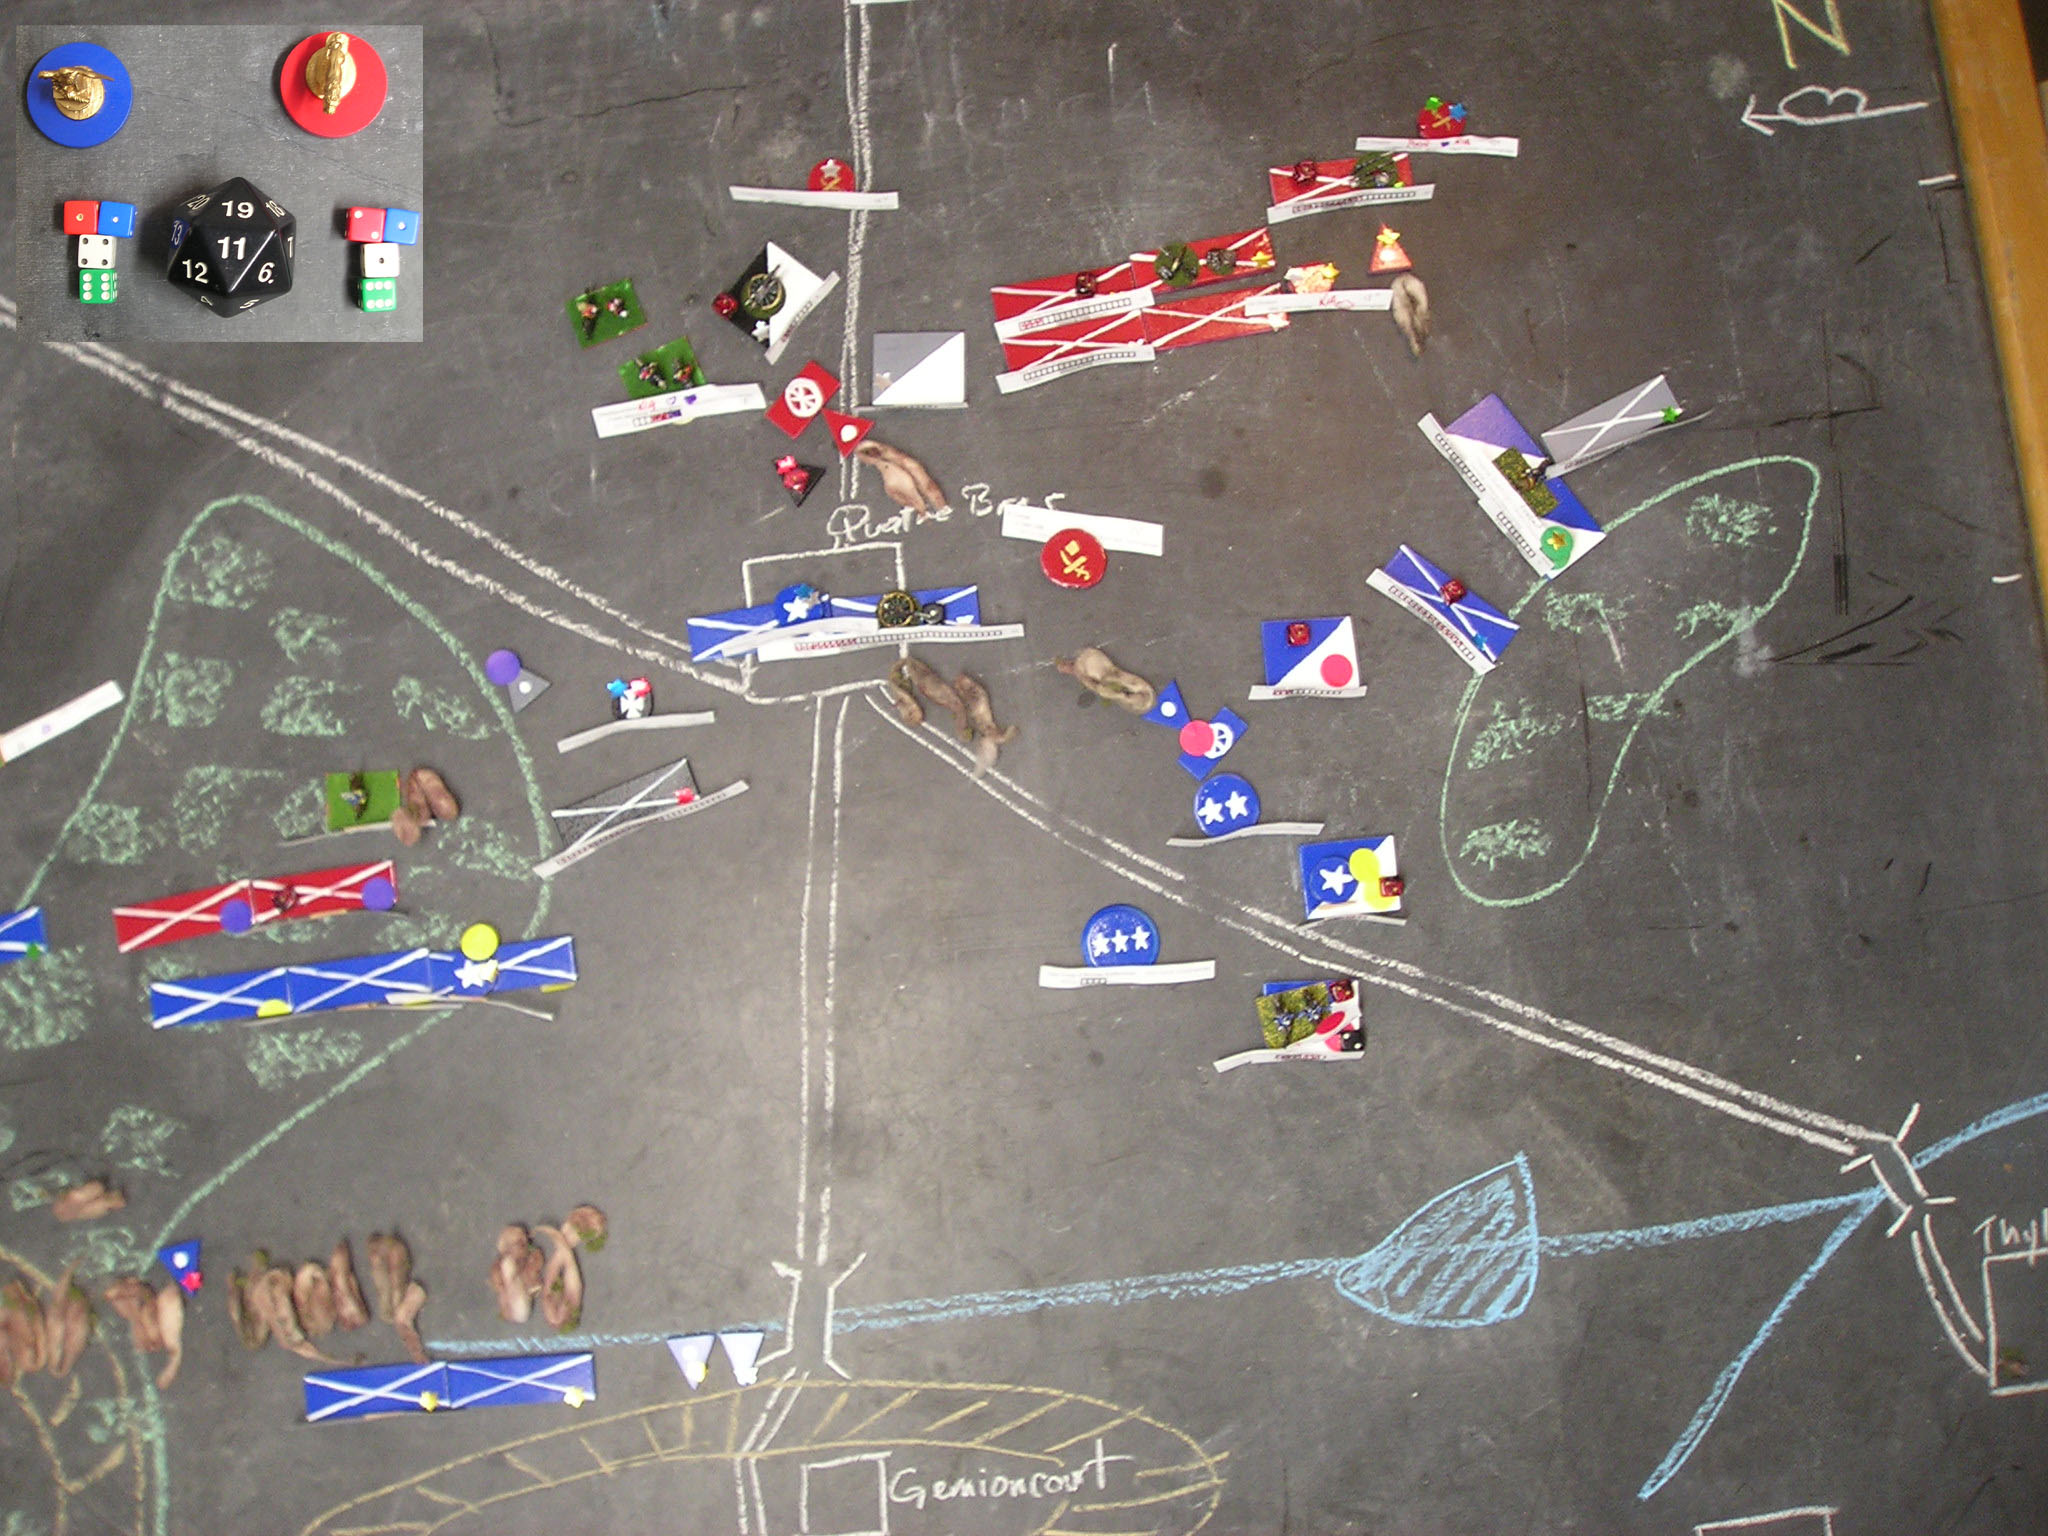
You will see the die rolls in the images, along with the turn counter (d20), red & blue dice are combat & morale AND the initiative dice
the white one is for luck or morale or firing
the green one for morale and movement
 |
| deployment (the French light horse still to arrive) |
 |
| initial positions |
 |
| artillery fire was wearing down the opposing batteries |
 |
| 'smoke puffs' can be seen in front of the guns they will drift across the field to the west as it was determined wind was from the east |
 |
| Allied troops arrive (top left) while the melees are joined in the woods (both left and right) |
 |
| Dutch troops are falling back in both woods French Cavalry (center) is pushed out to the right |
 |
| now artillery has begun hitting the Brunswick forces hard |
 |
| close range fire had run out of ammunition in the woods (double 1's) |
 |
| snake eyes also ended ammunition for the British troops before Quatre Bras |
 |
| the ensuing melee went REALLY BAD |
 |
| now across the lines the French were pushing back the Anglo-Dutch allies |
 |
| more artillery fire was massing against the black clad Brunswickers |
 |
| the Brunswick force had fallen back into QB while British guardsmen came forward the Dutch in the woods (left in image) had been fully pushed out now |
 |
| British guards fail to stem the French tide (right side of image) |
 |
| the Dutch outside the woods fail to rally at all continue to fall back |
 |
| the Brunswick forces in QB are being encouraged to hold via Wellington and his staff directly |
 |
| the French left had broken out of the woods |
 |
| in Quatre Bras, firing goes well for the French |
 |
| then a melee causes the Brunswickers to collapse |
 |
| Wellington is killed in action |
 |
| the whole force had only a few guards to hope to re-take Quatre Bras |
 |
| This quickly failed |
 |
| the French sent guard horsemen to open the right flank only a force of Hanoverian conscripts were in the way |
 |
| they lost the die roll of the exchange by 14 pips! |
 |
| the Anglo-Allied force was now routed Wellington was dead |
The system allowed for good employment of combined arms and I really liked the one page QRS.
There are some changes I have suggested via an email to the designers.
Thank you for reading this quite delayed AAR.


.JPG)


2 comments:
Intriguing. Is the game intended for blocks, or were they just for convenience in this test action?
Hello Archduke Piccolo, no the game was not intended for the blocks, I just had finished them and wanted to put them to use. The rule-set is more for larger scale battles, two corps or more per side. Since I do not have the 15mm or smaller minis that easily simulate this and I did have the new blocks (meant to work out kinks in ACW / WWI and WWII sort of rules sets) I thought it was the perfect first 'test run' for the blocks as well.
You can see in the images I did use some of the 15mm Napoleonic troops I do have (for a DBA version) since I did not have enough of the 'command' base minis for all of the allied troops or French side.
I have done more of these command stands for each army now and also some armor, anti-tank artillery, as well as a skirmish/mechanized converter pieces.
More to come from these blocks.
Post a Comment